


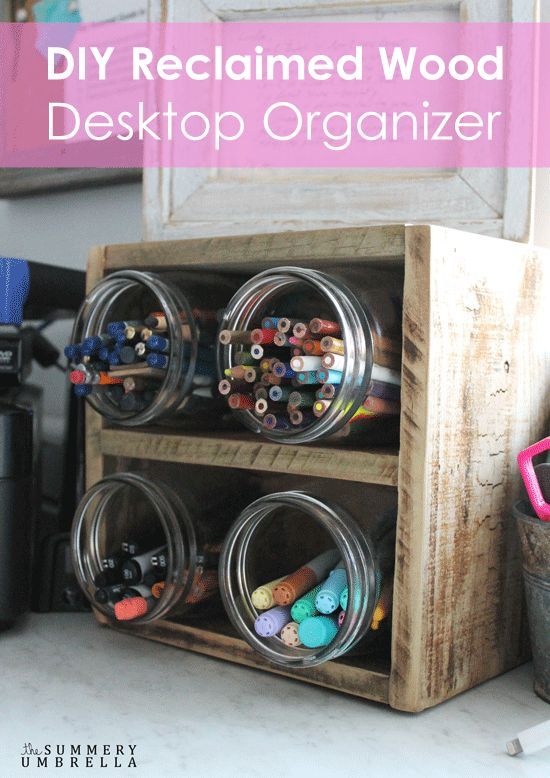
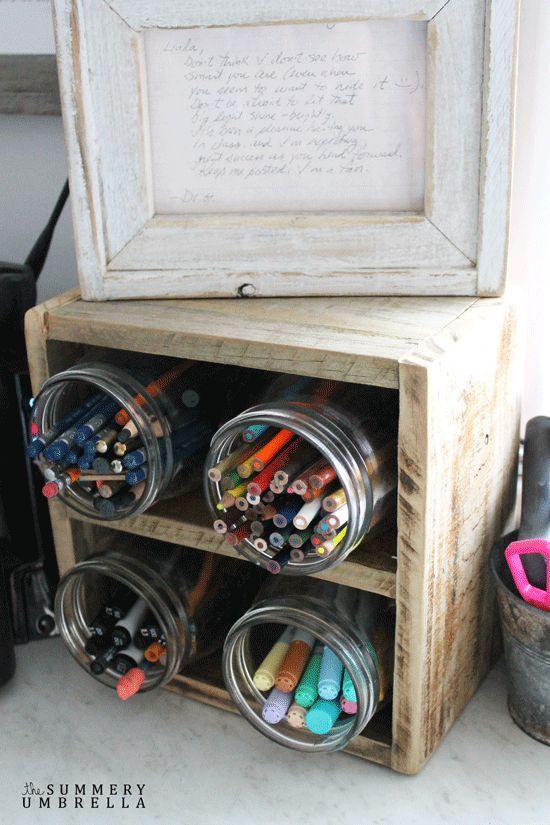
DIY Reclaimed Wood Desktop Organizer
I have another confession. I have a slight obsession with drawing and painting materials. I have a few must-haves that I will always keep in stock in the studio, but I’m always looking for new items to explore with. With that being said, I’ve kind of accumulated quite a collection! I’ve tried storing them in drawers, pouches, containers, etc., but I’ve found that I tend to forget about the variety of awesomeness that I’ve purchased when they aren’t out in the open. So, I figured there is only one solution. I will have to create a DIY reclaimed wood desktop organizer to fix this dilemma. :)
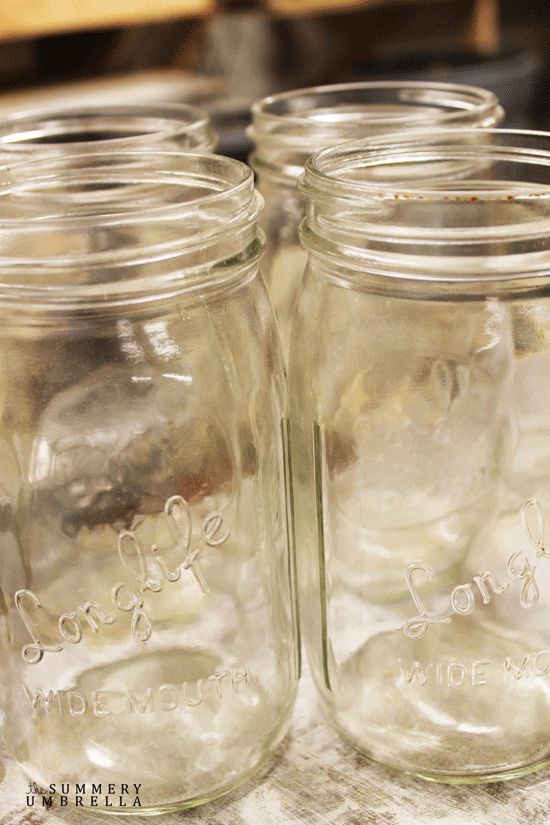
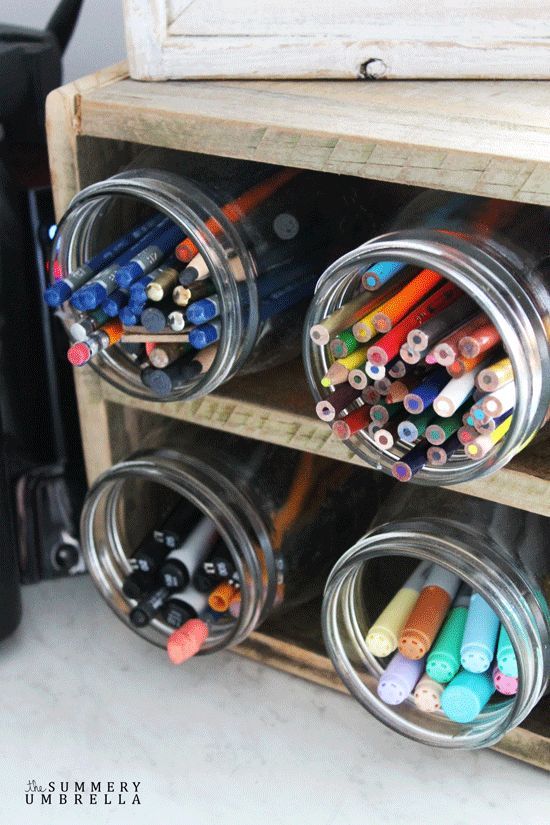
First, I rounded up a few mason jars to help me keep all of my pens, pencils and markers organized. I don’t have a lot of room on my desk so I decided that four would be plenty!
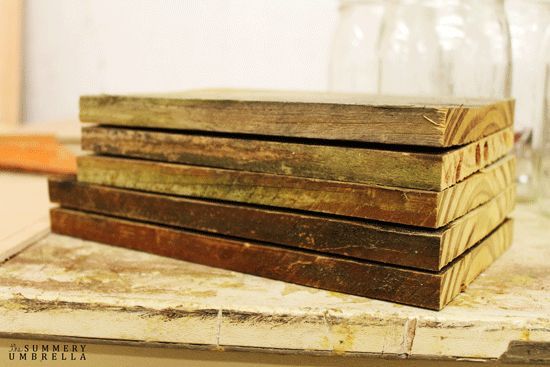
Next, I went out to my reclaimed wood pile-of-wonderment, and selected a few beauties that will be used as the sides for my organizer. The length and width of your boards will ultimately depend on the size of the mason jars that you will be using as well as what you might have on hand. I decided on four quart size, wide mouth mason jars so they would stick out a little bit from my boards. You might not want your jars to “let it all hang out” so you’ll probably want to select the pint size version for yours. Just remember, this is YOUR project (if you decide to create one), and anything goes. I heart DIY projects!
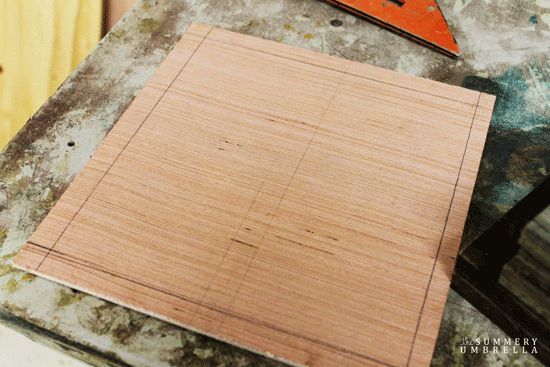
You don’t necessarily need to have a backboard to create this project, but I’ve found in the past that it will most definitely help keep everything nice and sturdy. As you can see in this picture I’ve cut out my board into a square, but if you have more room on your desk you could also do this organizer as a rectangle. Whatevers clever! This shape and size was created by:
For the entire tutorial please stop by the blog at the below link.

Want more details about this and other DIY projects? Check out my blog post!


Frequently asked questions
Have a question about this project?