


Faux Farmhouse Planked Wall
I'm sharing with you how we did a rather simple project that added tons of character to our small half bath, come see!!
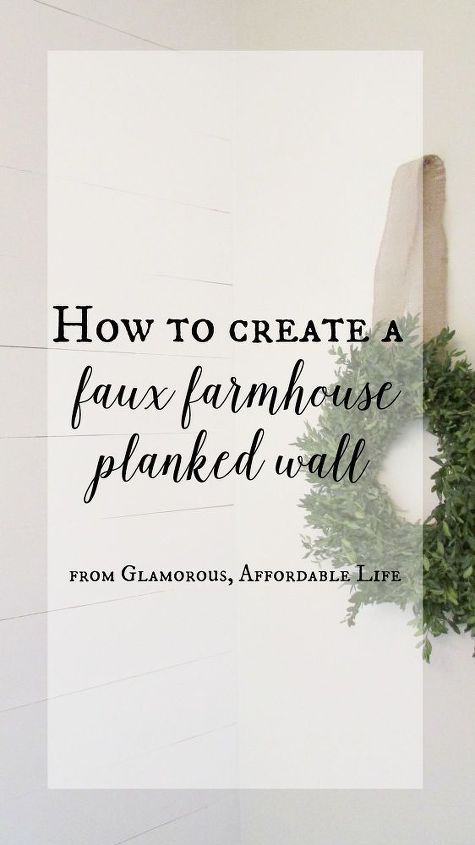
As you may already know, I'm goo-goo for farmhouse style! And I've been slowly adding and updating our "newer" home to give it that old, farmhouse feel! I was torn on what design to go with for our small half bath. It is the most used bathroom in our home, so whatever design it was going to be, needed to be functional for our family.

We headed to The Home Depot to take a look at what our plank options were. We opted for a 4x8 sheet of 1/8 inch pine. We had them cut it there, into 6 inch strips. There was a total of 13. Once we were home we measured the walls again and made any necessary cuts. Don't skip this step!! Measure, and then measure again. Our walls are uneven, and I bet yours are too! Once the cuts were done, I sanded the edges to give a smooth texture and we numbered the backs in the order they would go on the wall.
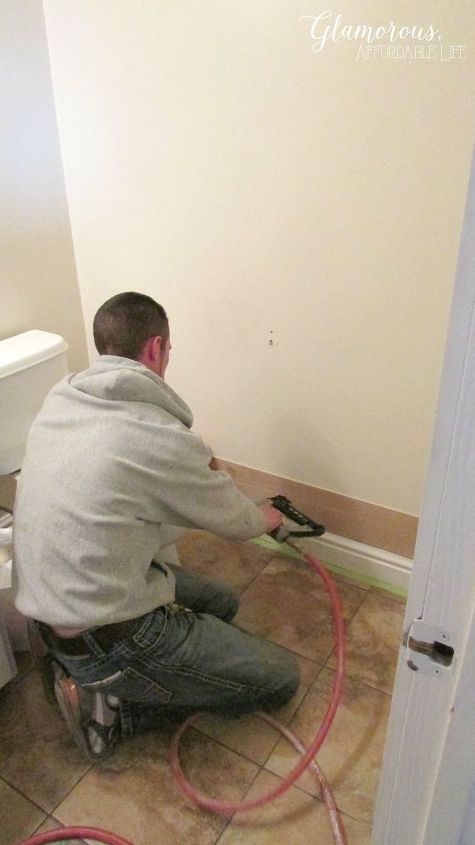
Next, we began nailing each plank to the wall. Once the nailing was done, I went back and filled each hole with wood filler. Then I sanded to a smooth finish. We opted for a white Behr trim paint and did a solid 3 coats. And just like that, we had a beautiful farmhouse planked wall for under $50!

For more details and pictures please visit my blog! Thanks so much for stopping by and checking out this project!

Want more details about this and other DIY projects? Check out my blog post!
Comments
Join the conversation
4 of 10 comments
-
Wonderful idea! Looks GREAT! Now come do mine? :-)
-
Very nice!


Frequently asked questions
Have a question about this project?