


DIY Rainbow Book Ledges for Children's Books

by
Sara Bates
$30
6 Hours
Medium
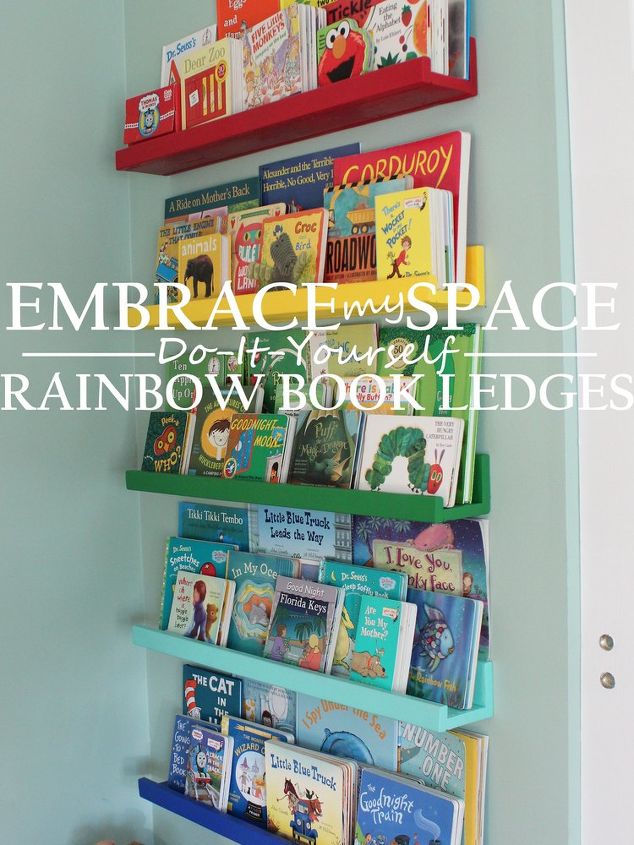
I've been in LOVE with the color bar ledges from The Land of Nod for as long as I can remember. But at $30 a pop, the total price to create the whole rainbow was a little steep. So I took matters (and lumber!) into my own hands and made this fabulous hack for a fraction of the cost!
Before I get into the details, here's a list of the SUPPLIES I used to make five 30 book ledges:
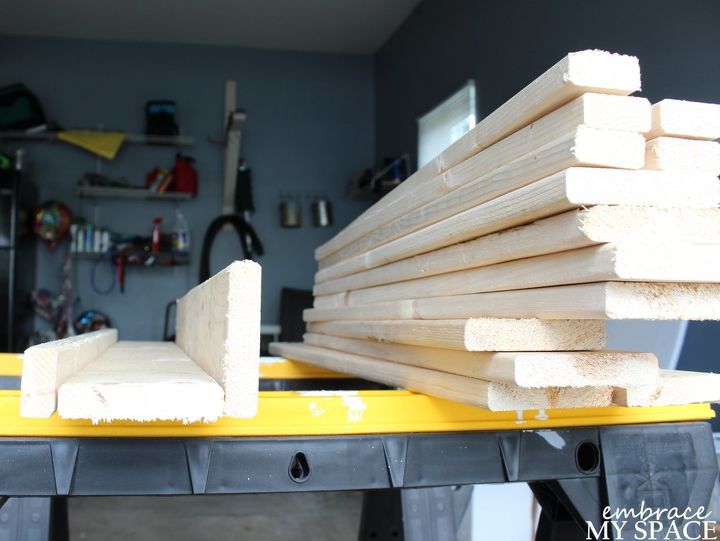
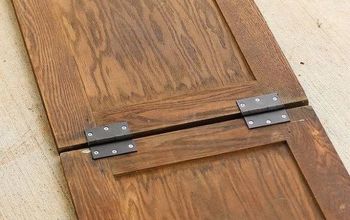
The lumber department at Lowe's cut all of my pieces to size for FREE, which is great because this is the tricky part! At least for an inexperienced carpenter like myself. One afternoon when my son went down for his nap, I nailed together two of the 1X4s to create an "L" shape. To do this, I pounded one nail right in the middle, then I did one on each end to make sure everything was lined up nicely. I pounded in a few more nails across the back just to make sure the shelves were sturdy. I did the same with one 1X2 across the front to make the little lip that sticks up on each ledge.
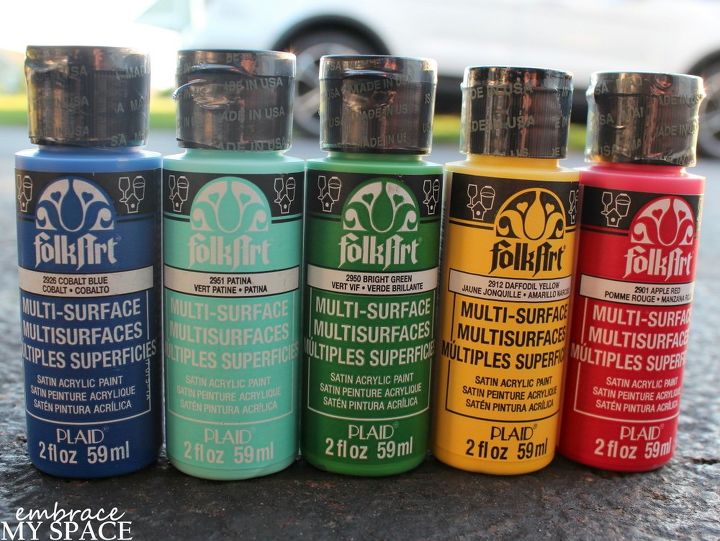
I sanded each picture ledge using my hand-held sander, then wiped my ledges down with a wet cloth to remove all the sawdust. Next, I sprayed them with spray primer. Since I was using a few dark paint colors I opted for a gray spray primer on the ledges that I would paint red, green and blue. I used white spray primer for the other two ledges, which I would paint yellow and aqua.
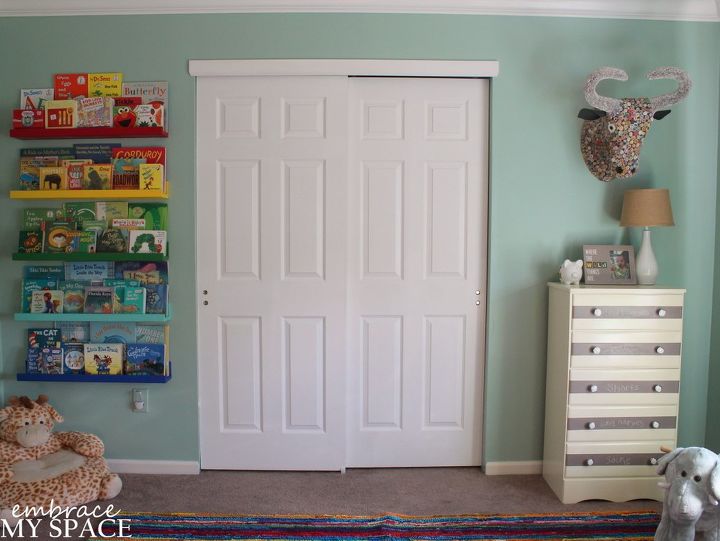
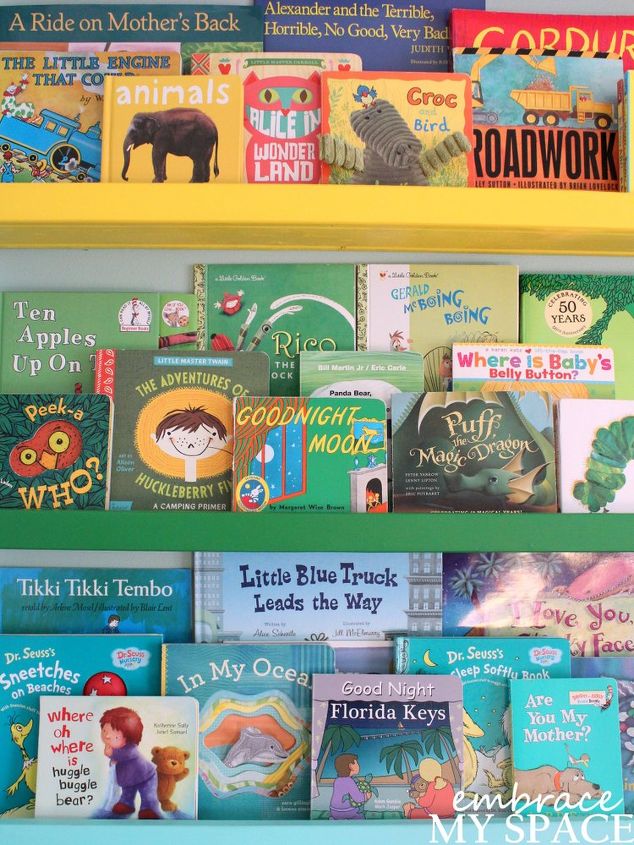
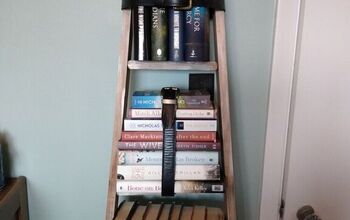
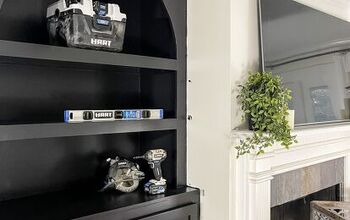
I hung the ledges to create a rainbow-inspired installation. Each ledge holds books with coordinating colors to give the rainbow effect maximum impact!
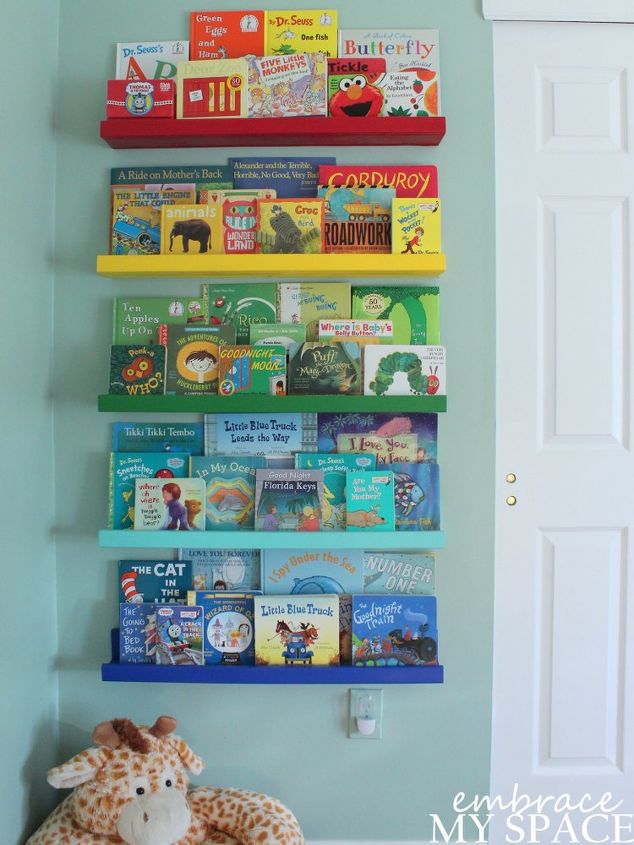
This is one of my favorite projects! It is so playful - perfect for a playroom or nursery, and it keeps the books from cluttering up our storage cubbies!
Although there isn't enough space to display all of his books, I was able to make sure most of his favorites are here and easy to see!
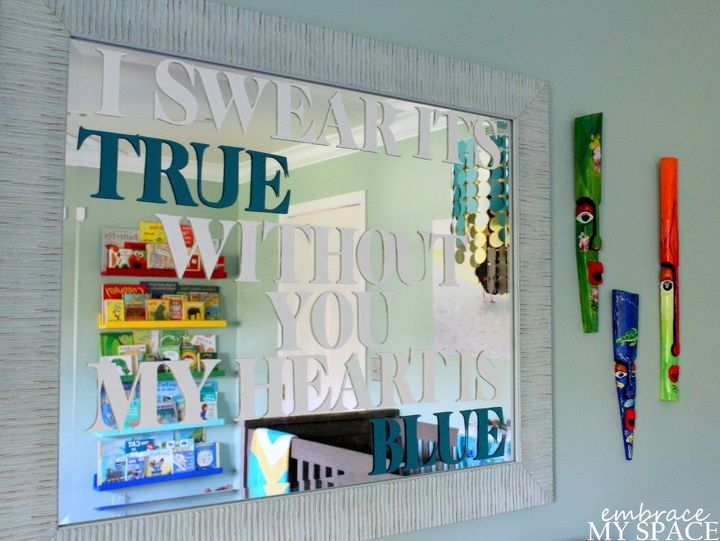
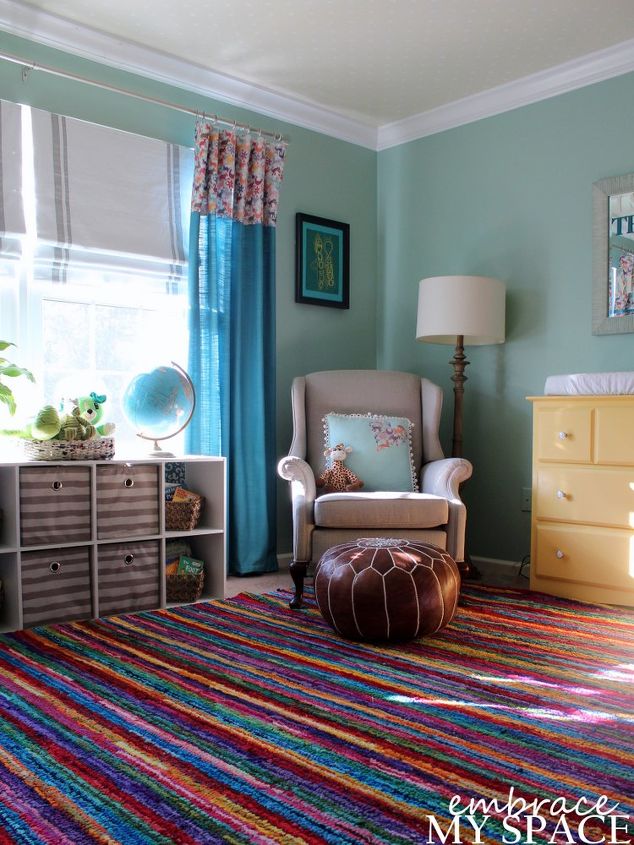
This was the perfect addition to our DIY nursery!
Want more details about this and other DIY projects? Check out my blog post!
Comments
Join the conversation
2 of 91 comments
-
Yes!!!!Love it and the colorful atmosphere is creates.
-
My son is grown, but would love to display his favorite childhood books! Nothing is better for life’s learning than prioritizing reading. Great work!


Frequently asked questions
Have a question about this project?
I too am writing to ask about the rug, lol. Perfect for our bedroom... The book ledges are a great idea too — right next to the bed!
I agree......where did you get the colorful rug?