


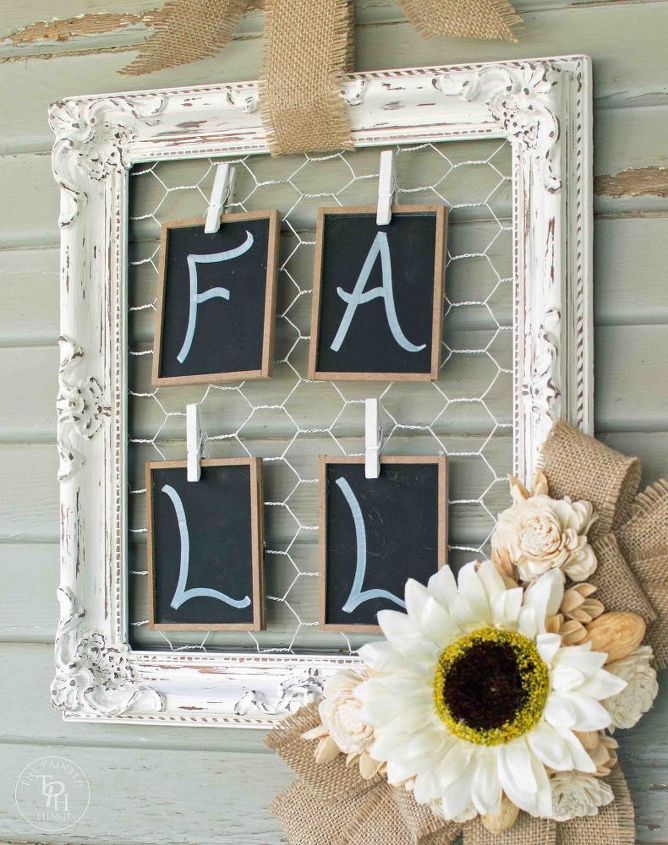
Shabby Chic Fall Wreath Tutorial
I made this wreath for my front door last year. I really liked the way it turned out, so I wanted to share it here!
Here's what you'll need:
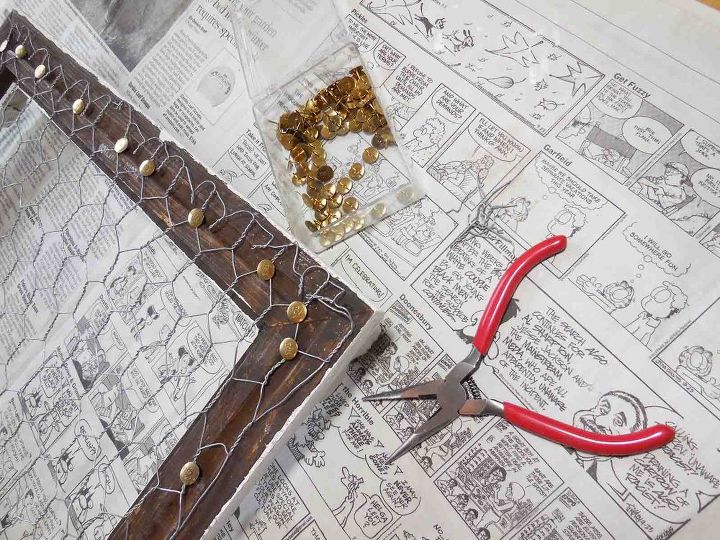
1. Cut the chicken wire to cover the entire back of the frame. Tack the chicken wire to the back of the frame, leaving enough space at the top for the burlap ribbon strip for hanging up the finished project. Bend back any protruding pieces of wire with the needle nose pliers so you don't get poked!
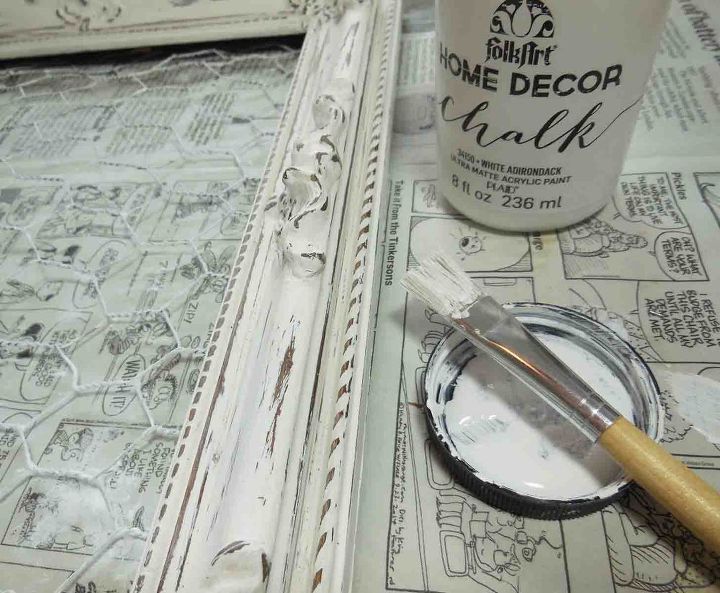
2. Turn the frame over and paint it along with the chicken wire. I gave the frame two coats of chalk paint, a coat of sealing wax, and distressed it with 80 grit sandpaper. I gave the chicken wire just one coat of white chalk paint to get a chippy look.
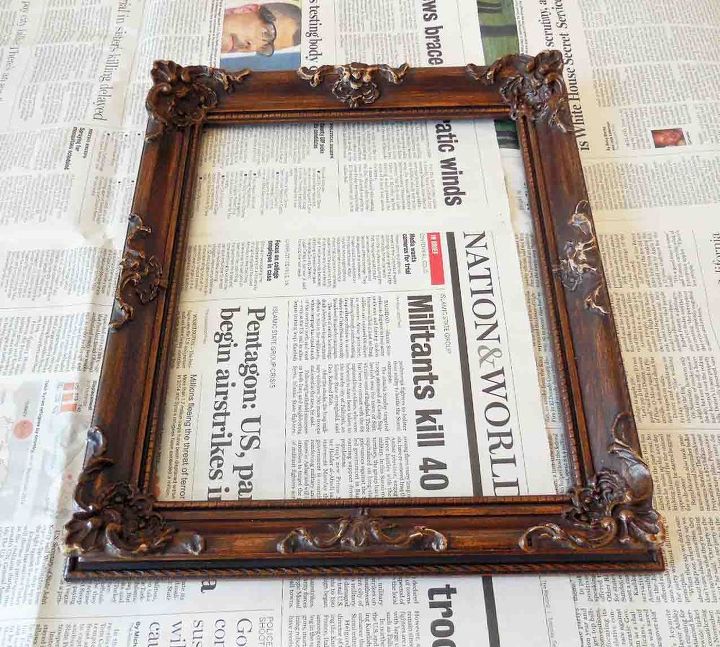
As you can see, I painted the frame before I tacked the chicken wire to the back of it. In hindsight, it would have been easier to tack the chicken wire on first, then paint the frame and wire at the same time. Also (I'm probably going to lose my Craft Card for admitting this) this is the very first time I've used chalk paint. On anything. Ever. And I love it. :) I can't wait to use it on future projects! Here's the frame before pic.
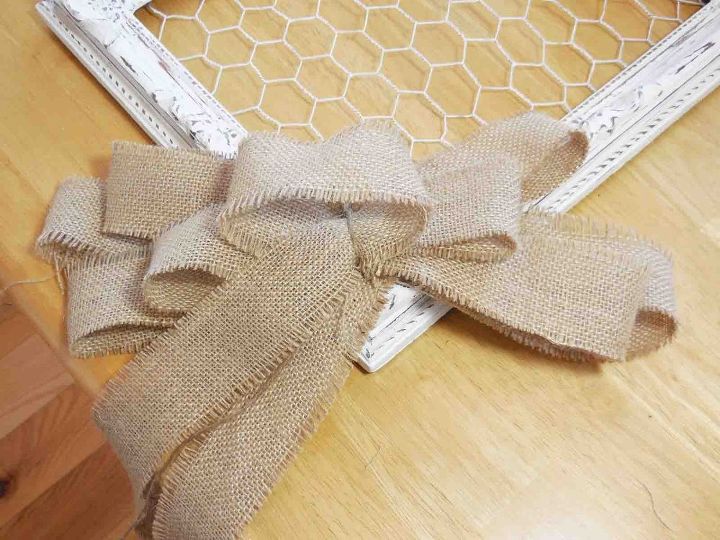
3. Make a bow out of the burlap ribbon and tie it on using the jute twine. You can hot glue the ribbon on as well, but I tied mine on so if I decide to use the frame for another project in the future, it will be easy to remove.
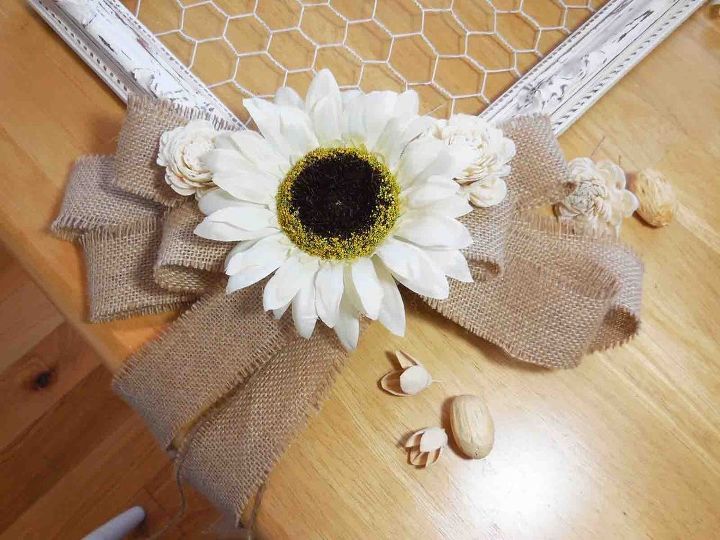
4. Arrange and hot glue the silk sunflower and potpourri pieces onto the ribbon. If the potpourri weighs the ribbon down in places, use a tiny drop of hot glue on back of the ribbon to secure it to the frame.
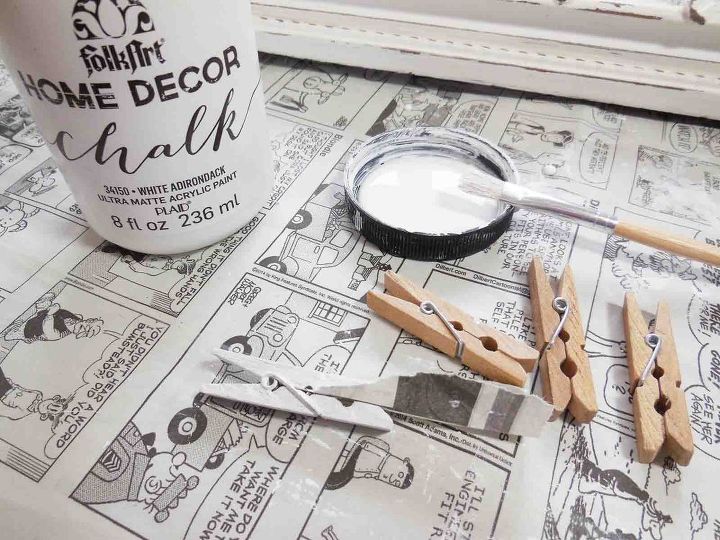
5. Paint the clothespins. I just gave them a quick coat of chalk paint. I clipped a piece of paper to make them easier to maneuver while painting.
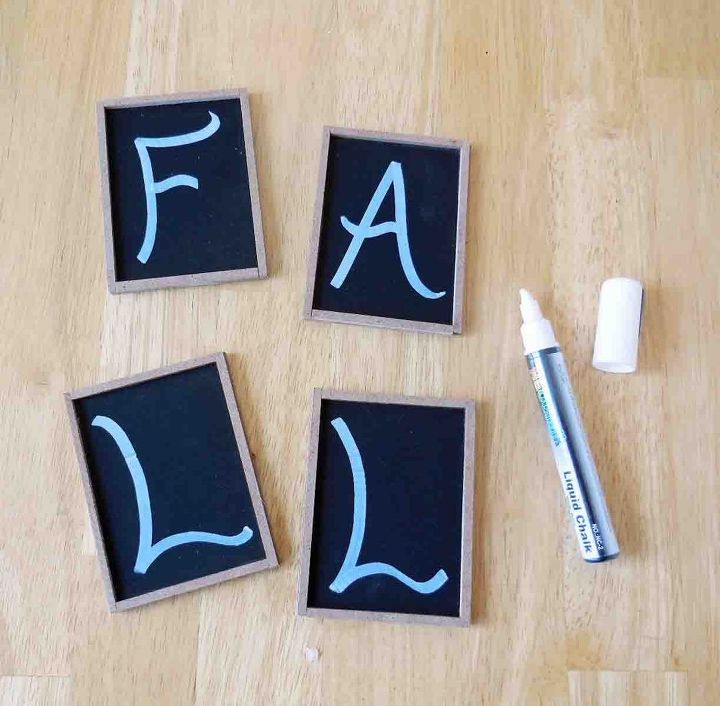
6. Letter the chalkboards and pin to the chicken wire with the clothespins.

7. Hang your wreath up and enjoy! :)

Want more details about this and other DIY projects? Check out my blog post!
Comments
Join the conversation
3 of 109 comments
-
I like your idea and project.......I only think turning the frame, you could have wrote F A L L.......across the entire frame.
-
Oh what to do with all those pictures frames I've been holding on to.


Frequently asked questions
Have a question about this project?
Where can you buy a small piece of chicken wire?