


Create A DIY Desktop Printer Shelf Using IKEA Magazine File Holders!
Easy
We keep our printer on the desktop in our office/craft room. It is a wireless printer so it can be stored anywhere. But I like it where it is easily accessible to change the cartridges, troubleshoot paper jams and retrieve print jobs.
The problem for me is that the printer does take up a lot of space on the desktop. You can’t store anything on top of it and the space underneath it is what I consider wasted space. So I decided to add a printer shelf to elevate the printer and to add more storage space for printer paper.
I looked online and in the office supply stores for what I wanted in a printer shelf. They were either too expensive or I did not like how they looked. So I decided to design and create my own.
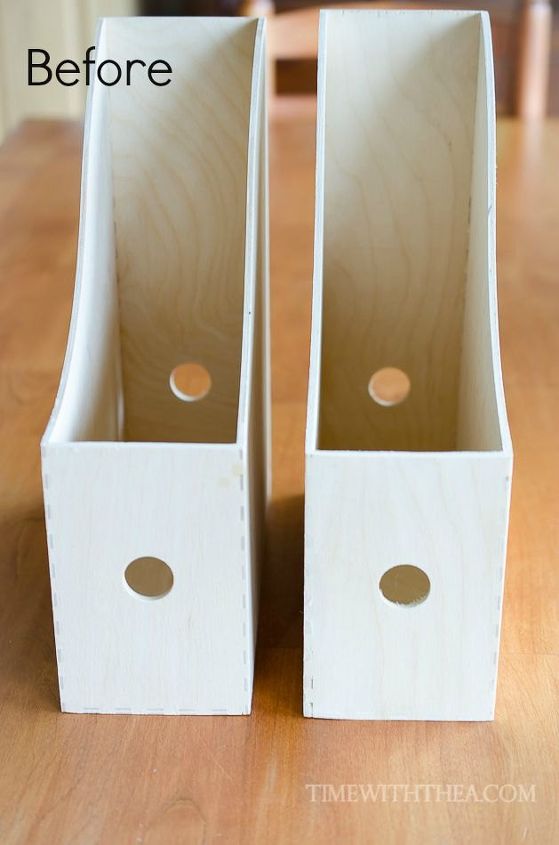
I had a ‘light bulb’ moment when I was browsing through the thrift store and came across these two IKEA wooden magazine file holders. Who says you have to use items the way they were originally intended?
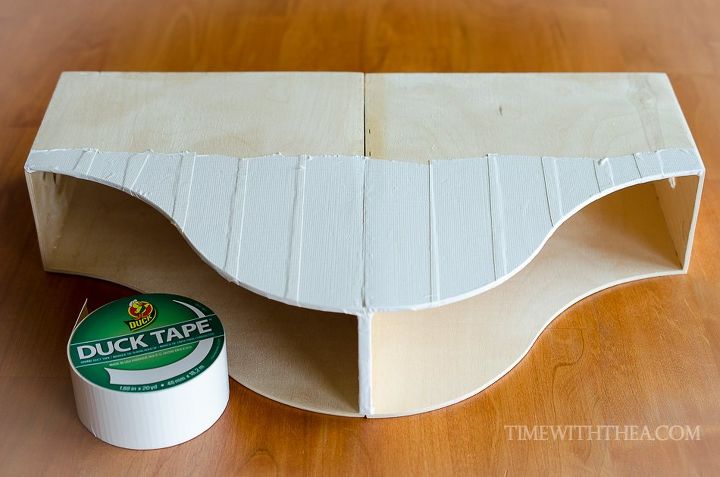
I attached the two magazine file holders together along the tallest sides with craft glue. Then I wrapped white and black Duck Tape around all sides. Not only did the Duck Tape nicely cover the magazine file holders and make it into one unit but it also made the printer shelf stronger for holding the printer.
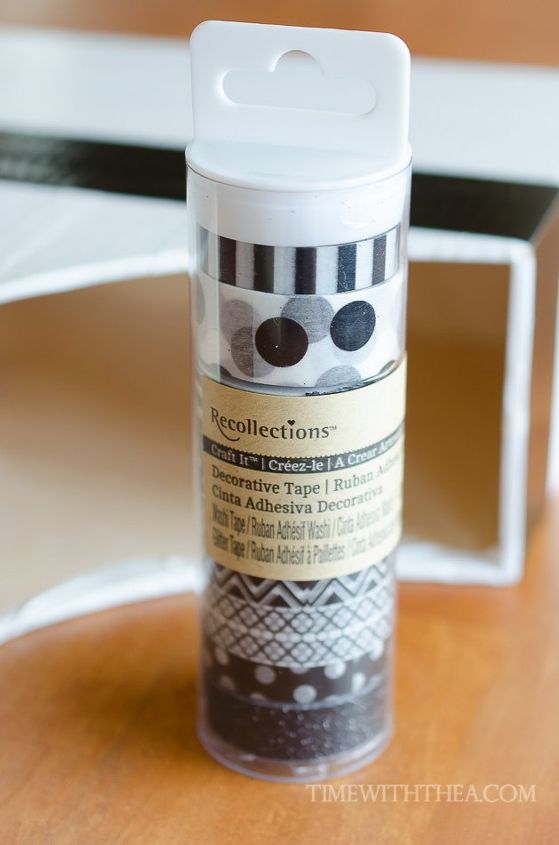
I love Washi tape because it is so easy to work with. I applied several strips in different designs over top of the Duck Tape on the outside. I also used it to cover the uneven edges of Duck Tape on the inside to give it a more finished look.
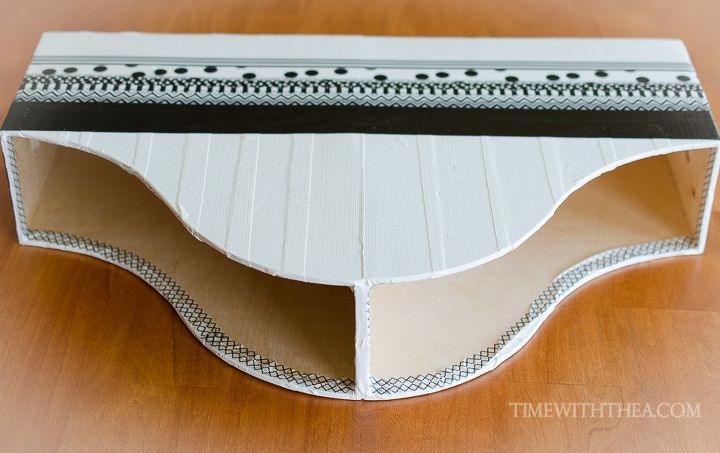
This is what the completed printer shelf looks like. I did get a bit carried away applying the Washi Tape. But I wanted to see what an interesting stylish look I could create with the different designs.
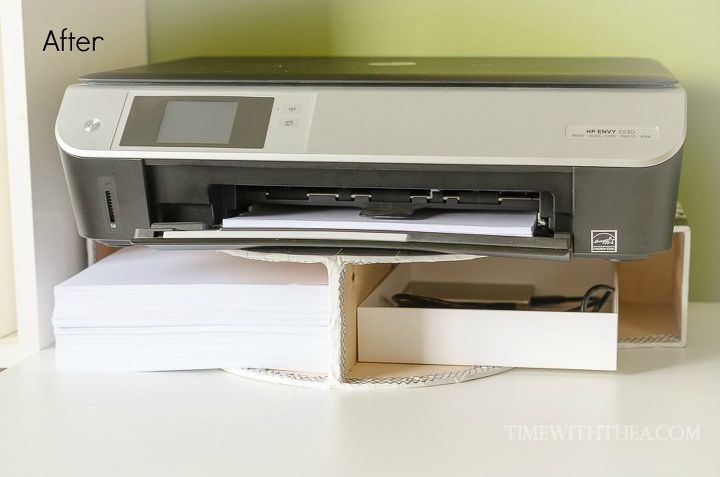
This is how it looks underneath the printer! One side is perfect for storing the printer paper. I use the other side for storing my external hard drives. The white box you see is from the packaging that came with my mini iPad.

Want more details about this and other DIY projects? Check out my blog post!
Comments
Join the conversation
2 of 128 comments
-
Great idea! I use them on my counter top next to refrigerator to keep my cutting boards in... that works good to... these little guys come in handy for soooooooooooooo many things!
-
This project is so unique and yet simple. I have looked at Pinterest for years. This is the first I’ve seen. I’m am going to do this project this weekend. I do not have a creative bone in my body. I’m excited to try this. Thank you once again.


Frequently asked questions
Have a question about this project?