


Pallet Pumpkins

by
Tracy Snyder
This fall carve pallets for your decor. They last longe!
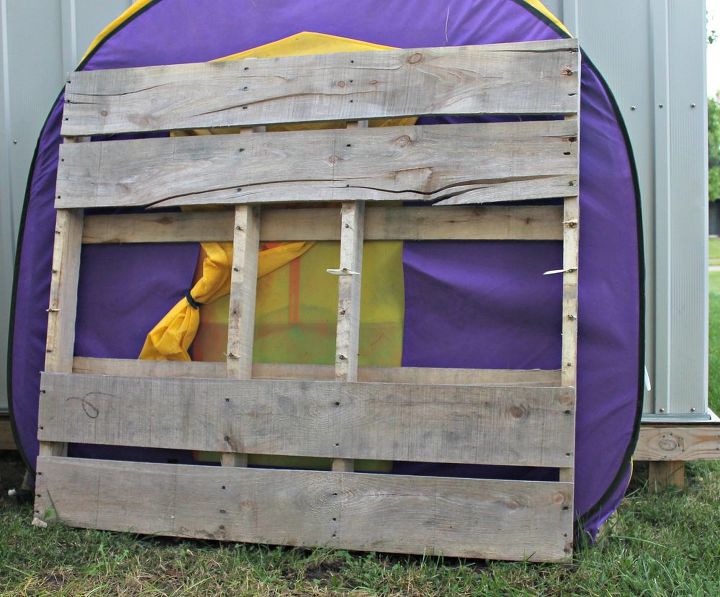
What can I say I love pallet projects. I seem to always have a few out behind the shed for projects just like this. For this project you can take a saw along the support pieces of the pallet, you don't need the whole board unless you have a good reason to fight and pry them off.
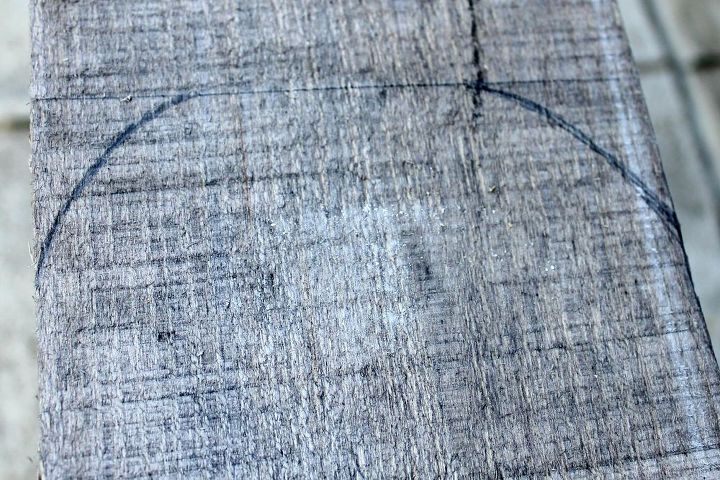
I decided how tall I wanted my pumpkin to be and marked that on the pallet. Then tracing a paint can or something round like that curve the corners.
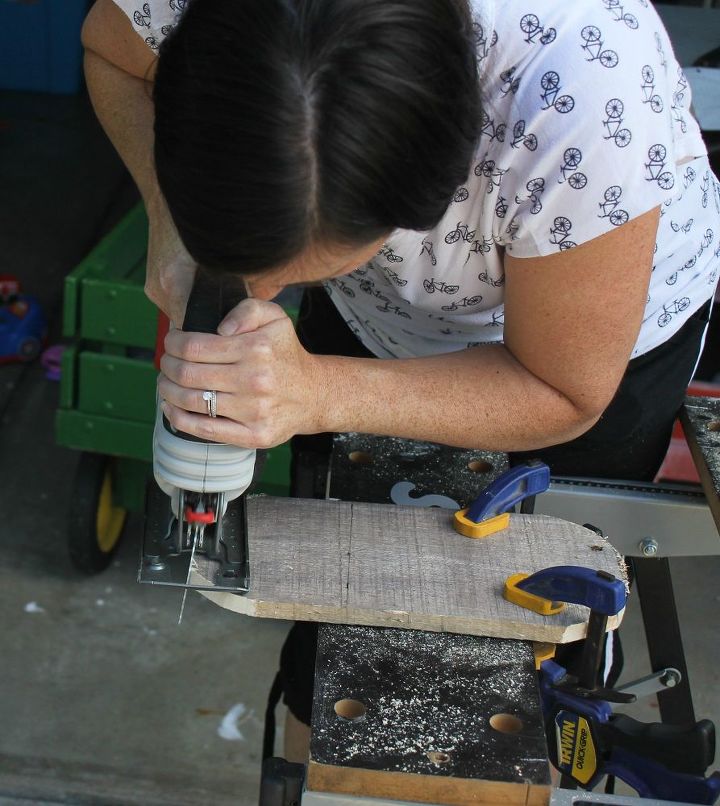
With the jigsaw cut those curved ends off. That's the back and biggest piece of the pumpkin. This pieces there is no need to cut the sides.
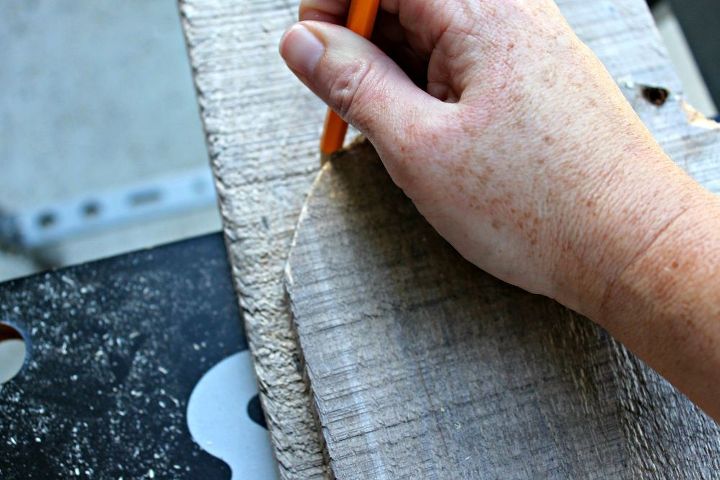
For the next piece decide how much smaller you want it to be than the first piece you cut. Trace the curves from the first piece to the 2nd and cut with the jigsaw. Repeat for the 3rd piece.
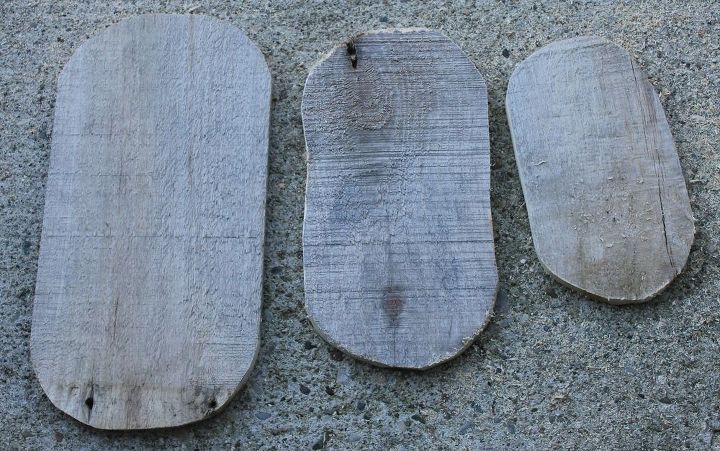
You should have 3 pieces similar in shape. If you want rustic pumpkins leave unpainted. If you want orange pumpkins paint orange and sand slightly.
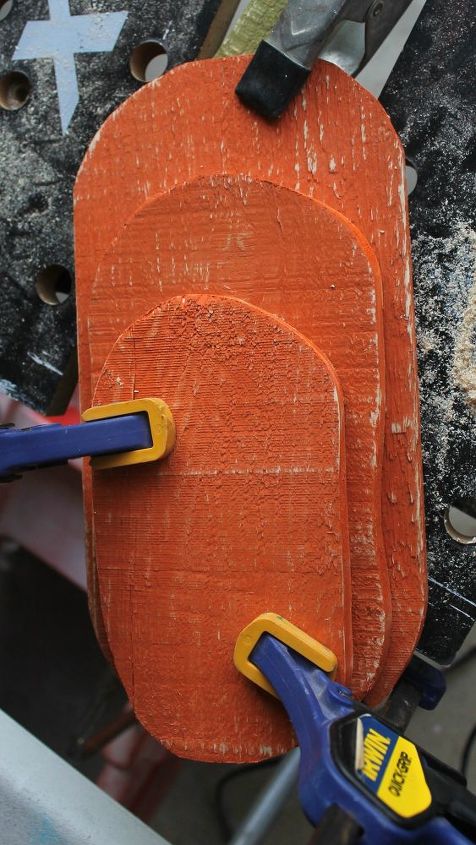
Glue with wood glue or similar and clamp together until dry. I had a different stem in mind until I was cleaning up from the jigsawing and discovered a piece that looked like it belonged right on top. So it got some green paint then glued onto the back.
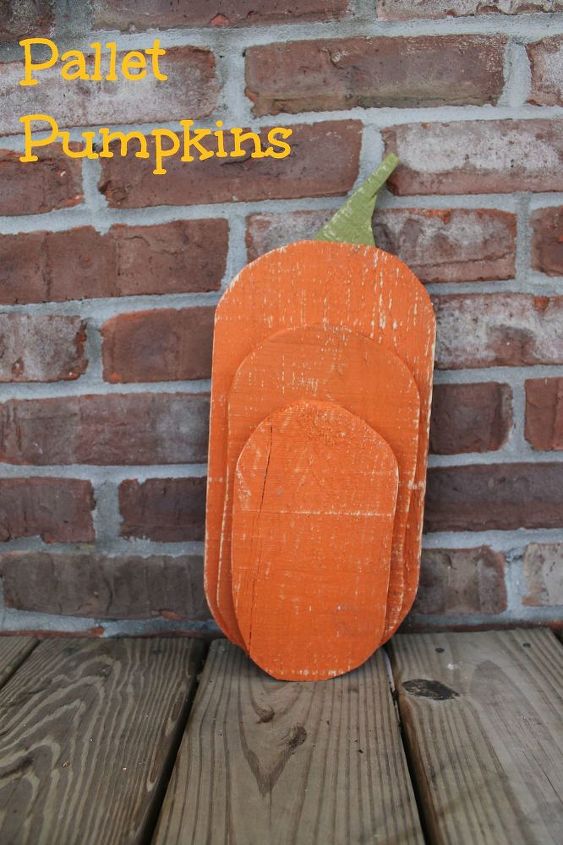
There it is a carved pumpkin from the pallet patch.
Want more details about this and other DIY projects? Check out my blog post!
Comments
Join the conversation
2 comments
-
These are so unique! Love it.
-
Great idea--love the look of these!


Frequently asked questions
Have a question about this project?