


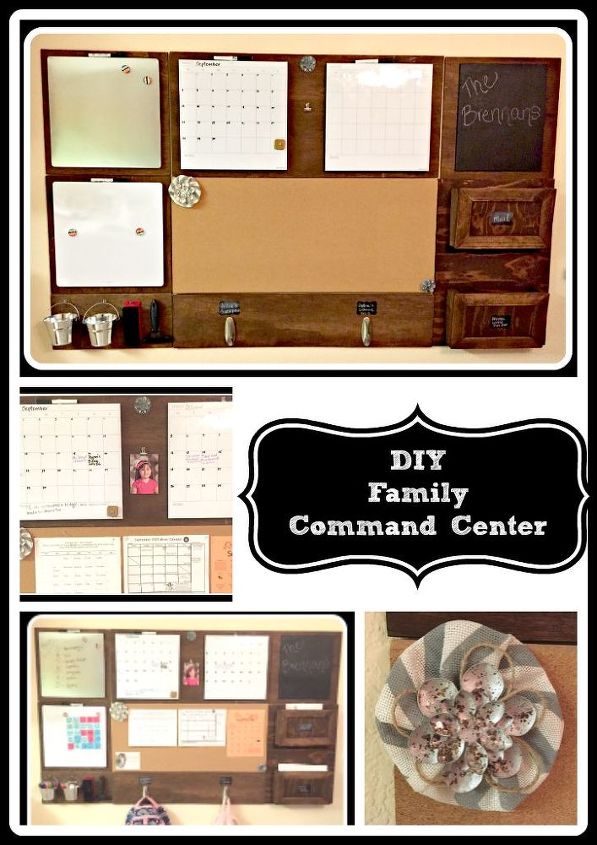
DIY Family Command Center
11 Materials
DIY Family Command CenterMy daughter started Kindergarten a few weeks ago and since then I have felt like there is now SO much more information we have to remember and organize. For instance PE is only two days each week and on those days, she has to wear tennis shoes to school, and Mondays are show-and-tell days so we have to remember to have her bring something to show, and one day a month is our snack day where we have to bring a snack for the class, and on and on… So, I have been wanting to have a “family command center” in our house to help us keep track of important dates and events and I wanted it to be somewhere where we would see it on our way out of the house during the morning rush so we don’t forget anything.
We have a large blank wall in the room I call our “spare dining room” although we currently have our treadmill and our futon couch in this room for guest to sleep on, I know, sounds weird! But, we use our “formal” dining room for eating since it is bigger and we only have one dining table. (Eventually we want to remodel so we only have one dining room, but that’s a topic for another day!) Anyways, this spare dining room is right next to the kitchen, which leads to the door to the garage, so we always walk past this large blank wall on our way out in the morning, so I figured it is the perfect spot! Here’s a pic of the ugly wall (ignore all the stuff on the floor, that is the materials to create this wonderful command center masterpiece!
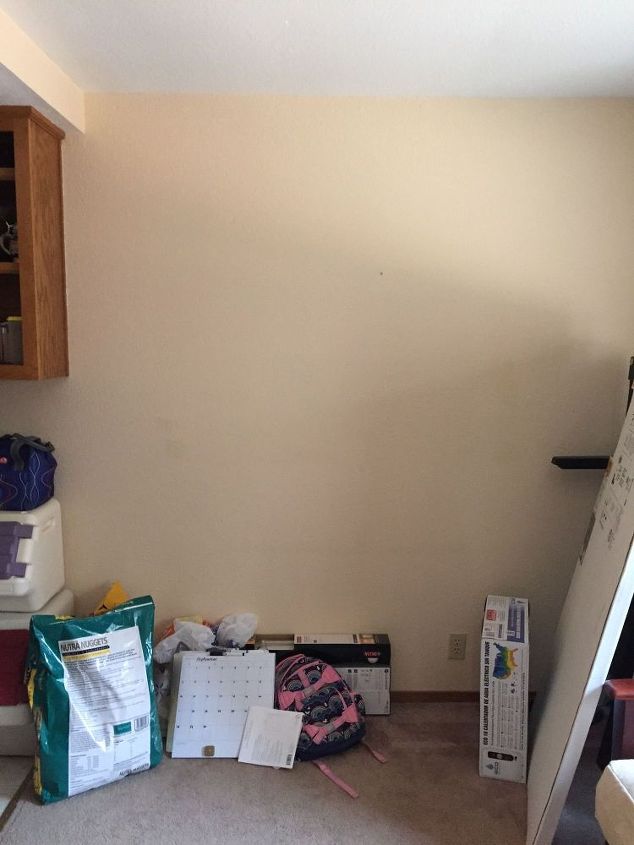
Blank wall perfect for command center
And here is a pic of the completed command center on that blank, ugly wall:
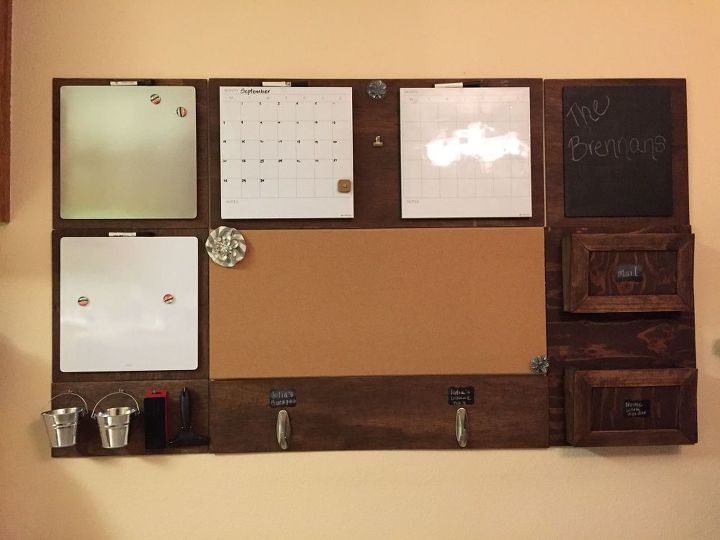
Completed family command center.

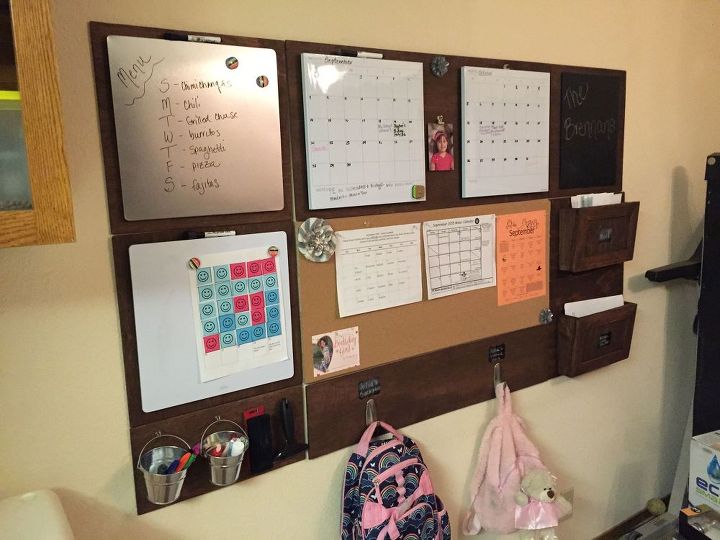
Completed family command center
This baby is quite large, measuring 66″ wide and 39.5″ long, but you can customize the size to your liking since I built the command center in sections so it can be easily rearranged. Here are the materials I used:
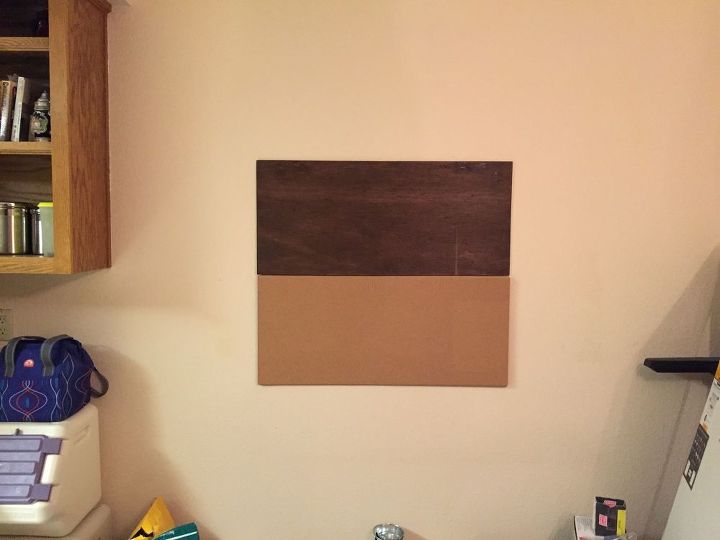
Attach wood board to wall above cork board.
Then, I attached the two 14″ x 14″ dry erase calendars onto the top wood board using the double stick tape that came with the calendars
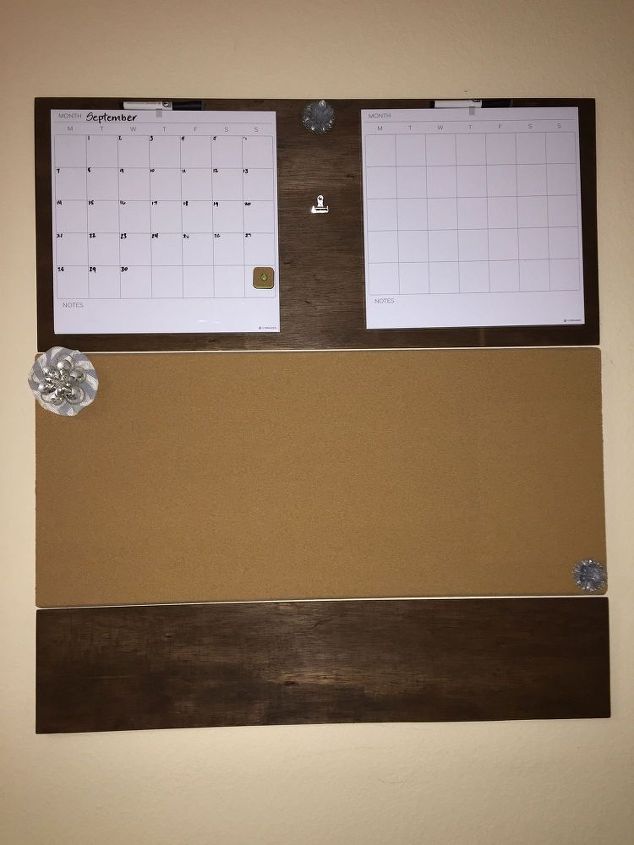
wood board added below cork board
Next, I cut three .205″ boards to 16″ x 16″ and stained them with dark walnut.
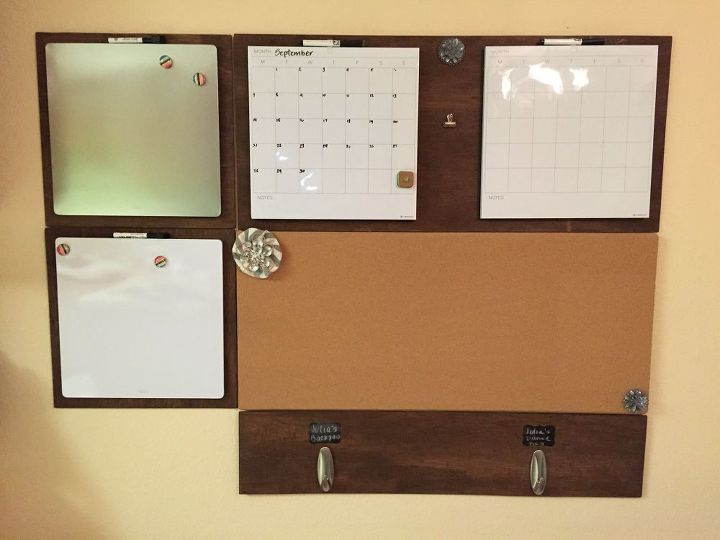
Add magnetic white boards on left side
I then cut a .205″ board to size and stained it with dark walnut. Once dry, I added a picture hanger to the back. I then used 4 small ceiling hooks (the kind that screw into the ceiling for hanging items) and screwed them into the board just far enough that they didn’t poke through the back. I then hung that board underneath the dry erase boards on the left side of the command center.
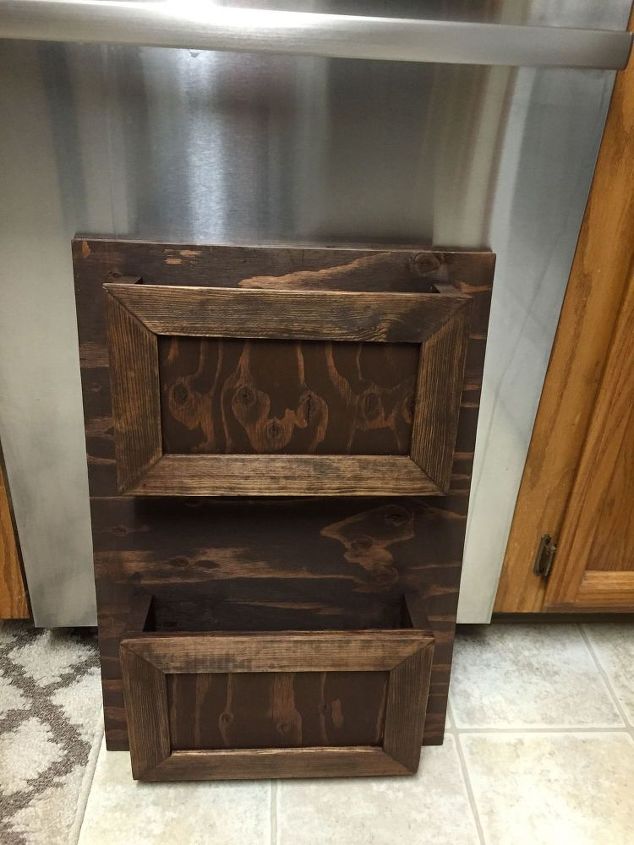
Mail sorter
I hung the chalkboard on the top right of the command center and then hung the mail sorter underneath. I added vinyl chalkboard stickers to the front of each compartment on the sorter so I could label them.

Want more details about this and other DIY projects? Check out my blog post!
Comments
Join the conversation
2 of 10 comments
-
Awesome concept, execution is phenomenal. Be proud!
-
What inspiration!


Frequently asked questions
Have a question about this project?