


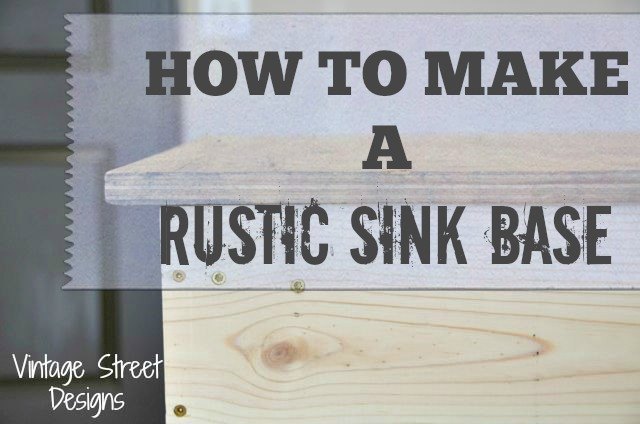
How To Make A Rustic Sink Base
$200.00
2 Hours
Easy
It's unbelievable how excited I am over an installation of a garage sink, but I am!!! I've made my own little sink station in our garage to wash all my paint brushes. No more washing in the bathroom sink!
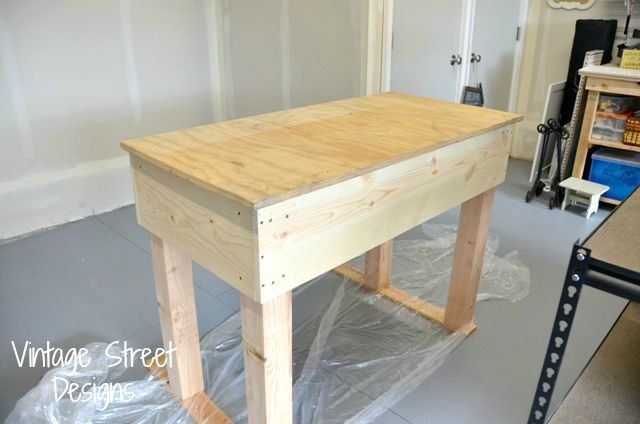
My hubs did it again! He designed an built a rustic sink base for our new (old) cast iron sink we picked up at a garage sale for $35.00.
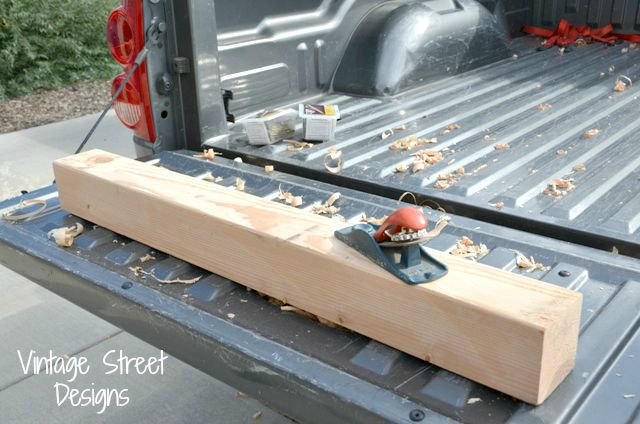
From using a hand planer on a 2" x 4" to the finished product. He did a fabulous job. Just what I wanted!
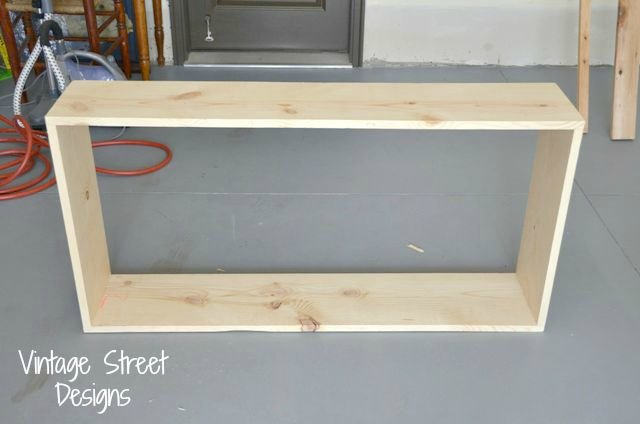
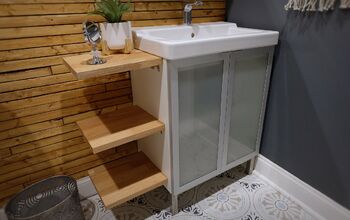
First a simple box for the skirting was built. 11 1/4″ tall x 46″ wide for the front & back. Sides measure 11 1/4″ tall x 21 1/2″ wide. The overall dimensions of the skirt ended up at 46″ x 23″.
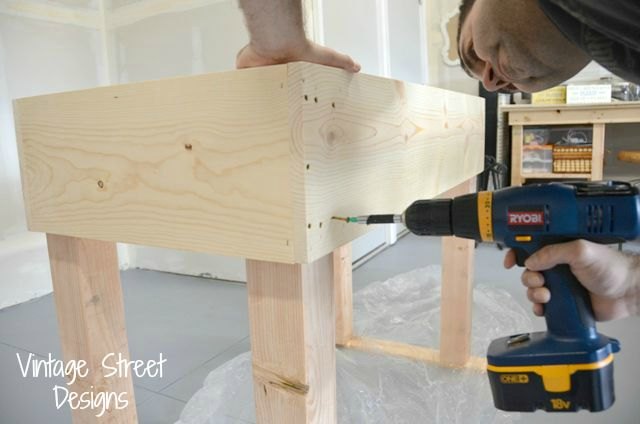
Then the 4" x 4" x 4' legs were added.

Then it was time to add a 24″ x 48″ x 3/4″ piece of plywood on top for durability. This gave us a 1″ overhang around the perimeter accept for the back, we placed it flush to fit snug to the wall.
We could have just left it like this but I wanted to add planking on the top for looks.
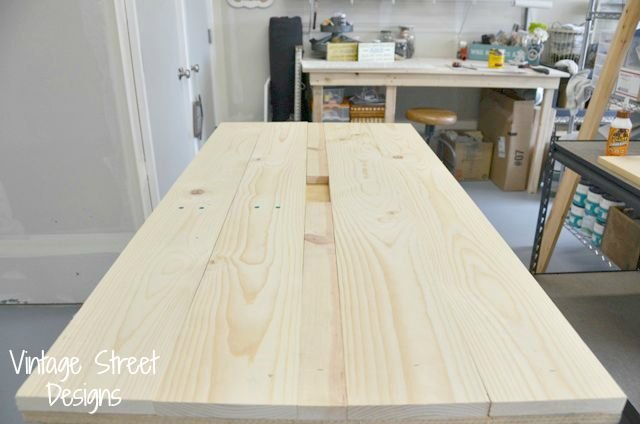
We used 6″ wide pine boards (actually size is 5 1/2″) and cut a 2″ wide board for the center to make it exactly 24″ wide. Dave screwed the boards in place from underneath.
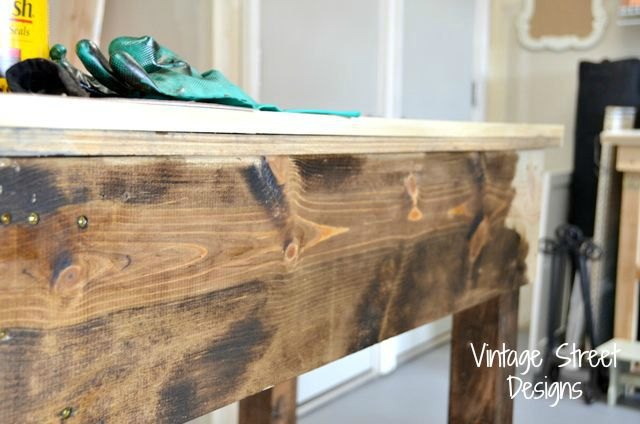
It was then time for me to take over and do some staining.
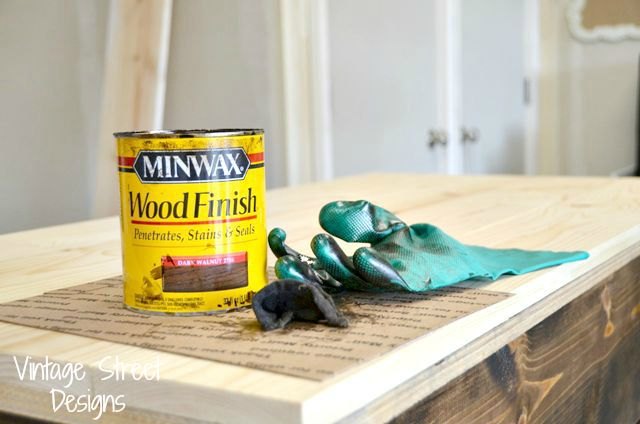
I always wear a heavy duty plastic glove (that is WAY to big for me) to protect my fingers. Dark Walnut stain is usually my choice of color.
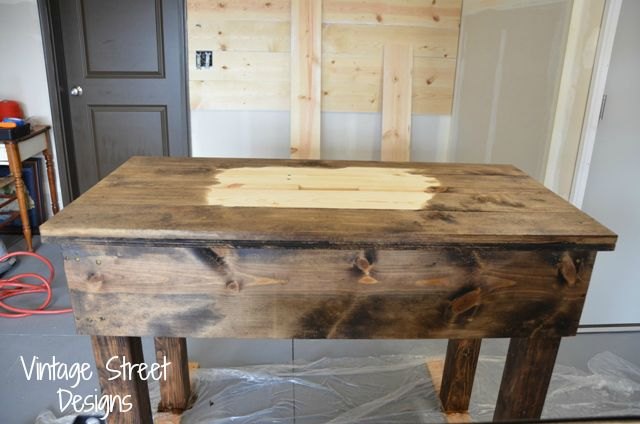
I didn’t have to worry about the center since it was all going to be cut out anyway. Thankfully our plumber offered to do the cutting. Normally, you would lay the sink upside down on your surface to trace around it. Then draw another cut-line 1/4″ inside of the traced line, but I couldn’t help my husband lift the sink so we couldn’t do it. Cast iron sinks are HEAVY!!! But SO cool.
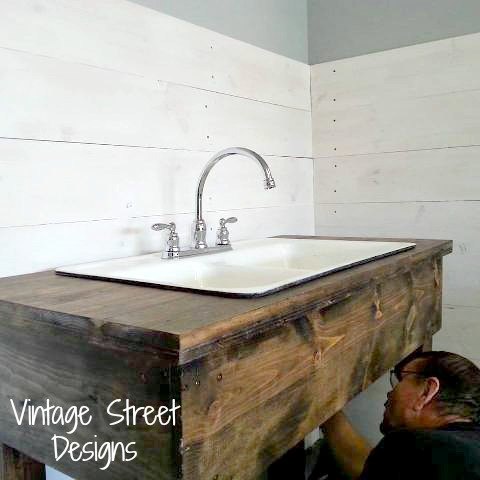
I’m sure the plumber loved me taking pictures while he worked, but I was just so excited!!! We’re almost to the finish line here. My poor laundry room was a mess at this point but he was very careful placing the sheet rock back in place after cutting into the wall to run the piping and his son mopped the floor. We’ll be doing something in the future (maybe more shiplap) to repair the laundry room wall. No one will ever know if was cut apart once we’re done with it!
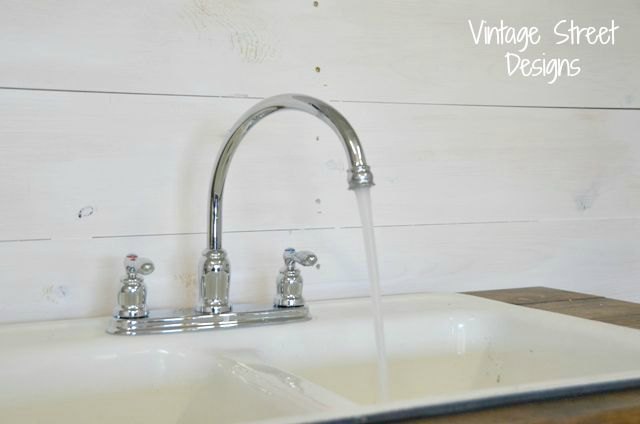
And Voila, we have running water!!!
My new favorite place to be!!!
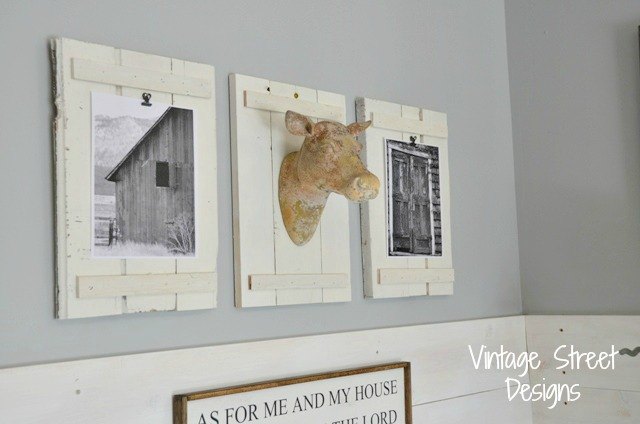
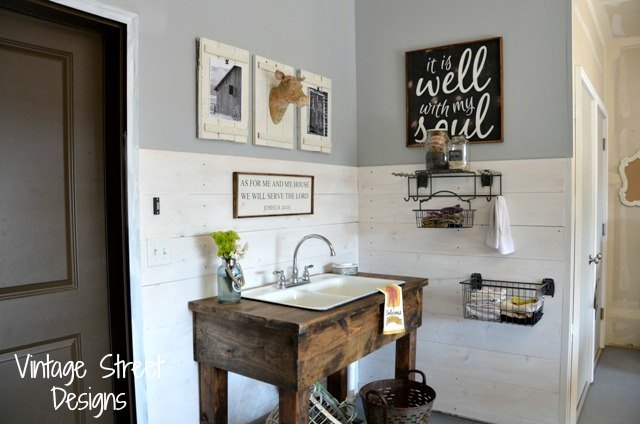
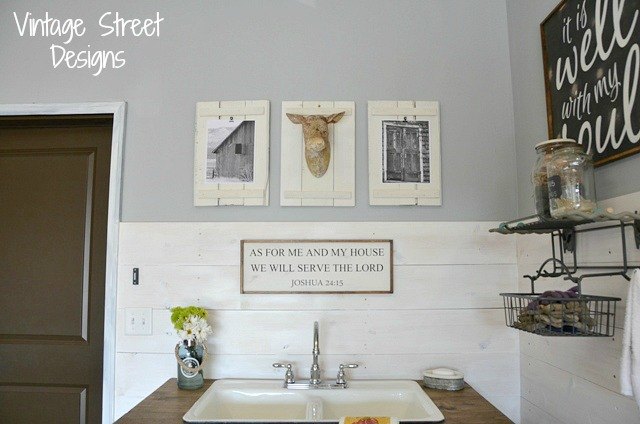
We planked the walls with 8″ pine and then I white washed them. This only took a few minutes. The wall color is a custom grey. I share the color code on my blog. For more photos and supply list, stop on by for a visit.
Price to build was approximately $200 which includes the wood, screws, sink and faucet...not the cost of the professional installation by a licensed plumber. That was an additional $500.00, but SO worth it!

Want more details about this and other DIY projects? Check out my blog post!
Comments
Join the conversation
2 of 129 comments
-
I love it....great job!
-
I love this idea and your decor is right up my alley. I am currently designing a log home to be built within the next five years. Your project gives me inspiration for my laundry room as well as for the guest room bath. My hubby and I have 1


Frequently asked questions
Have a question about this project?