


Bottle Cap Magnets
$15.00
5 Hours
Easy
WARNING: Everyone who see's these magnets on your refrigerator will ask you where you got them? When they find out you made them they will ask you how! And insist on making a batch together so they get the steps right. Have fun!
Gather a few dozen caps. All shapes and sizes! Bottle caps, milk jug caps, plastic caps.. I usually keep a jar in my kitchen cupboard to collect caps as bottles get emptied.
Gather a few dozen caps. All shapes and sizes! Bottle caps, milk jug caps, plastic caps.. I usually keep a jar in my kitchen cupboard to collect caps as bottles get emptied.
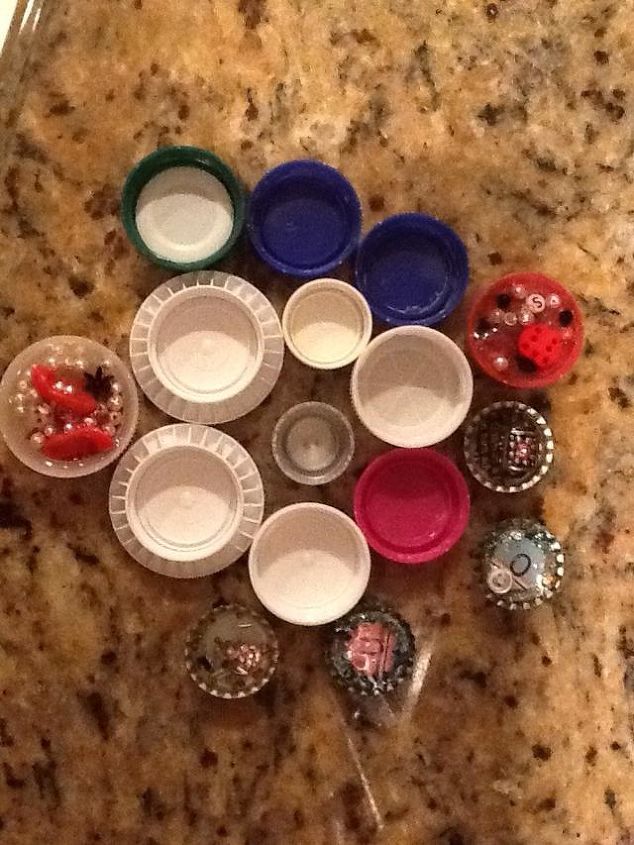
Gather an assortment of plastic caps...
Supplies:
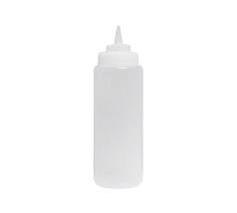
Squirt bottle of some sort...
The resin is called Envirotech Lite. Look for 40% off coupons at Hobby Lobby or Michaels Craft Store. Product can be pricey without. The resin comes in 3 sizes. The sm box makes about 40 magnets.
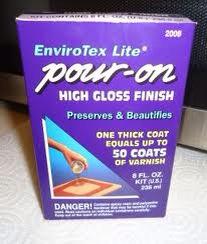
Envirotech Lite Resin
E-6000 glue! My all time favorite glue! Can't live without it!
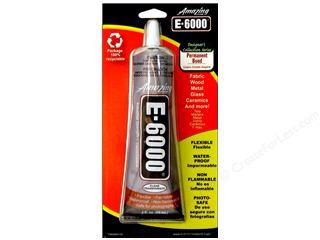
E6000 Glue
Magnets
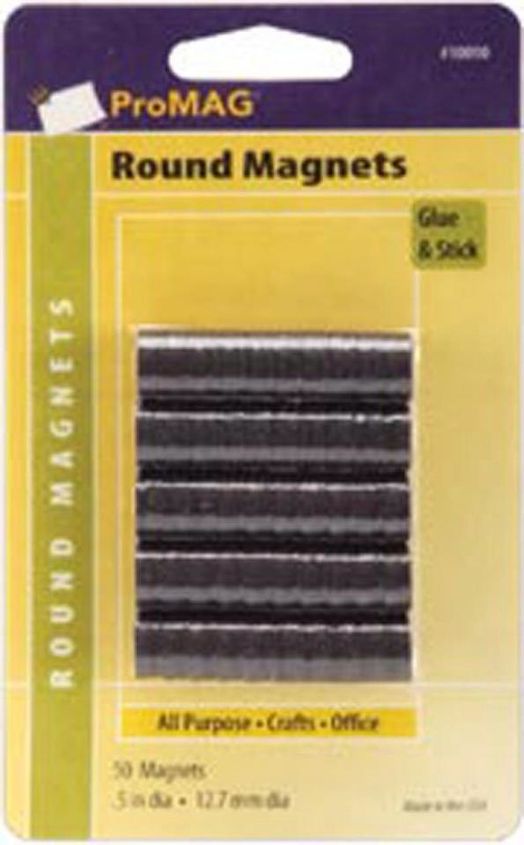
Magnets
Turn all of your caps over. Glue one magnet to the back of each cap. Set aside to dry. Dry time roughly 2 hours. I usually do this step and then walk away from the project until they are dry.
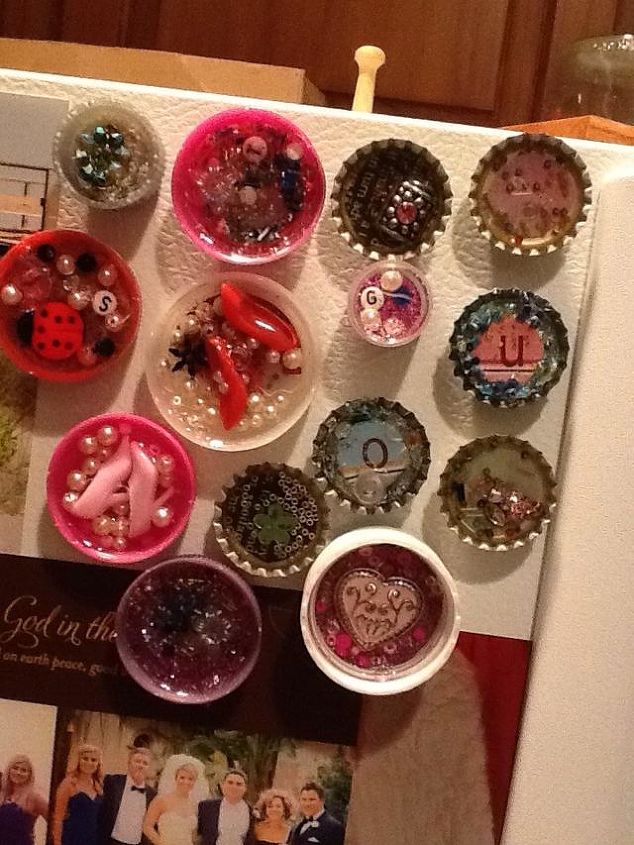
Bottle Cap Magnets
Photos also work well. If you want to keep a photo in place, add a touch of hot glue to the back and tack in place before adding baubles and glitter.
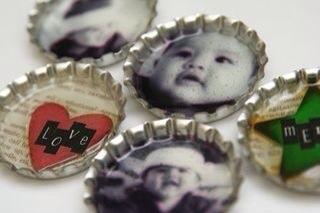
Use photos or craft paper for your background
Have fun filling them with trinkets, monogrammed beads, pearls, and collectibles. Once all of the caps are crafted as you like them move onto the next step.

Magnets make great gifts and projects for small groups.

Want more details about this and other DIY projects? Check out my blog post!
Comments
Join the conversation
2 of 3 comments
-
Too cute!
-
What an awesome idea. I'm definitely going to try this. Thanks so much for sharing.


Frequently asked questions
Have a question about this project?