


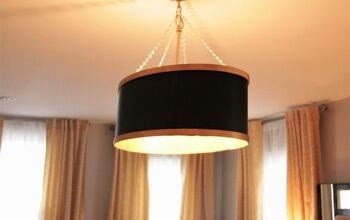
DIY Basket Chandelier

When I walked into a new home being built and saw their adorable light fixture in their washroom, I knew I had to make myself a cute one for my washroom. So the search began.

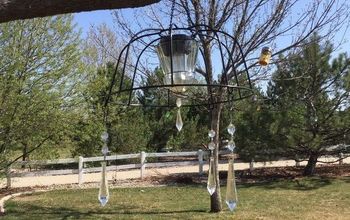
It took a little time to find all the pieces to create this light fixture but I believe luck was on my side. I found this vintage small chandelier with all of its glass crystals at a garage sale for $1. Isn't that crazy? The basket I purchased from HomeGoods.
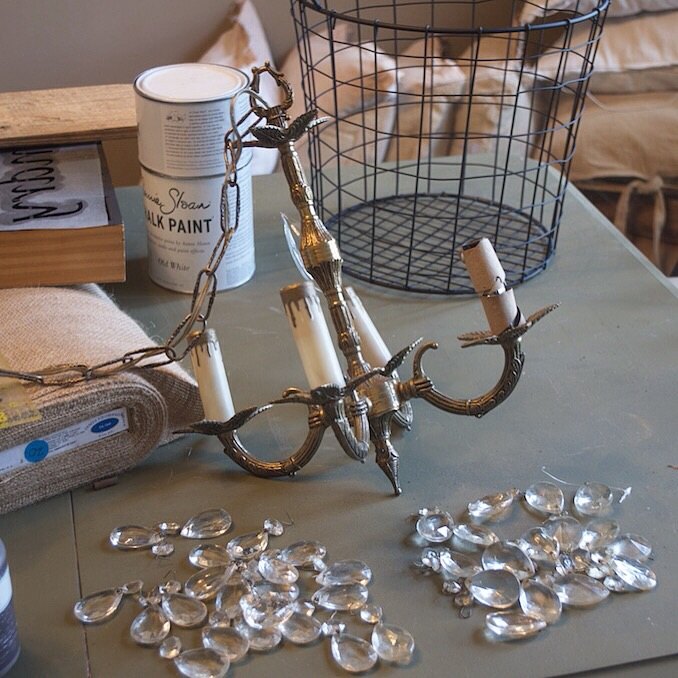
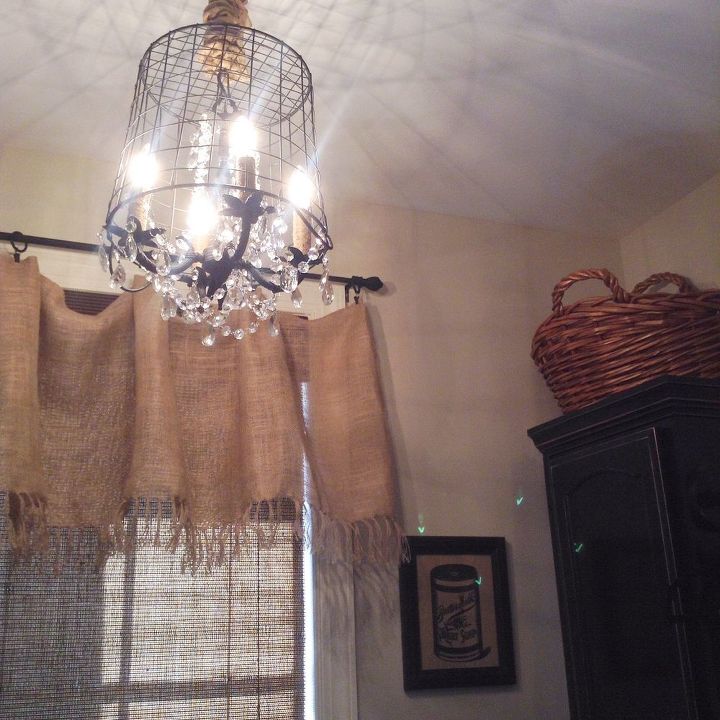
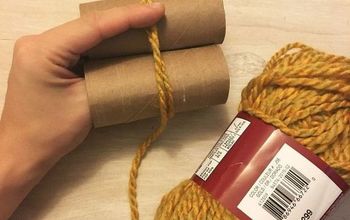
I sprayed the chandelier a mat black to match my cabinetry with rust oleum primer and paint spray, which by the way is a great spray paint. I also wrapped the candle sleeves with jute twine (which is not shown in pics yet).
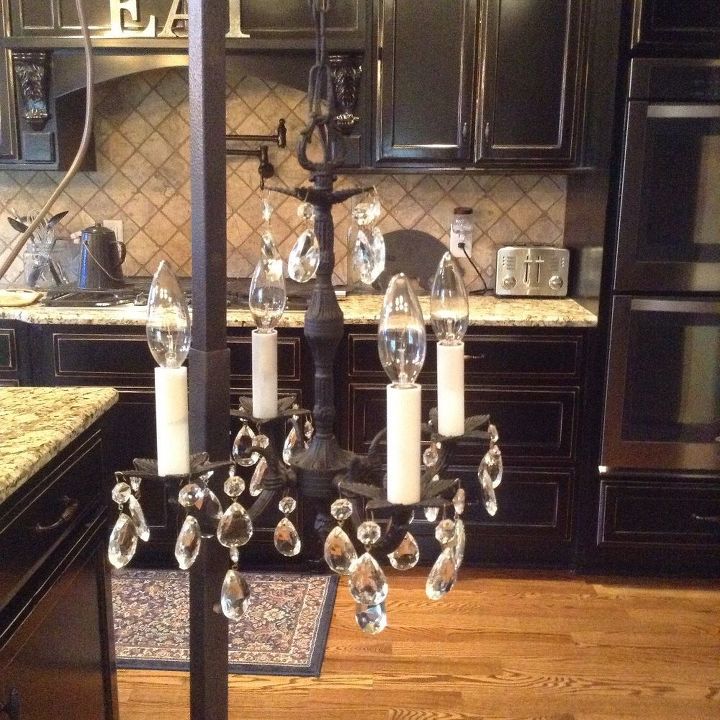
This chandelier is so cute. I'm still amazed the woman sold it to me for a $1.
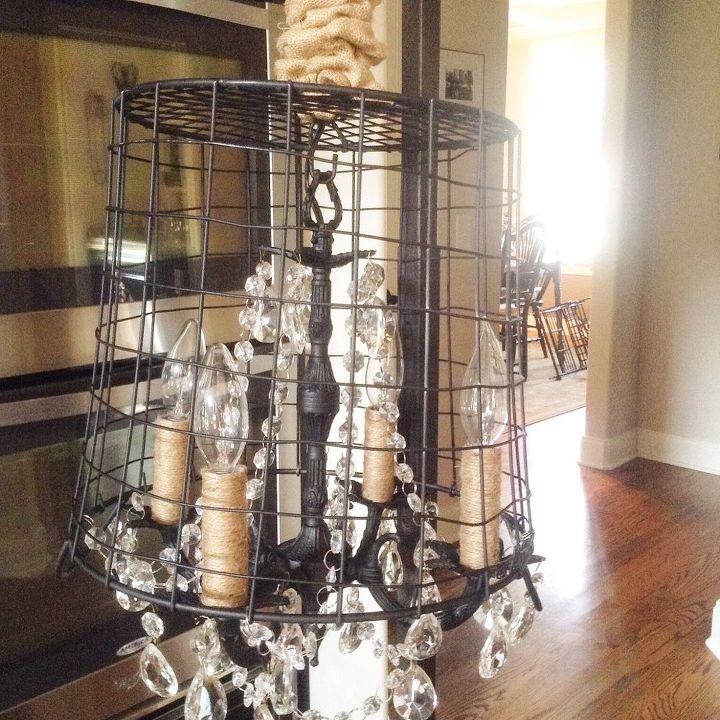
I decided to add a little more crystals and wrap the chain link with burlap. Just thought the burlap would match the burlap valance in my washroom.
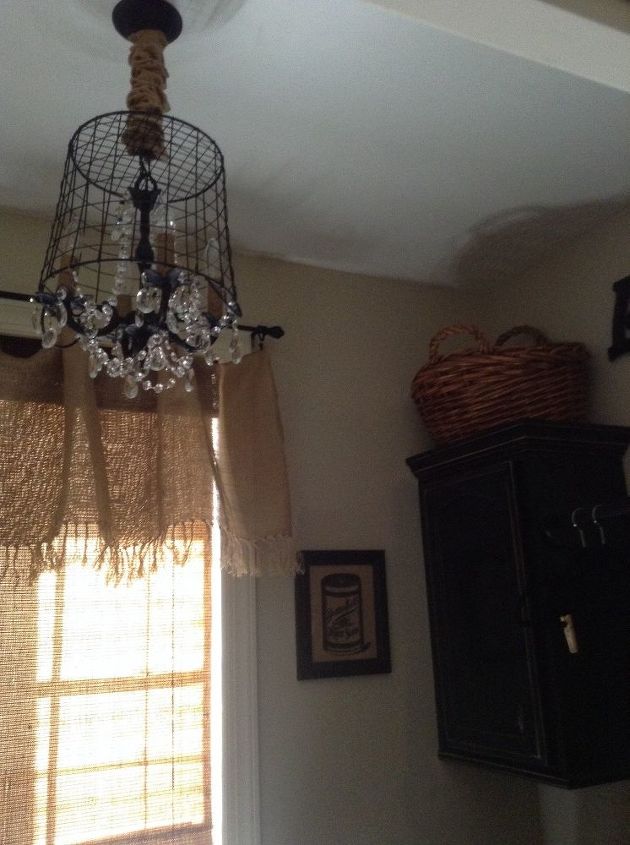
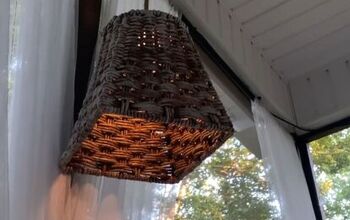
I know it's hard to make out the light when it isn't turned on but the next photo shows the light. It really is adorable.
With a little bit of creativity and patience you can make yourself some beautiful and dramatic lighting at a fraction of what it would cost in a retail lighting showroom.
Comments
Join the conversation
2 of 17 comments
-
That's a great looking chandelier !!!!!
-
Great Idea!! Thank You


Frequently asked questions
Have a question about this project?