


Chalk Painted Dollar Store Leaves Tutorial - Colors!
Give those tacky colored faux silk dollar store leaves a vintage look with this easy tutorial that shows you how to chalk paint dollar store leaves!
This is part 3 in a series of chalk painted leaves I've done this season.They are each different, but pretty in their own ways.
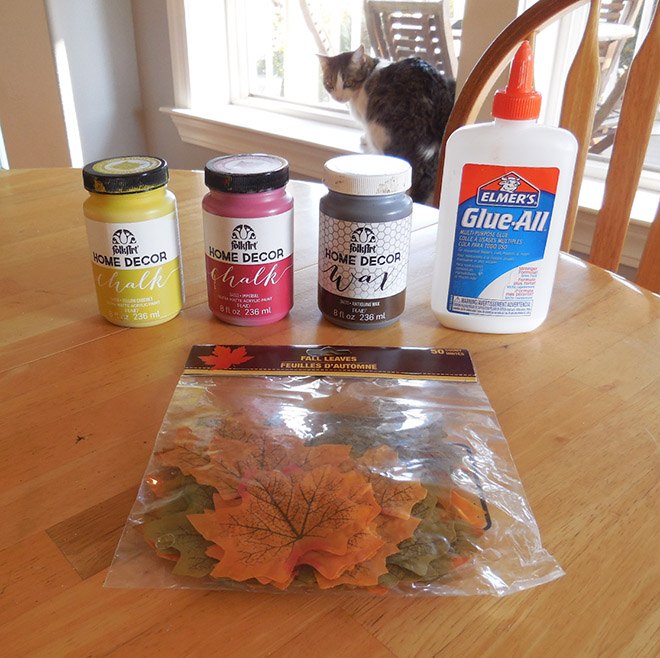
Supplies:
Squeeze Elmer's Glue onto the leaves, then spread the glue evenly over the leaves with a paint brush. The thicker the layer the glue, the more crackle you will get in the paint. Allow to dry until it's tacky to the touch.
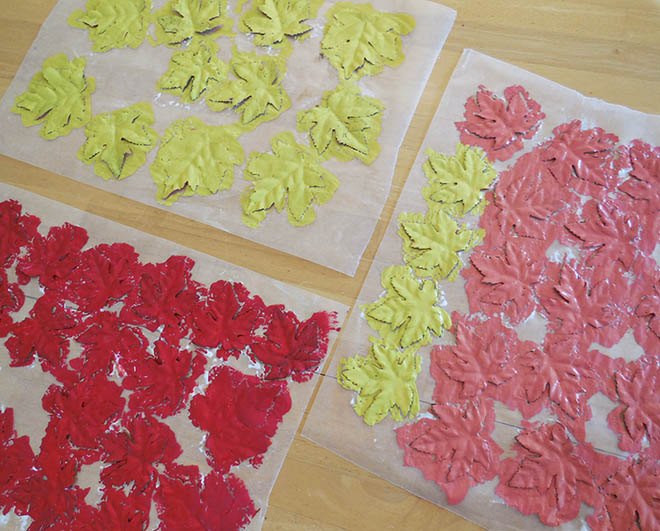
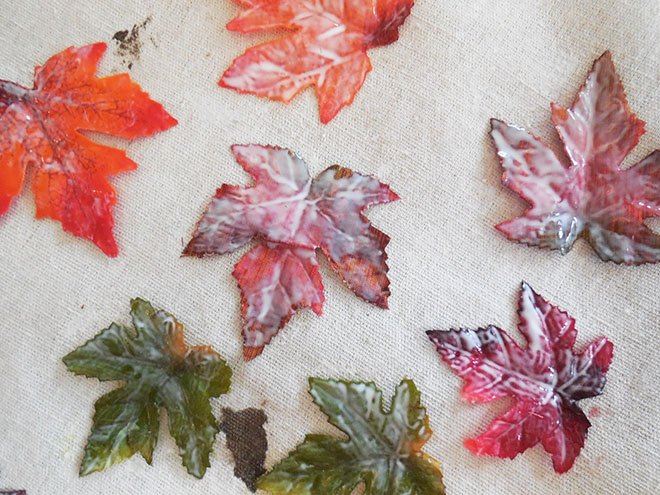
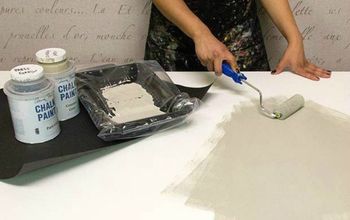
Once the glue is tacky to the touch, paint the leaves with chalk paint. I mixed the Imperial and Crochet Yellow chalk paints in an attempt to get an orange color, but I ended up getting a salmon color instead. I ended up going back over these leaves with an orange watercolor paint I had in a painting kit. It worked okay, but I noticed some of the paint came off when I applied and wiped the antiquing wax, so next time I do this I'm definitely getting an orange-colored chalk paint! Allow the leaves to dry completely- usually at least a few hours or overnight.
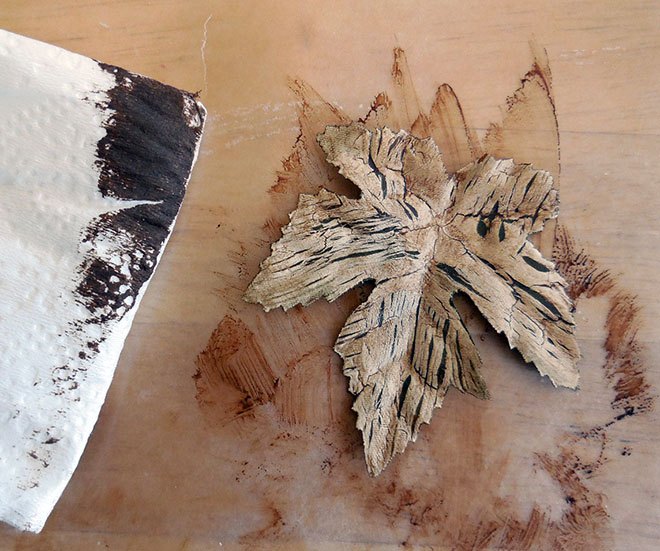
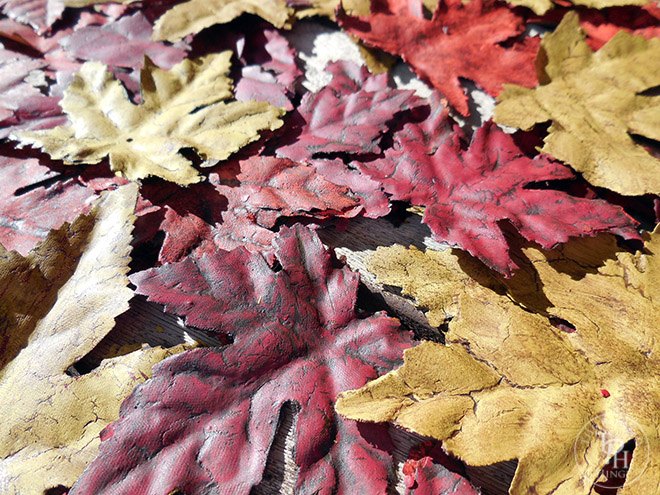
Brush on antiquing wax and immediately wipe the excess wax off with a paper towel or cloth. Allow to dry thoroughly.

Use your leaves in any of your Fall décor- on wreaths, windows, garlands, you name it! I'm thinking of making a wreath with mine :)

Want more details about this and other DIY projects? Check out my blog post!
Comments
Join the conversation
2 of 10 comments
-
Love this! As soon as I saw the title to your post I thought, "She could crackle paint those leaves!" They came out beautifully.
-
This is a fabulous project. Thanks!


Frequently asked questions
Have a question about this project?
I'm not seeing a link for parts 1 and 2??