


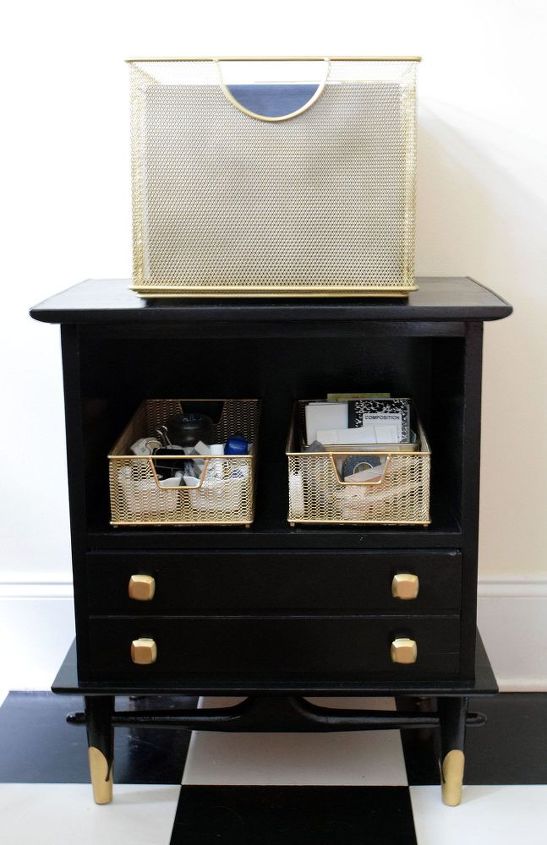
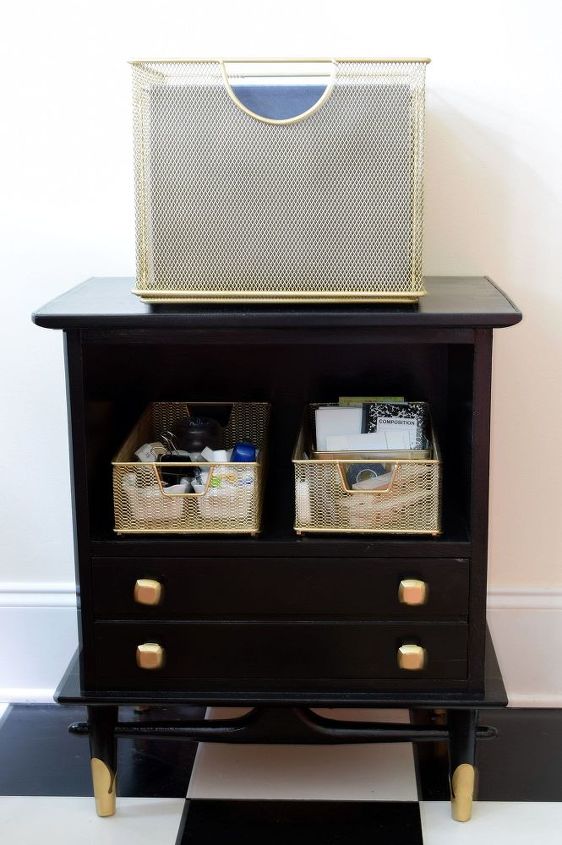
Roadside Rescued, Repurposed and Upcycled Office Storage
There's a first time for everything, well most things anyway. Stopping in the rain on a well-traveled road to adopt a discarded and unloved nightstand is a first for me. But, if you read many of my posts, you know I'm a big believer in kismet and spying this neglected piece of furniture on the side of the road was sheer kismet. I'm in the midst of a minor redo of my office and my new desk, while much bigger, does not have drawers for storage that my old desk had. As such, I've been brainstorming how and where to keep my office supplies and when I spied this sad little piece of furniture, I thought he might just fit the bill. d
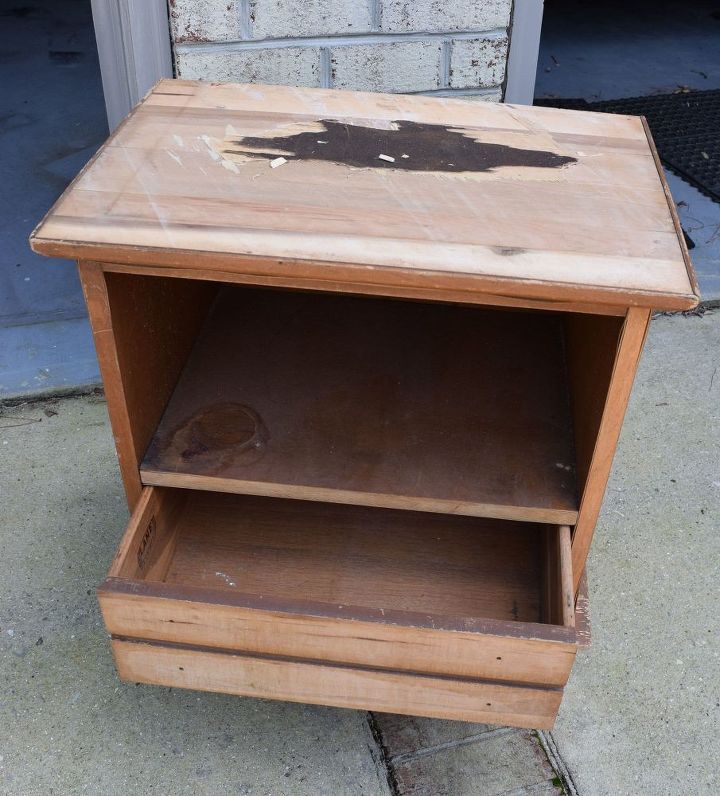
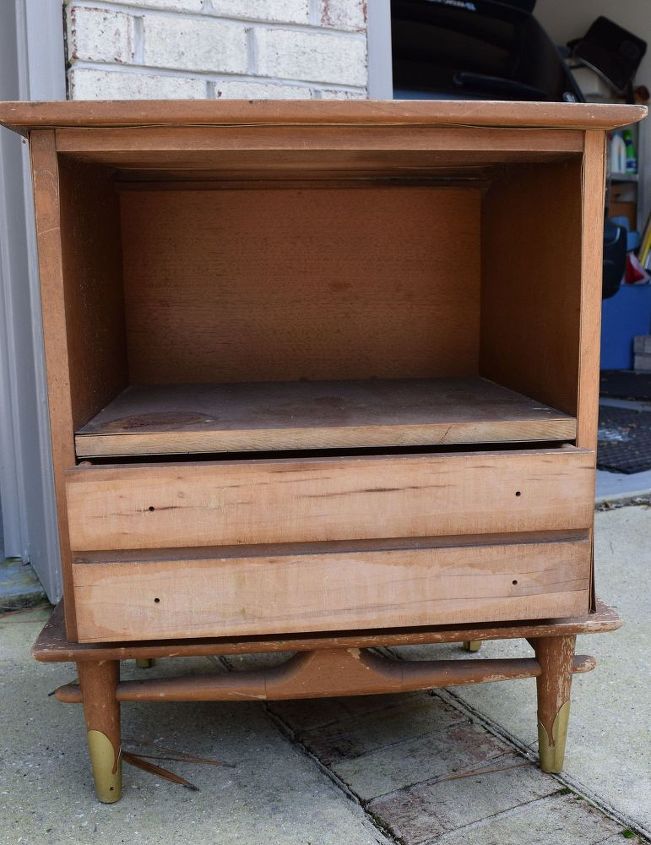
'm not sure where this guy has been for the past while, but he clearly had been unloved and out in the elements. The veneer in several spots was gone, the wood was warped and a tribe of roaches had made this nightstand their egg incubator and nursery...a little gross. So after first giving him a good wash down with bleach and water, I went to town. The piece had gotten so wet, that the drawer wouldn't go all the way in when I brought him home. So after cleaning him, I brought him in the house and place him directly over an air vent in the hopes that the air conditioning would dry him out and it did!
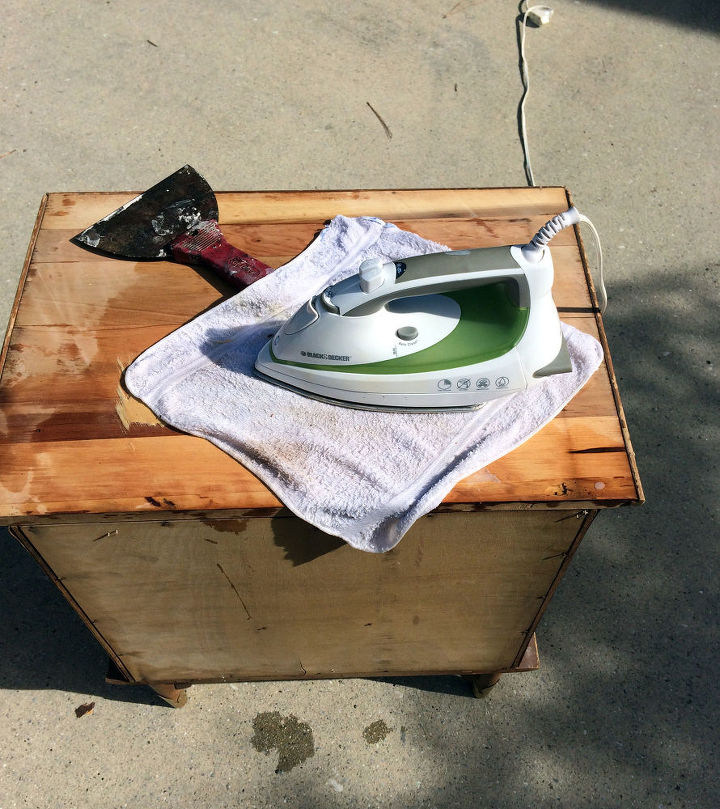
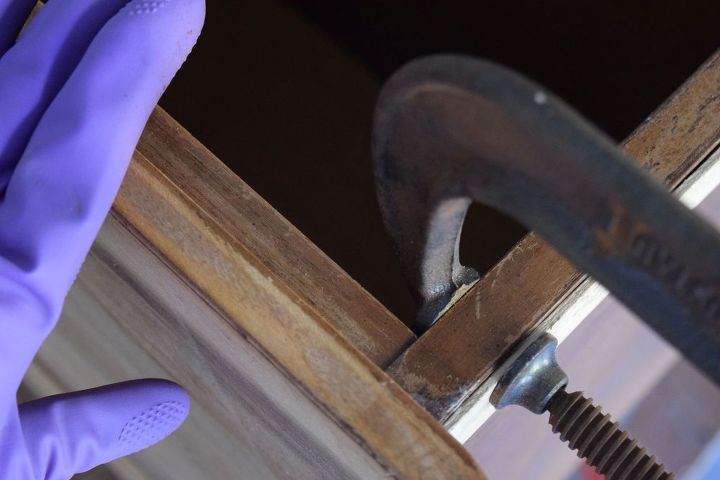
Then, in places where it could be salvaged, I glued some of the veneer that started to separate from the wood base. I used Elmer's Wood Glue, a paint stick and some clamps.
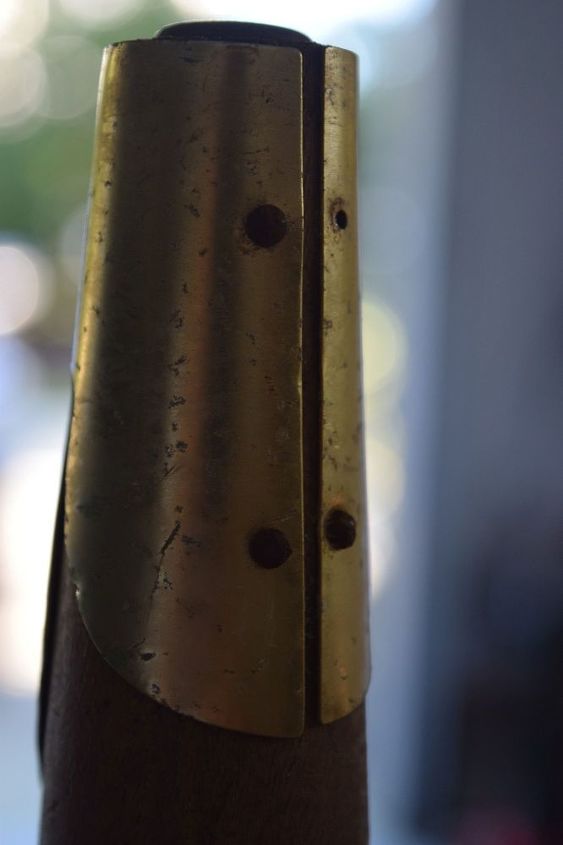
The next step was to remove the gold feet so that I could prime and paint the wood, as well as the gold feet. I definitely wanted to keep the feet, but they were rusted in spots and needed a good coat of gold spray paint, which just happens to be one of my current favorite things. These feet were a bit of a pain to get off, as the nails were rusted, but with a knife from the kitchen, a putty knife and a pair of pliers, I was able to get them all off.
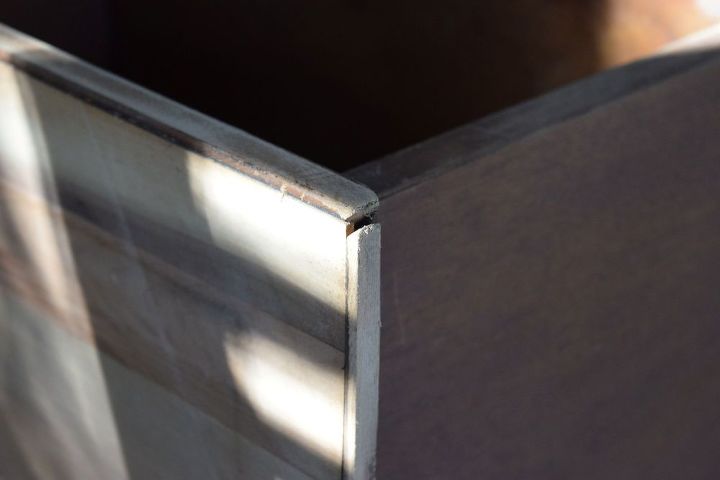
There were two spots on the top where the wood had separated. I used wood filler and then followed it with a good sanding.
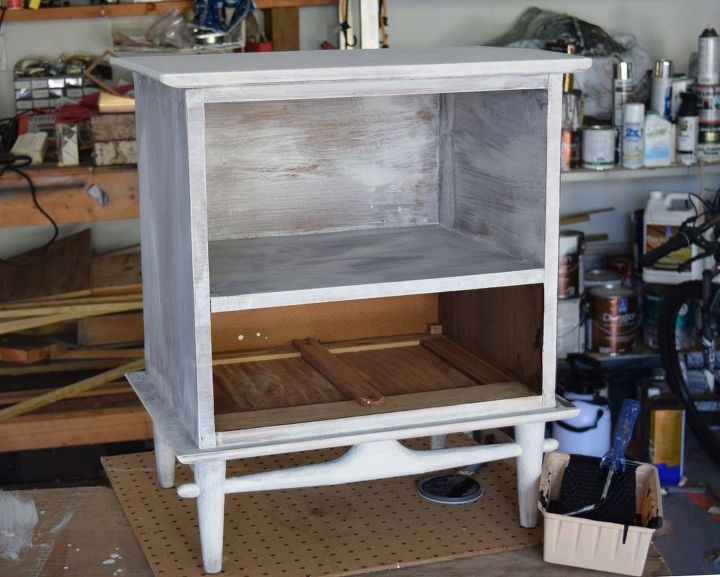
I was anxious to get the primer on to hide all the nasties. I came across XIM 11022 Primer Sealer Bonder last year and it is the bomb! Works great on laminate, covers everything and dries quickly. The only downside is it's potent odor.
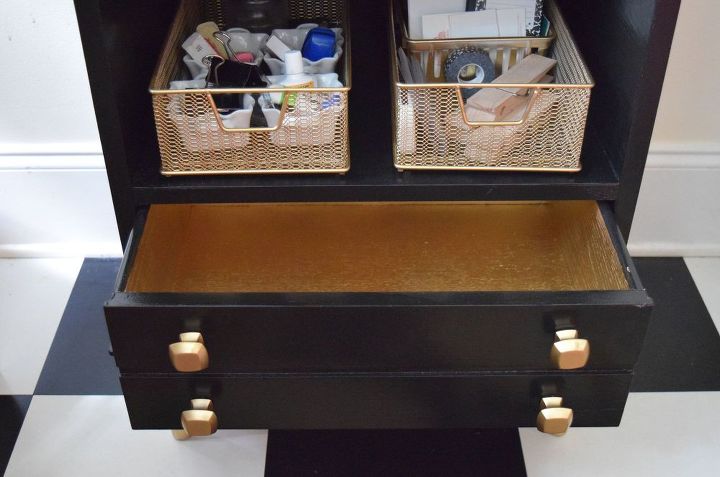
Once the primer was dry, I went to town with my black paint. I purchased

Want more details about this and other DIY projects? Check out my blog post!
Comments
Join the conversation
2 of 79 comments
-
This is lovely! Good job!
-
Just love this piece. What a total transformation. Very inspirational


Frequently asked questions
Have a question about this project?