


Design and Build Your Own Corbels
Recently I was looking into getting a pair of vintage corbels to use as shelf brackets. I love the architectural detail, the scrollwork, the chippy paint, it was an awesome idea until I saw how expensive they were.
But how hard could a corbel really be to build? They didn’t really look that difficult.
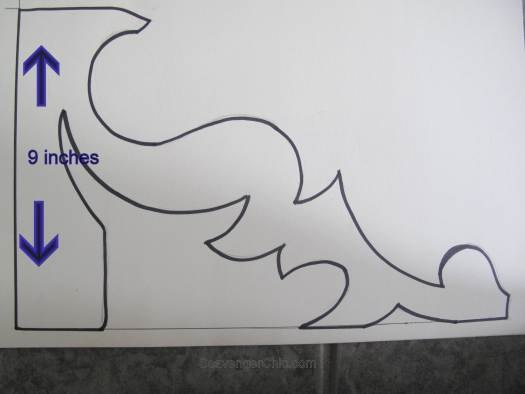
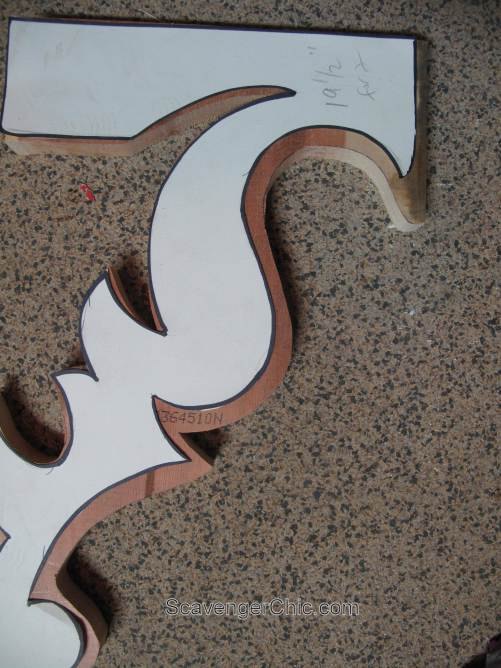
It was time to start designing, The top and the back need to be flat but the outside edge and interior can be elaborate as you like…this is where you can express your inner Picasso.
Start with the interior piece. Trace the flat edges, and the outside scroll work onto a 2 inch wide piece of wood (a 2 inch wide piece of wood has been milled down to 1 1/2 inches). For mine, I only needed about 20 inches of wood for 2 corbels. This is a great time to use up scrap wood.
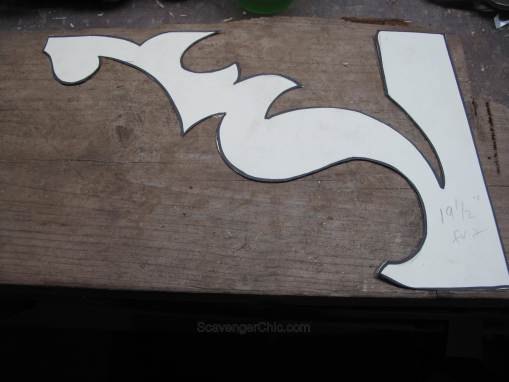
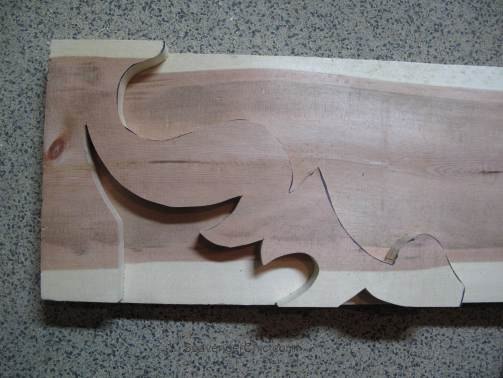
Cut the lines you just made with a table top scroll saw, a band saw or a jigsaw.
Take your same pattern and this time transfer it onto a 1×10 or 1×12 (whatever you used for the first cut). Use the pattern you made for the flat edges and the interior scroll work but instead of tracing around the pattern for the outside scrollwork draw a line 1/4″ away from the pattern.
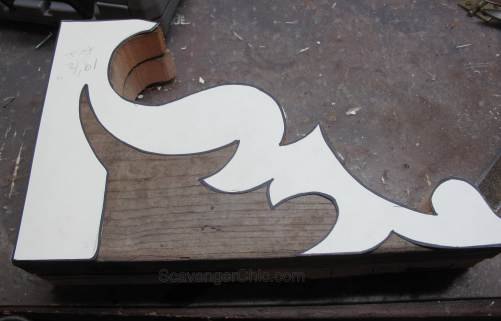
Repeat the last step, but this time you can use the piece you just cut out as the pattern.
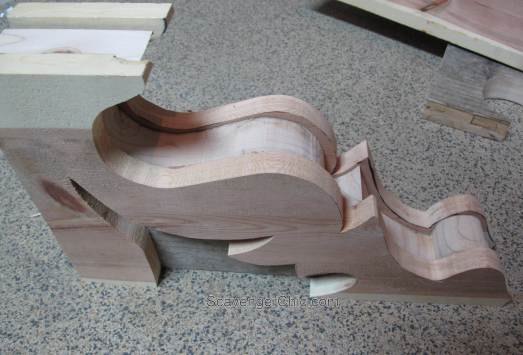
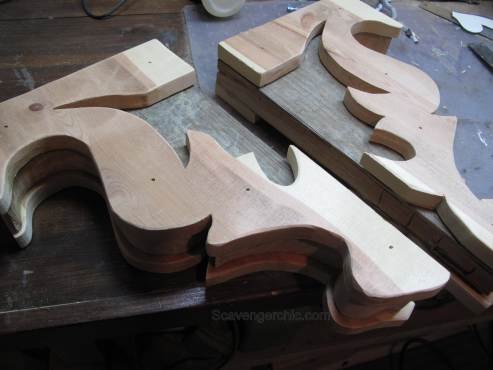
This is what it should look like when you put your 3 pieces together.
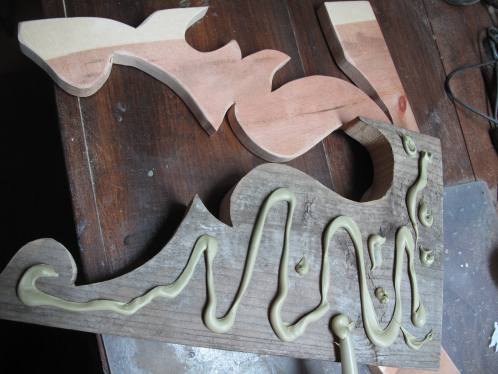
Before attaching, all the edges are going to need a good sanding.
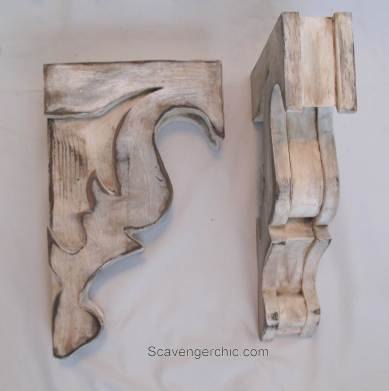
Fill in any nail holes with wood putty and sand. Paint as desired.

Want more details about this and other DIY projects? Check out my blog post!
Comments
Join the conversation
2 of 24 comments
-
Very nice. You saved quite a bit of money, by making your own.
-
Yes, I love it. Can u post a printable template 4 me to use? I think I can do it with a template. Help!! Ginny


Frequently asked questions
Have a question about this project?
What do you use to hang these corbels so that they are flush with the top and side walls?