


Easy DIY Reclaimed Wood Frame on a Builders Grade Mirror
On the third post of the continuation of my son's owl bathroom renovation I am sharing how I framed out the builders grade mirror, for free, using fence pickets.
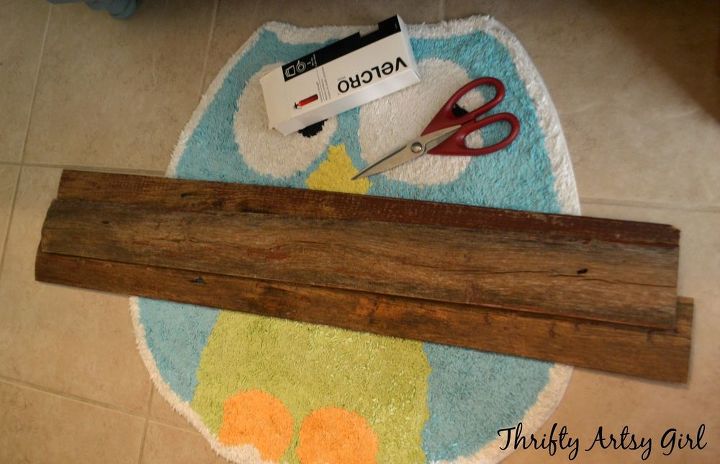
Lately we've been over at the apartments sprucing up the lower unit of the grey building.While we were there I couldn't help but notice the fence in the backyard. The fence is in great need of an overhaul, but since fences are kinda pricey it has been put on the back burner while other more important projects get done first. The poor fence has more pickets missing every time we stop over. Quite a few were laying on the ground just begging me to take them and repurpose them into something great :). So that's just what I did. I had been throwing around different ideas for framing out my son's mirror and I figured these fence pickets would work out perfect!

Now that I had clean pickets I started measuring and planning out my mirror frame. I decided to go with a butt joint since not only is it the easiest to do (beginner logic at it's best here ;) but I thought it would look the most rustic of all the different joints. I cut two pickets down to 37" and two down to 35 1/2". I'm proud to say I used the miter saw all by my lonesome and I didn't mess up at all on any measurements or cutting and I still have all my fingers (totally joking, safety first guys)!
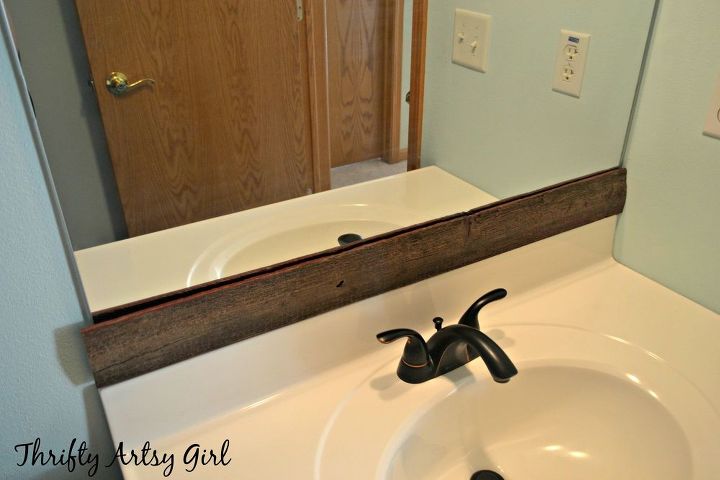
I then debated on how to attach the wood to the mirror. I thought about gluing them but I had no idea which glue was the best for this project and some of the pickets were slightly warped. Then Cory suggested velcro. Of course!! I can't believe I didn't think of that! That completely solved all my "attachment" problems plus I still had a bunch left over from my DIY storage ottoman from a thrifted end table.
This part of the project couldn't have been any easier!
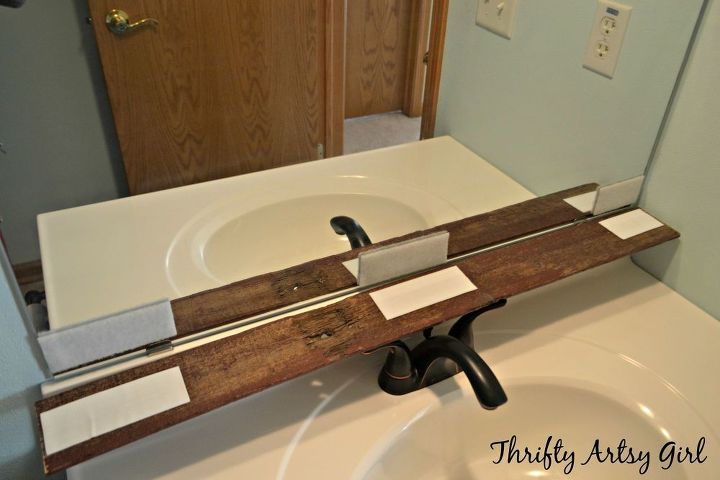
The pickets were very lightweight so I have no fear of them falling off the mirror. I simply pressed the board to the mirror to attach and if need be I can pull it off at any time. Easy peasy.
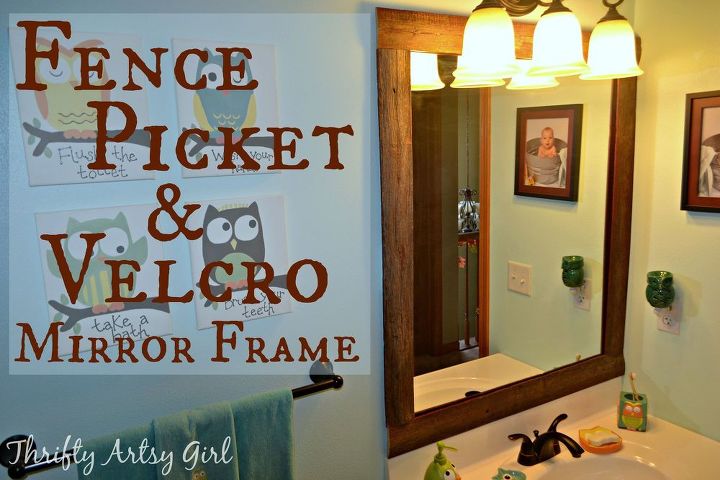
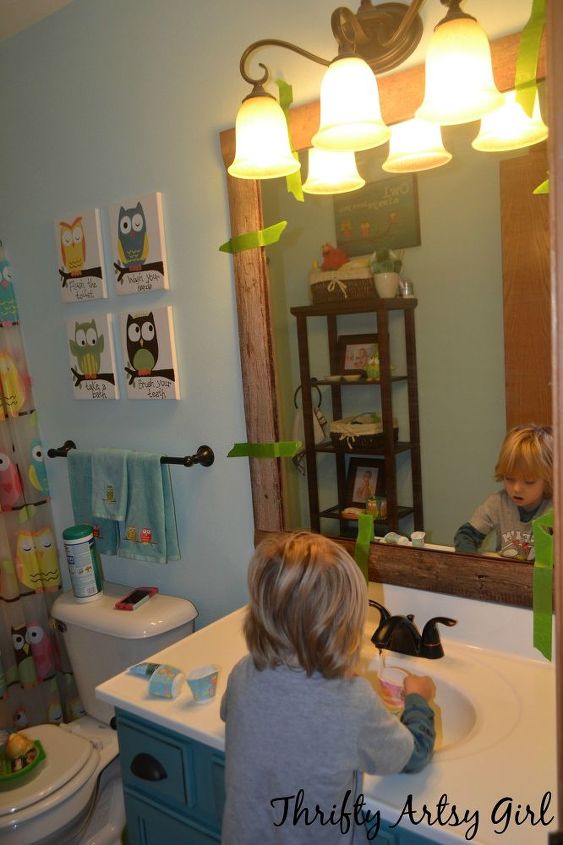
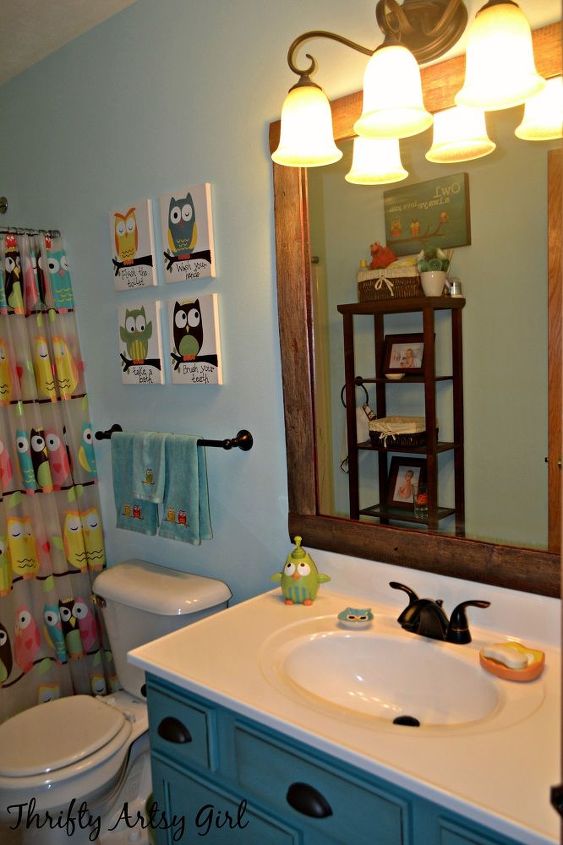
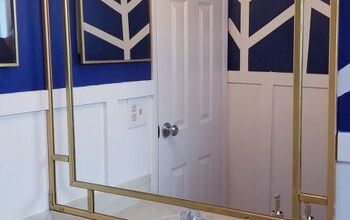
Here's some pics of the finished look. I just love the mixture of rustic and traditional.
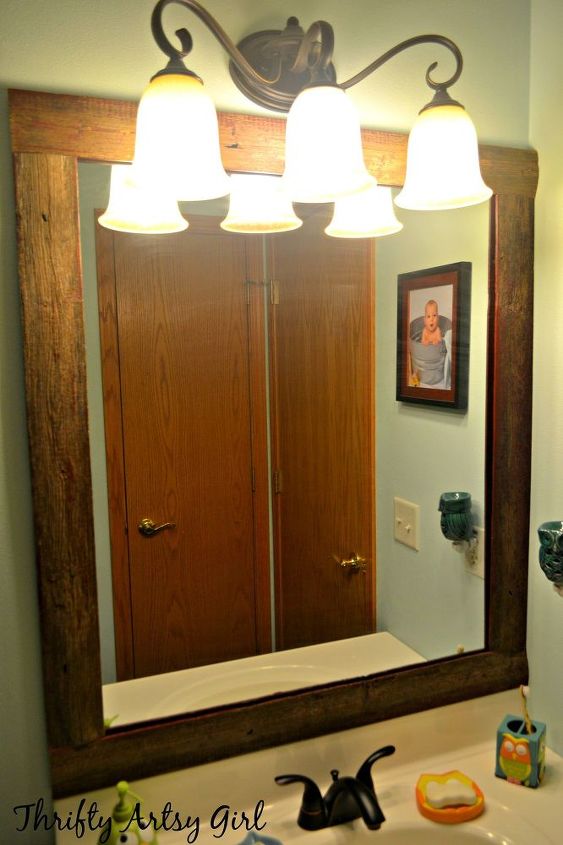

For this project I spent a grand total of $0. I used reclaimed fence pickets, velcro I had stashed for projects such as this and poly that I already had to seal the wood. I think my fave thing about this wood frame is that it's removable. If we decide we want to change up the look to be more traditional we can just pull the wood off, no harm, no foul.

Want more details about this and other DIY projects? Check out my blog post!
Comments
Join the conversation
2 of 34 comments
-
Your velcro idea is genius!
-
My mirror isn’t square but I like this idea. Top looks house shaped


Frequently asked questions
Have a question about this project?
What can I do if I have plastic clips. The mirror has to be glued down since only 4 clips but I can't rmve screw in back side of clips due to mirror it won't budge even after I shower? I love all these ideas but find myself stuck with no option. Can you help. I'm not even sure that the mirror needs them. But am scared to break off because of additional weight of frame.