


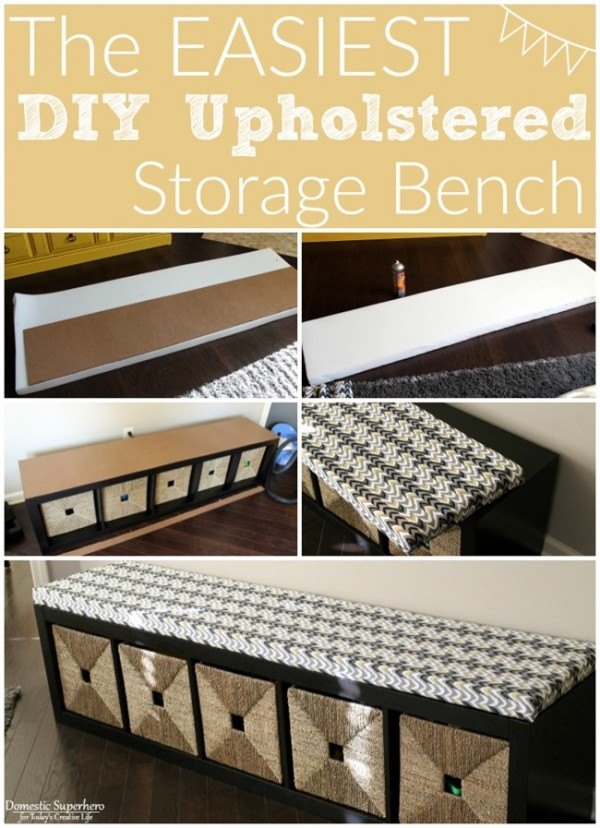
Easy DIY Upholstered Bench
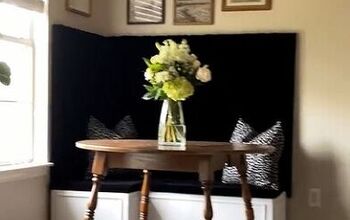
Create more seating space in just an afternoon!
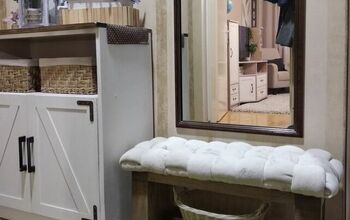
If you're looking for extra seating and a beginning DIY project, this will solve both those problems.
This bench was created by my creative contributor Allyson. She needed to fill in a blank wall in her home but she also needed a bench the kids could reach. She completed this project in just a few hours. A full tutorial is located on TodaysCreativeLife.com
To get started, you'll need the following items.
-ellax Shelving unit (the unit I used was discontinued and this is the closest model)
-thin piece of plywood, cut to the dimensions of the top of your shelf
-2 inch piece of foam, cut to the dimensions of the top of the shelving unit
-spray adhesive – do not spray near flames….. read the directions carefully
-heavy duty staple gun
-sticky back velcro, cut into 3 three inch long pieces (need top and bottom)
-scissors
-serrated knife (like a bread knife)
-2 yards of fabric (outdoor or upholstery fabric work best), ironed so there are no wrinkles
-storage baskets
Are you ready?
Step by Step instructions found on Today's Creative Life.
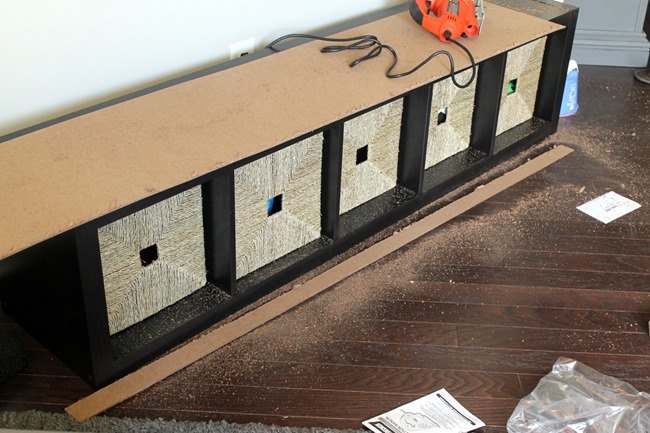
1. Assemble your IKEA Kellaz Shelving Unit if you haven't already.
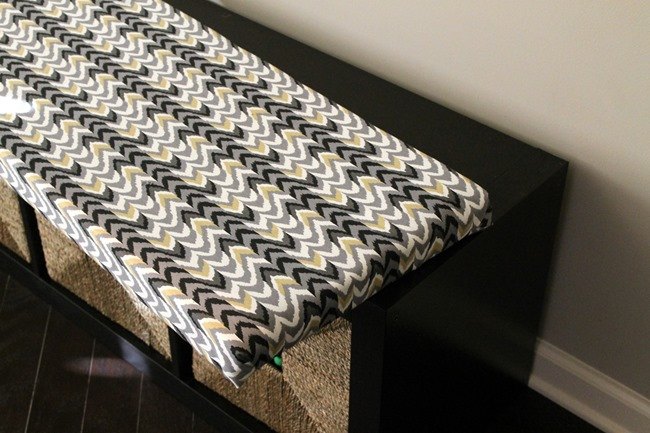
Don't sew? No problem! This is a no sew project!

Want more details about this and other DIY projects? Check out my blog post!


Frequently asked questions
Have a question about this project?