


Filling the Void
Advanced
Aristotle once said that nature abhors a vacuum - that a void cannot exist because the denser matter that surrounds it will flow into it as it seeks a new balance. My dear wife is living proof of this idea. Give her a void (or a room), and she'll fill it. In the endless search for more space to store her craft supplies and future projects, she has devised creative ways and found new places to store things we might use - like linens. So when she cast her calculating eye on a little-used nook at the top of the stairs, I knew big things were in the offing.
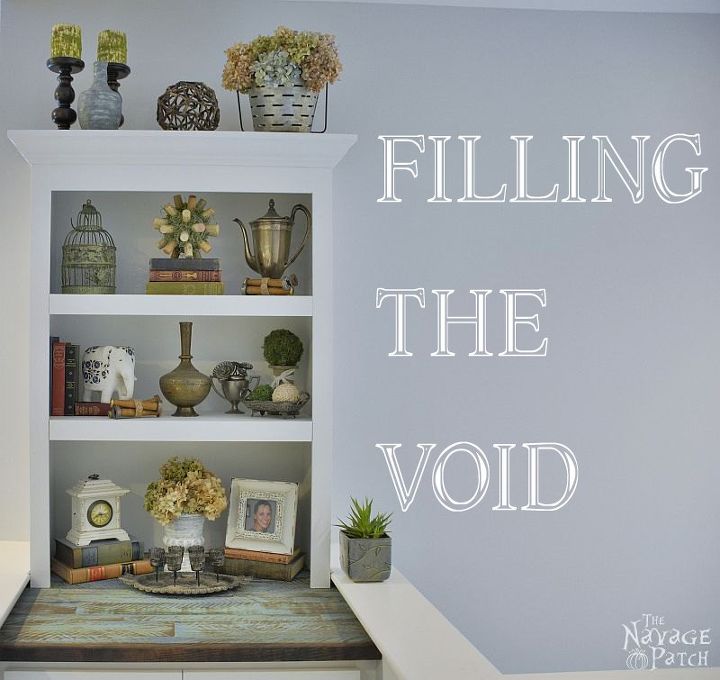
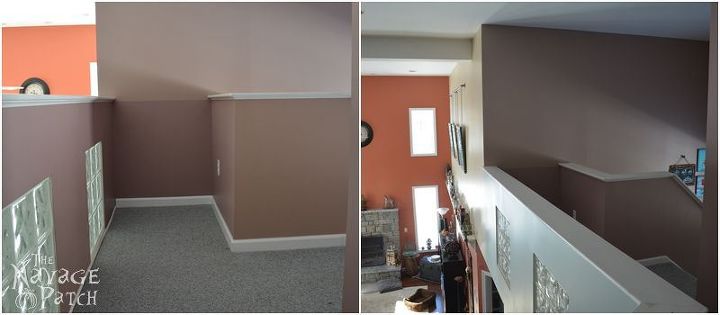
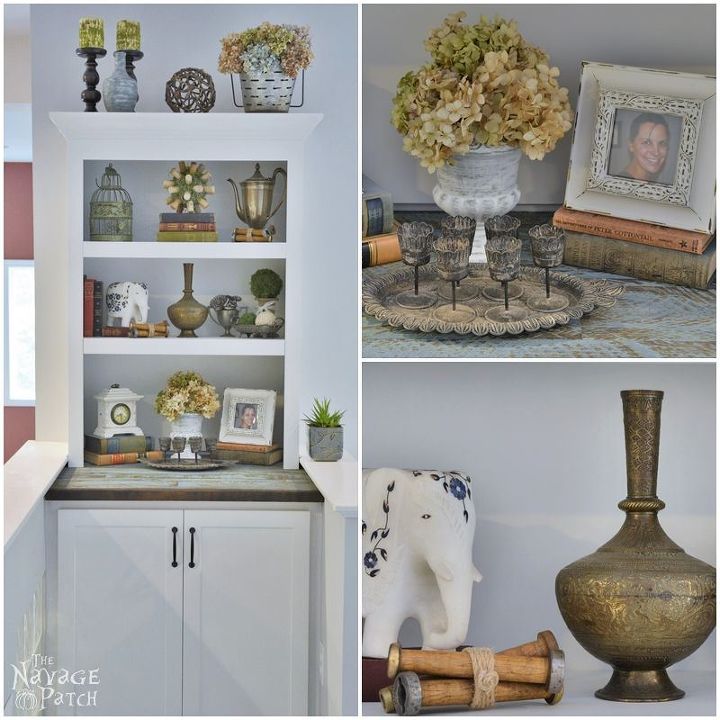
Here's the unused nook. Not much to do with that space except maybe plop down a ficus or install an open-air commode (so I thought). But Handan had grander plans. 'Twas a built-in linen keeper she wanted. Store the linens in the cabinet and display artsy stuff on the shelves. Business down below, party up top.
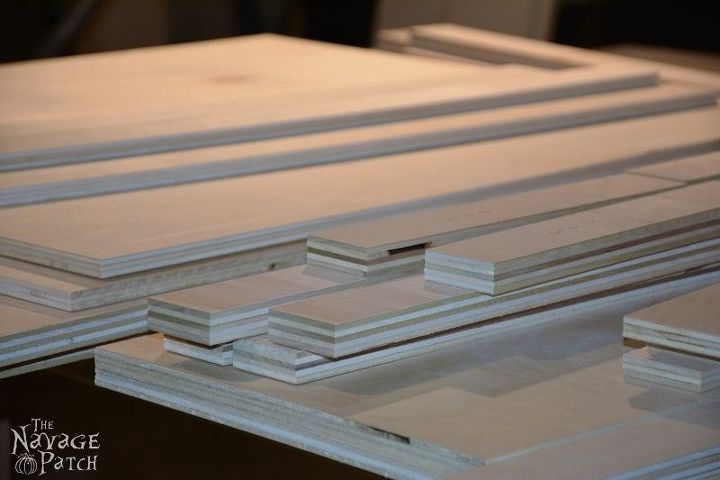
I planned out and designed the project using Sketchup. The whole thing except for the countertop was built from 3/4", 1/2" and 1/4" plywood. I bought the sheets from Home Depot and made my cuts.
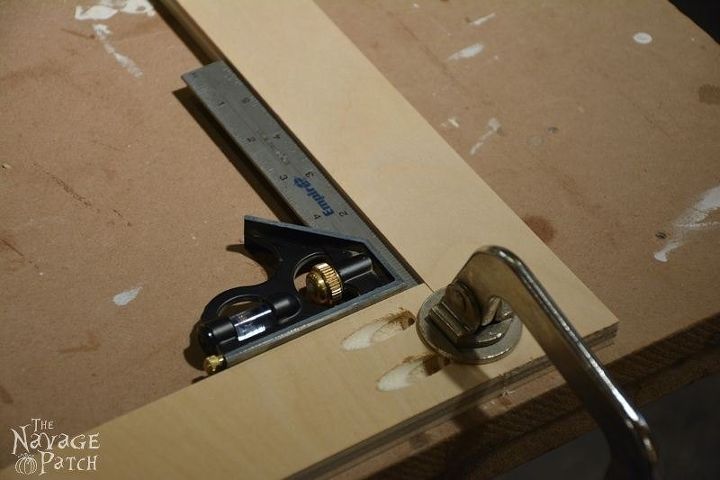
I assembled the carcass and built the face frames for the cabinet. I have more pics of this process on our blog. Here I'm drilling pocket holes to assemble the face frame.
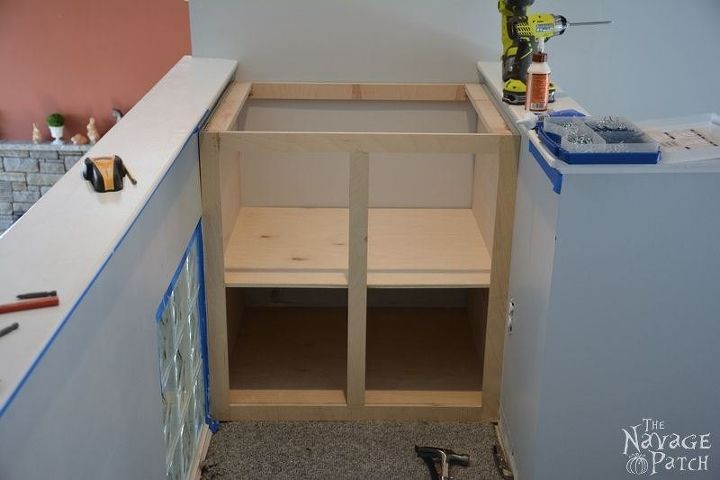
Once the cabinet was completed, I brought it up from the basement and installed it in place. This was a tight fit. I measured correctly, but didn't account for the general un-squareness of the house. I had to partially disassemble the cabinet and rebuild it in place. Total pain in the butt. Notice Handan painted the walls a much nicer color!
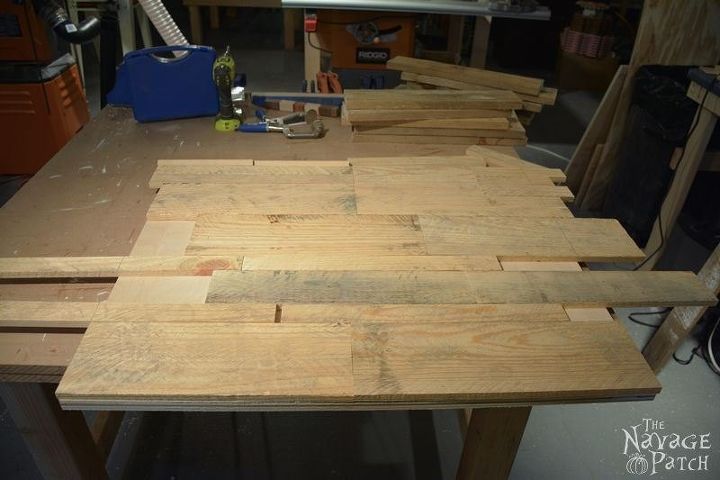
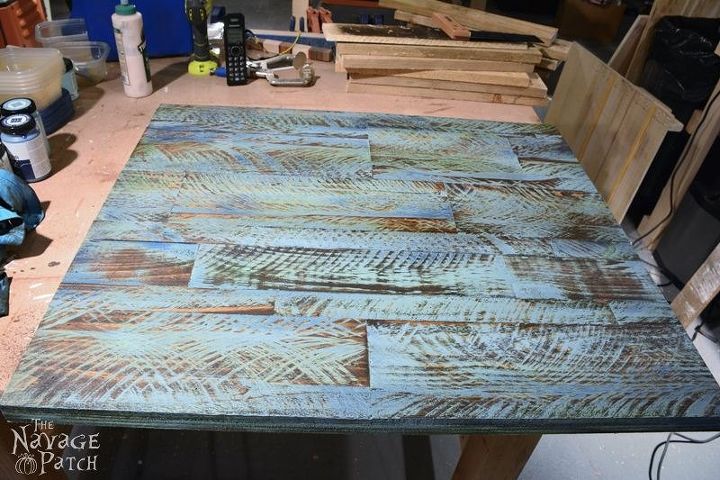
For the countertop, I wanted something rustic - wood, stain and paint all thrown together. I found a good pallet that had lots of pronounced saw marks from the mill and assembled the pieces on a plywood backing. Once I got the pieces all cut to size and fit together, I glued and brad nailed them to the plywood.
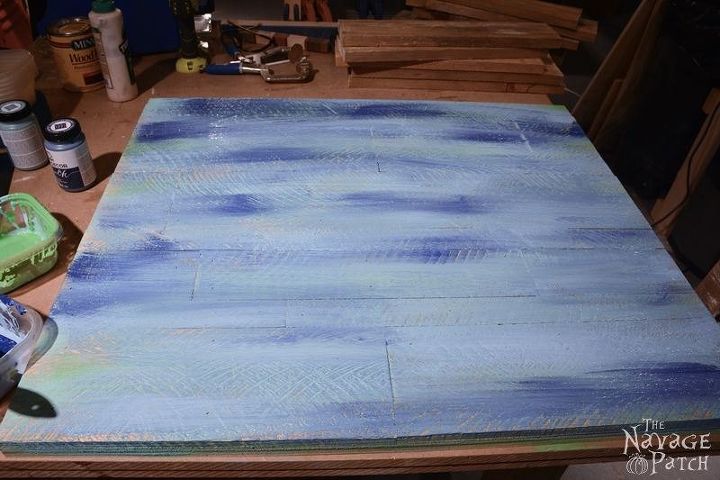
I lightly brushed the countertop with four different colors of paint - two blues and two greens. I just slapped on the paints, one after the other. The idea wasn't to get full coverage, but to get some different colors on there.
When the paint was dry, I hit it with the orbital sander. This removed much of the paint, but left whatever was in the grooves.
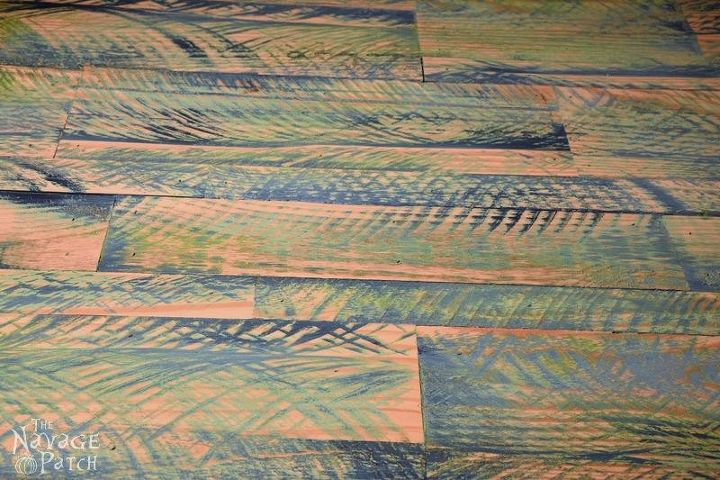
Next I applied some Dark Walnut stain and quickly wiped it off before it dulled the colors too much.
When the stain had fully dried, I installed the countertop onto the cabinet.

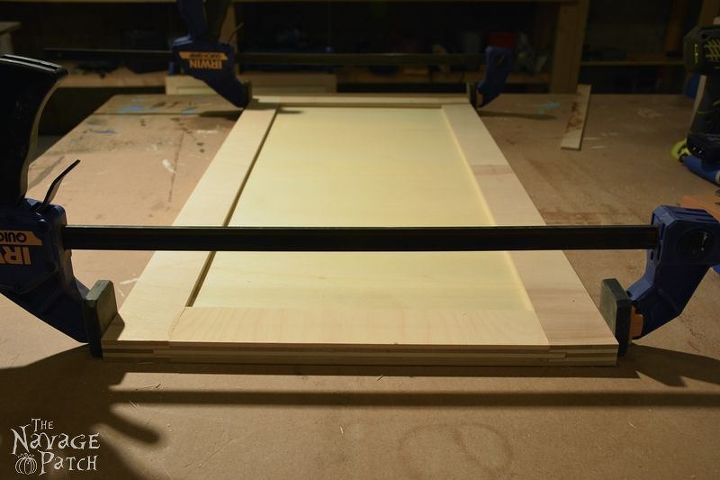
My next task was to build the doors. I used a tongue-and-groove method with a free-floating center panel. This, too, was a pain in the butt. There is a reason why most people just buy doors instead of making them. Again, more pics at our blog.
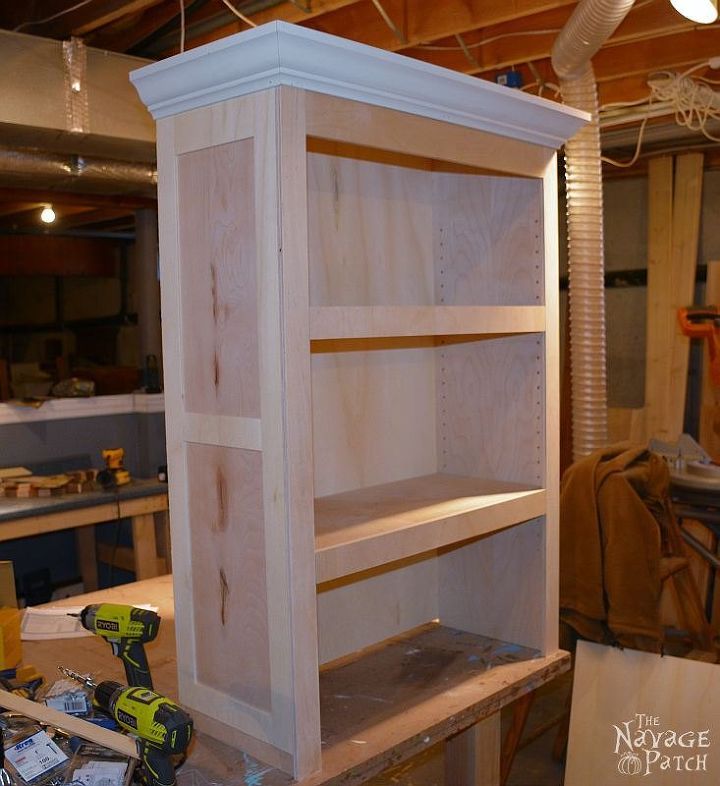
When the doors were done, I started building the hutch. This was pretty straightforward - just sides, top and a back...

...followed by a face frame, shelves, some trim and crown molding.
I primed and painted everything, then brought it upstairs for installation.
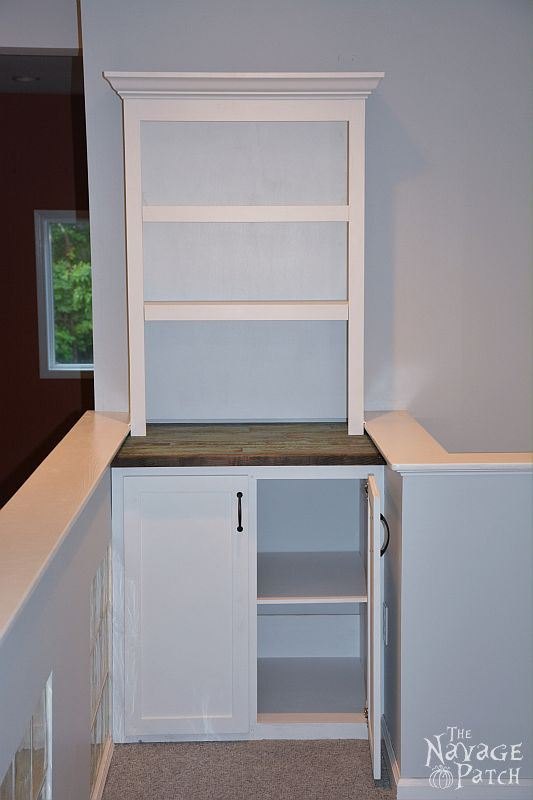
This was long project, completed in fits and starts, but we're both very happy with the result. And with the lessons I learned, I'm ready to tackle a bigger built-in project!
Please check out our blog for a much more detailed version of the story.

Want more details about this and other DIY projects? Check out my blog post!
Comments
Join the conversation
3 of 96 comments
-
I have a question about the pipe and pine shelves you built. If you bought black pipes why did they need to be painted? I'm quite confused about this. BTW, both projects are terrific. You do great work, both of you. You should be very pleased with the wonderful work you do. Thanks for the blog and great photos.
-
Pretty darn cute. If my bedroom was nearby, I’d install a mini fridge and a mini Keurig 😊


Frequently asked questions
Have a question about this project?