


DIY Hot Cocoa Sign
What's better than a hot chocolate bar? A cute hand-painted hot cocoa sign to go with it, of course!
And the best part is that it's super easy to make yourself!
And the best part is that it's super easy to make yourself!
I'm beyond excited to be joining up with the Home for Christmas blog hop hosted by Hometalk.com and CountryLiving.com. There are tons of talented bloggers joining in the holiday fun-search for the hashtag here on Hometalk.com or on social media to see some of the other ideas and inspiration being shared!

I am quickly falling in love with hand-painted wood signs. And they're really not complicated to make; the hardest part is deciding what size you want your sign to be!
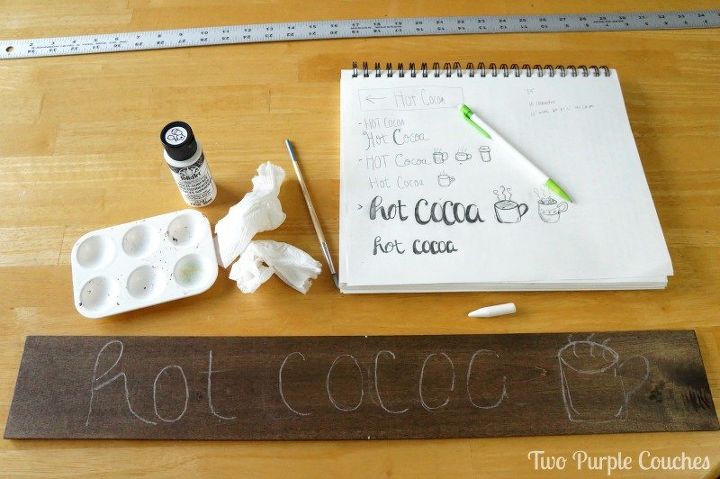
First, I applied one coat of Minwax wood stain in Espresso to my piece of poplar. Once it was dry, I used a piece of sharpened chalk to sketch out my words, plus a cute little mug of cocoa. Using chalk first is a great way to make sure that your words are centered and evenly spaced-you can just wipe away and re-sketch any wonky spots until you're happy with them!
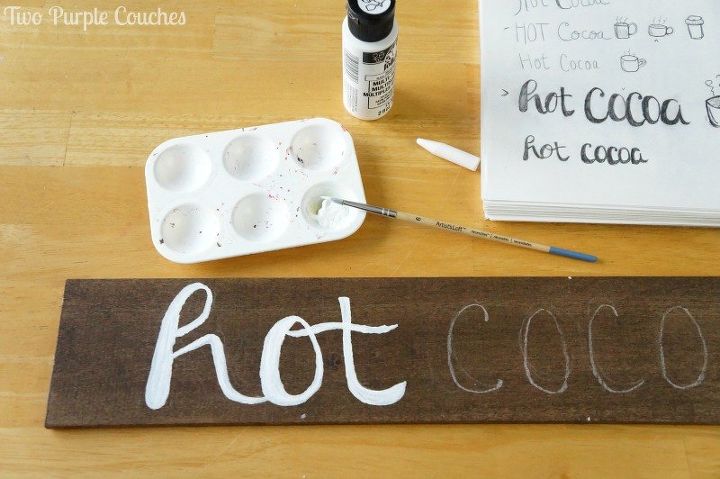
I used a round fine-tipped paintbrush to go over my chalk sketch with white acrylic craft paint. I found it easier to work one letter at a time.
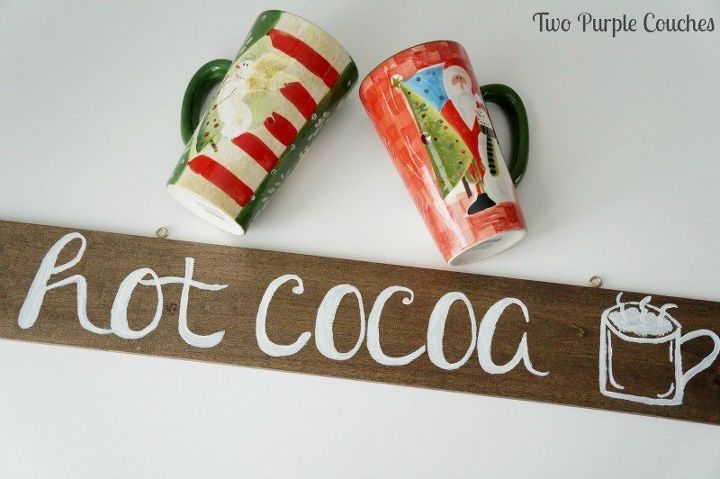
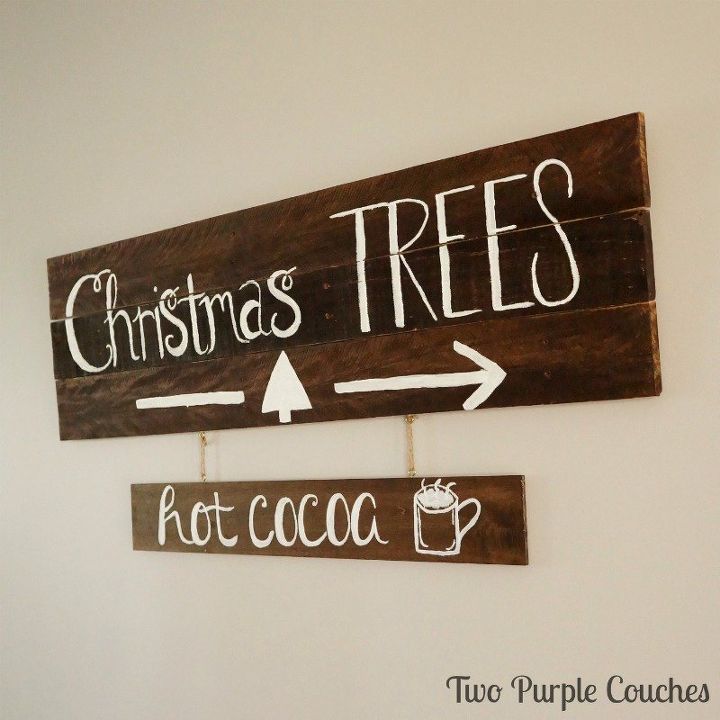
I think this sign would be a perfect addition to a hot chocolate bar, but since I knew I wanted to pair it with my Christmas Trees pallet sign, I add screw eyes to each sign and used twine to hang the hot cocoa sign.
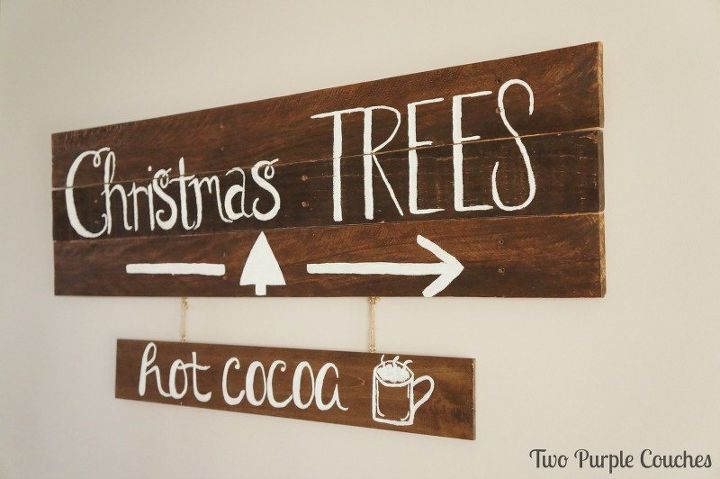
How cute are these signs paired together!? I love, love, love this combination! The texture and stain of the woods, the way the white paint pops off the dark background, the imperfections of the hand-lettering... this is why I love to DIY!

Be sure to search the hashtag to find more holiday decor and DIY ideas!

Want more details about this and other DIY projects? Check out my blog post!


Frequently asked questions
Have a question about this project?