


Having read a recent post about dry laid flagstone versus pavers, I wanted to share a series of photos showing the

proper installation of pavers. I took these photos documenting each step of the process of installing a paver walkway.
Pavers are actually quite easy to install and really only require one tool to be rented, a plate compactor. The heavy work is in excavating the area to about 6 and 1/2 inches below grade and moving the dirt. Then you build up the base with crusherun/crush&run which is a crushed stone. Build it up in 2 layers running the compactor over the area. A homeowner can use a 4 foot level and a 2x4 board to help get the crushed stone base to a proper pitch and close to even. Remember that the base should extend about 6" beyond the last paver.
The exact level surface is then done using 3/4" iron pipes. You will need at least 2 pipes. Lay the pipes across the base and check with a level to see if you have the proper grade. Use a little sand to adjust the pipes. With the pipes set, you begin shoveling the sand into the area and with a straight board, you screed (drag) the sand. You are left with a perfectly level surface of sand. As you move along, remove the pipes and fill the gaps with sand. Remember to not walk on the sand once it is screeded.
For a larger patio, we usually work in sections laying pavers as we go so that we can then work off of the already laid pavers. The chosen pattern will dictate any cutting. For a few cuts, a grinding wheel on a circular saw will suffice. For lots of cuts or cutting curves on a patio, a large gas powered cut-off saw with a grinding wheel or diamond wheel is necessary. We also use a large sliding table tile saw to custom cut some pavers.
Once the pavers are all laid, install the edging strips. Then, run the compactor over the pavers to bed the pavers in the sand. You will have a perfectly level and smooth paver patio/walk. It does not require setting each paver individually. While compacting, you will sweep regular sand or polymeric sand into the joints. If polymeric sand, follow the manufacturer instructions on sweeping, compacting, and wetting.
See the following photos for the process. As an example of how fast pavers can be installed, 3 of us installed the paver walkway seen in the photos in one day. We followed the same path of an existing paver walkway that was improperly installed. The one day included all excavation and all installation and clean-up.
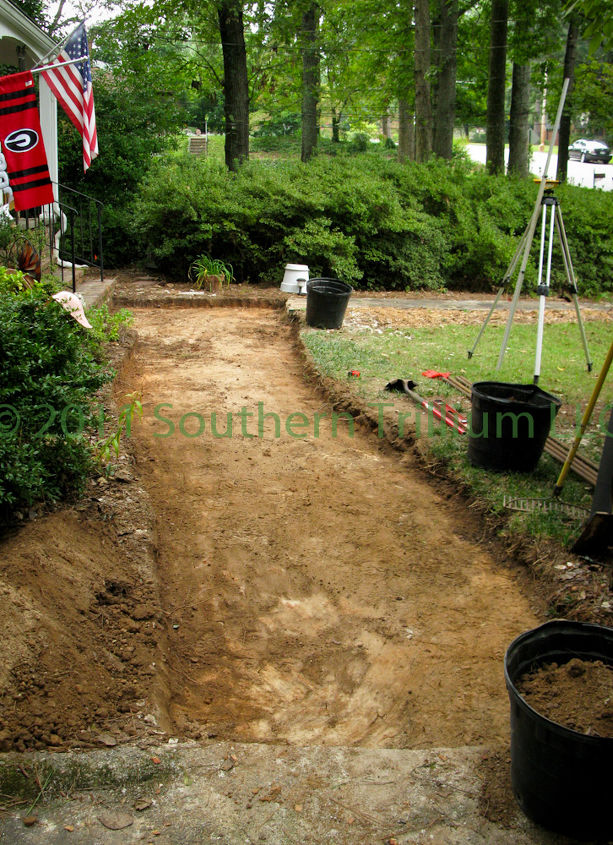
Excavation completed for new paver walkway. All extra dirt was hauled off.
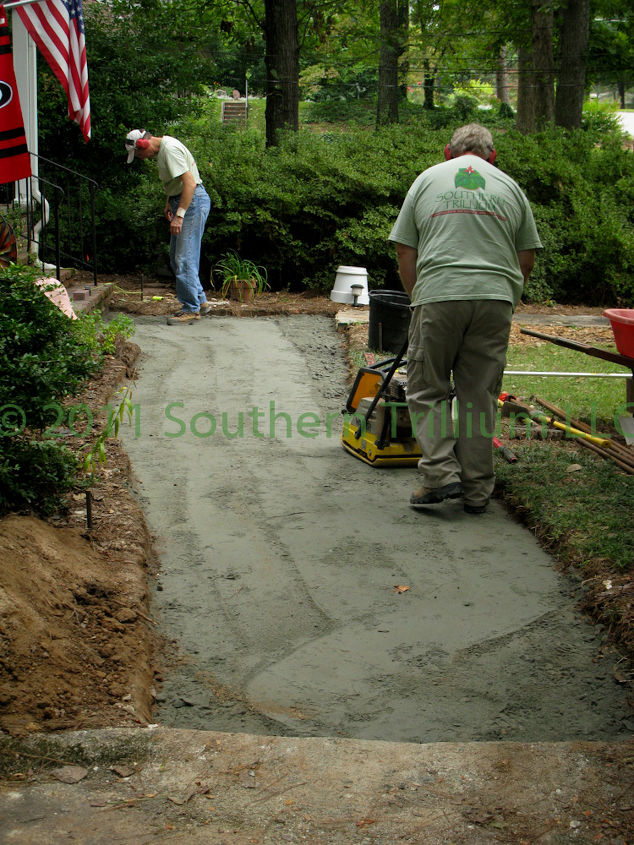
Building up and compacting the crusherun base.
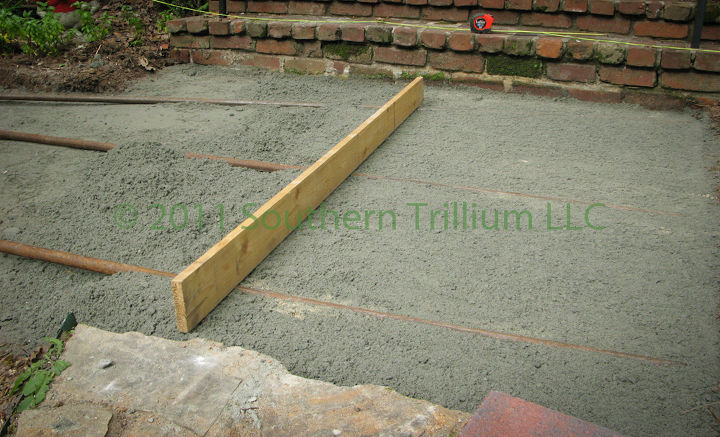
Beginning to screed the sand bedding layer.
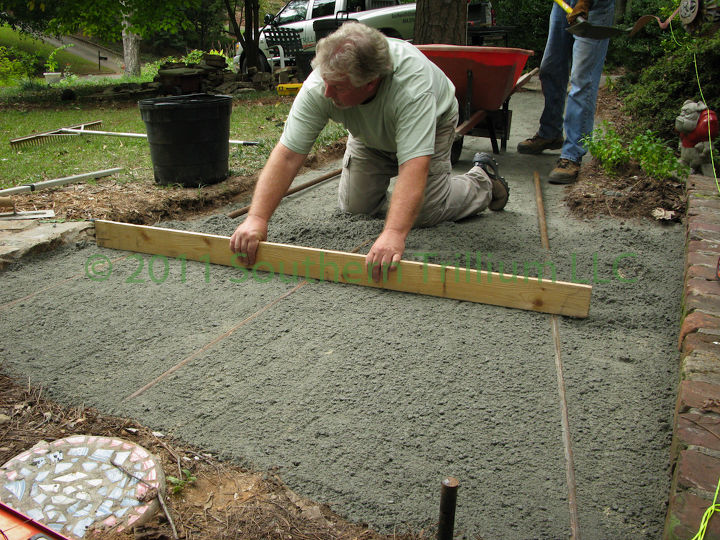
One person can screed the sand on a narrow walkway.
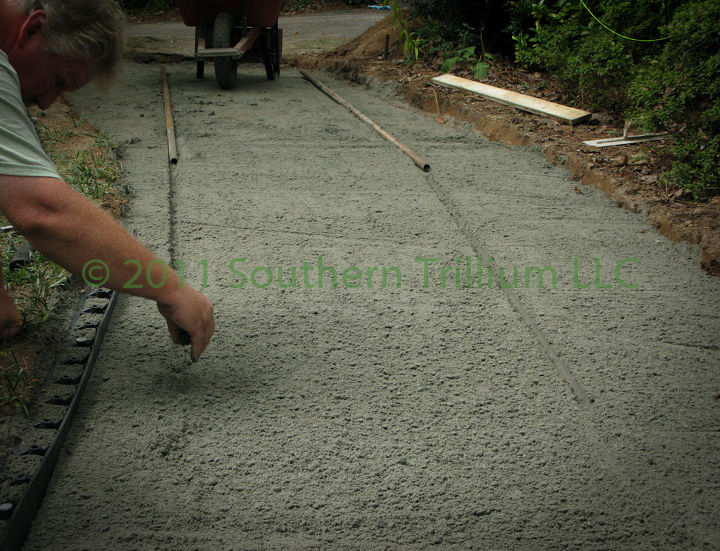
The pipes are moved and then fill in the gap with sand.
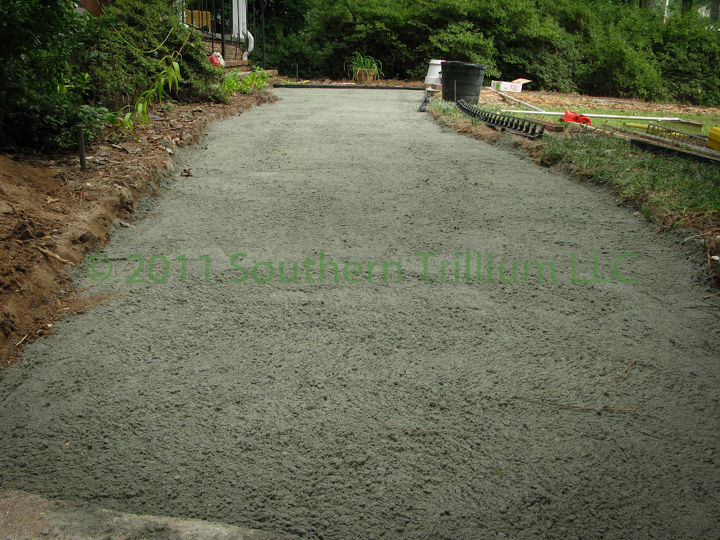
A finished look at the perfectly smooth layer of sand, ready to lay the pavers down.
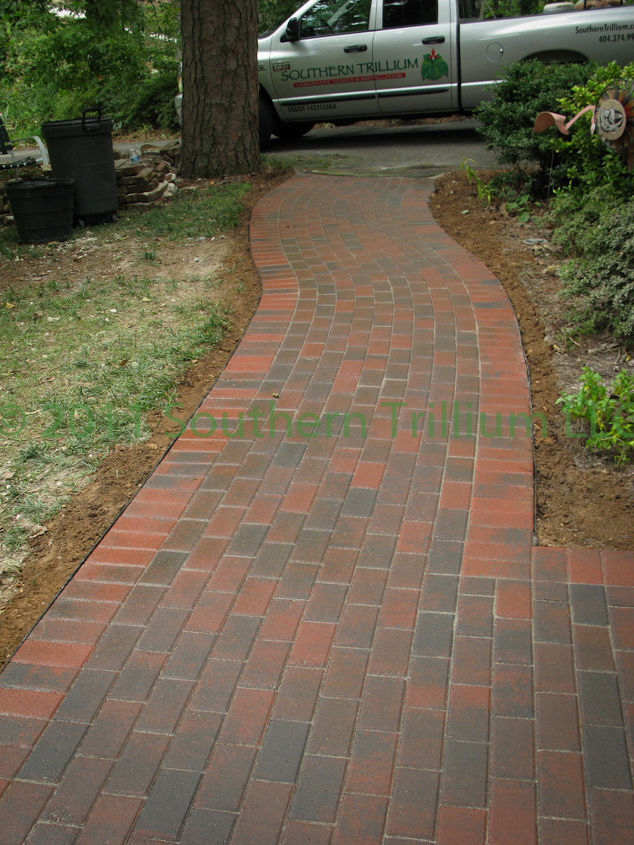
Finished walkway after installing pavers, compacting and wetting down the polymeric sand.
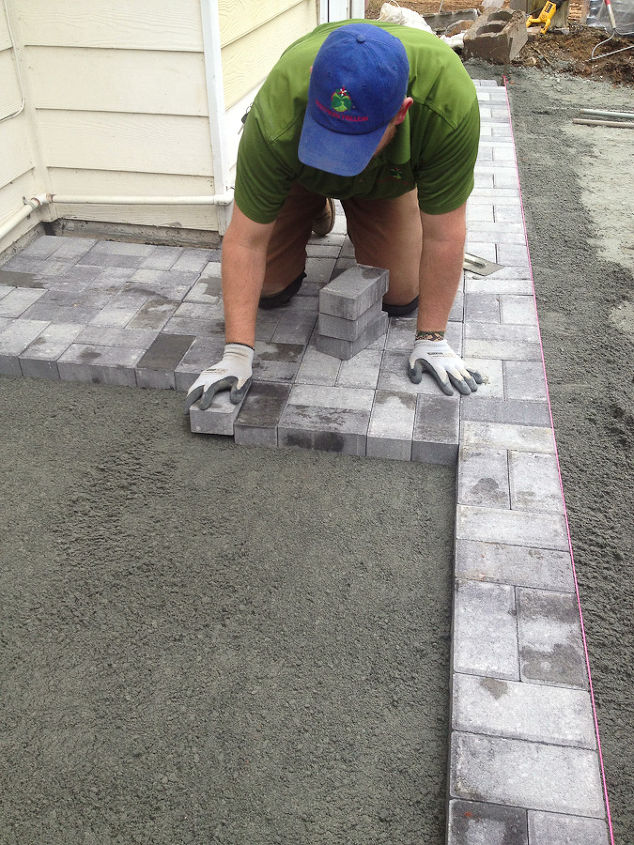
I have added pics showing pavers being laid on the screeded sand bed. You can see the string line set up to keep things running straight. Don't try this without a string, it will become a nightmare to straighten later.
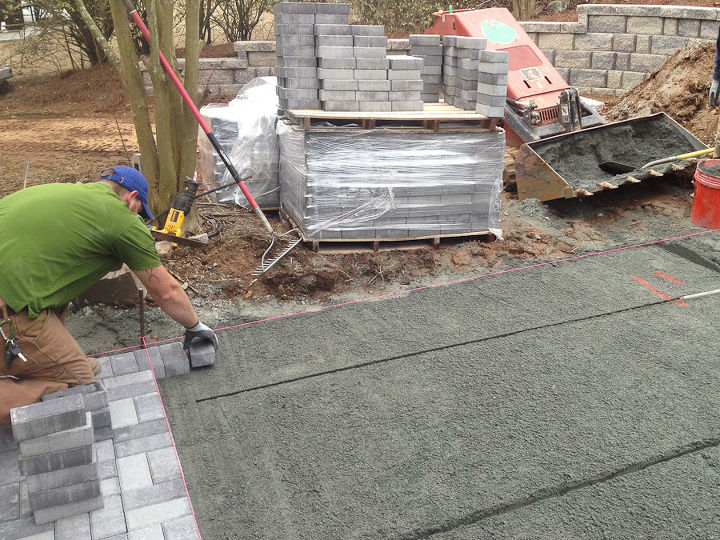
Here you can see where the sand was screeded and the pipes slid down. Since you can only fill what you can reach, it is easiest to fill as you lay pavers. You can see 2 strings set up as guides.
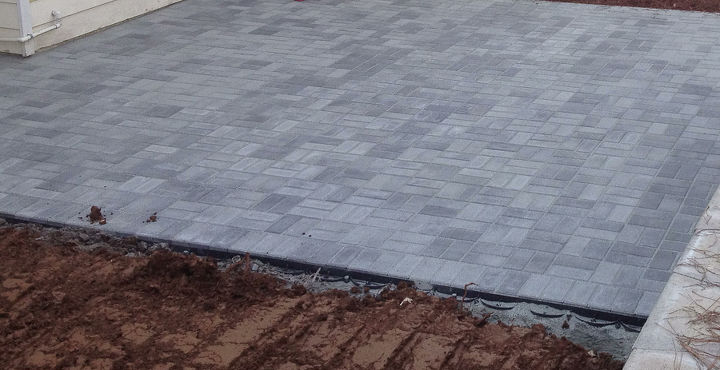
This was a different project. As we were finishing the grading around the patio, you can still see the heavy plastic edging with spikes.
Comments
Join the conversation
2 of 37 comments
-
Are you for hire (:
-
Beautiful job! How much would a job of that size cost?


Frequently asked questions
Have a question about this project?