


DIY Home Command Center

by
Sara Bates
I'm a stay-home-mom to a two year old with a new baby due in January, or, as I like to say, I'm about to take a 50% pay cut come the beginning of 2016. With this in mind, I knew I had to find a way to get more organized in order to maintain some sanity. I took a 30 inch wide unused piece of vertical real estate in my kitchen and turned it into an organizational power house with a bit of paint and supplies from Target and AC Moore.

I knew I needed areas to organize mail, grocery and meal planning and important activities. Using blue painters' tape, I sectioned off pieces of the wall for each category just to get an idea of how much space I had to work with when I went out to purchase supplies. My thought was to use a large photo frame for a dry-erase calendar, baskets for mail and clipboards for meal planning.

After I had a good idea of where I'd place each item, I taped off about a three inch section the entire way around the wall. Then, using Rust-Oleum magnetic primer and Valspar tinted chalkboard paint, I painted the area inside the tape.

After allowing the paint to cure for several days, I removed the tape to reveal a chalkboard base for my organizational wall. Before writing on the wall with chalk, I seasoned the surface by rubbing a piece of chalk vertically, and then horizontally over the entire surface. Next, I wiped the chalk off with a damp cloth. If you're working with chalkboard paint, make sure not to skip this step! If you do, there will be a shadow of the first thing you ever wrote on your chalk surface for all time.
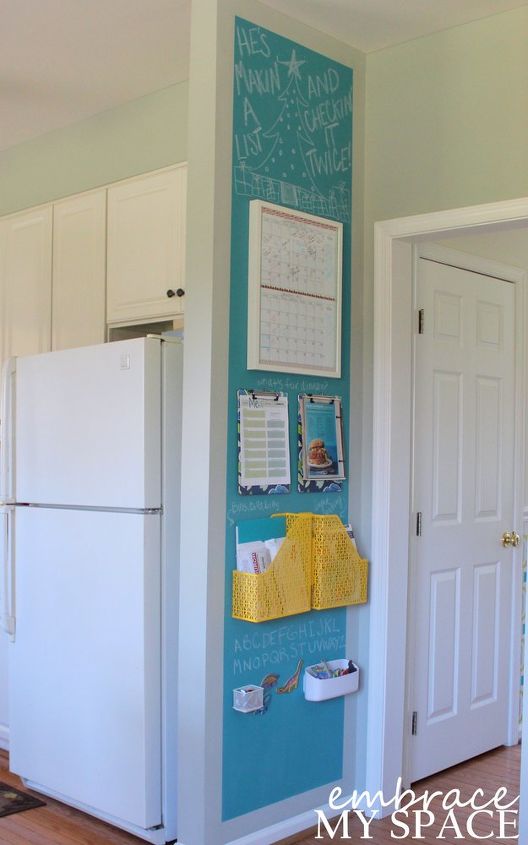
I carefully measured and hung all of my organizational items (calendar, clipboards, mail baskets), and that was it!!
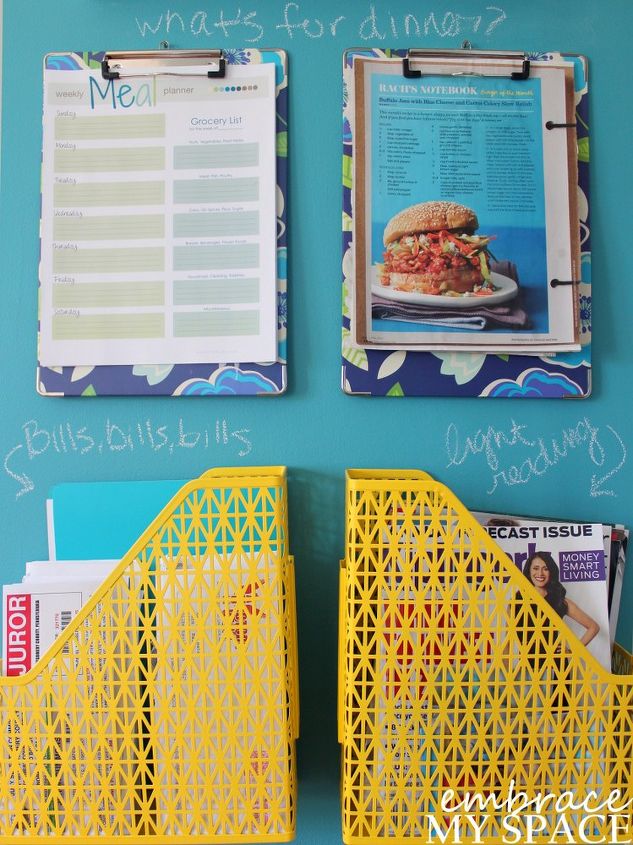
I found a printable meal planning and grocery list document online that I clipped to one clipboard, and I use the other clipboard for the recipes I'm planning to make during the week. Standing magazine/file baskets, attached to the wall sideways, hold important mail, bills and magazines.
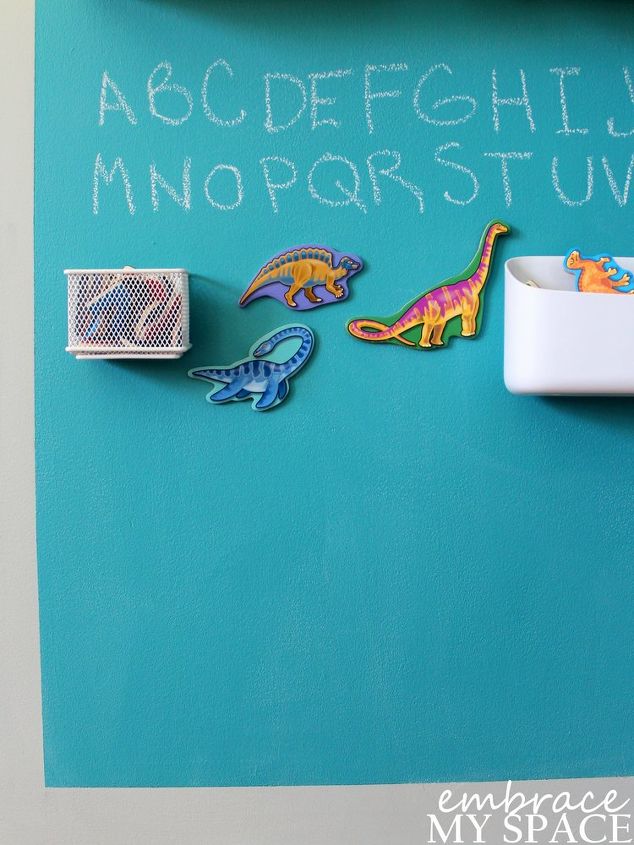
I left the area beneath the mail sorting station blank so my son would have an area for chalk art and his ABC magnets. I only used the Rust-Oleum magnetic primer on this lower section of the wall. After reading many reviews online, I was hesitant to start rolling this sticky, black paint onto my wall. But a careful application of five to seven coats of this primer and I was able to get a plastic bin weighing almost two pounds to stick right to the wall!! I did, however, use half of the $20 quart of primer to achieve this!
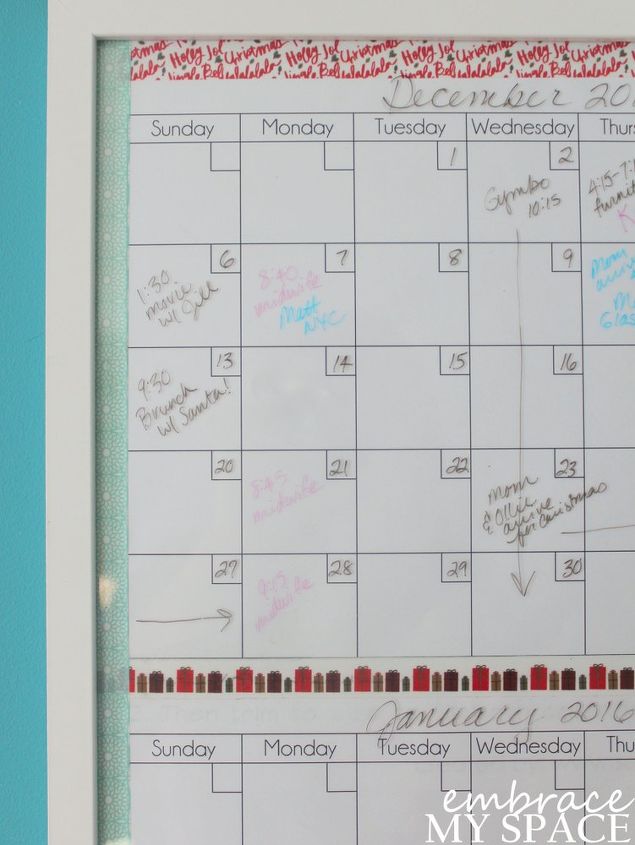
The calendar at the top of my home command center is made using a 16x20 photo frame. I printed out two blank calendars from the Jenna Burger Design blog, cut them to size and fitted them into my frame. I used washi tape to make festive frames around the paper calendars, and dry erase markers applied right to the surface of the glass frame to fill out important dates.
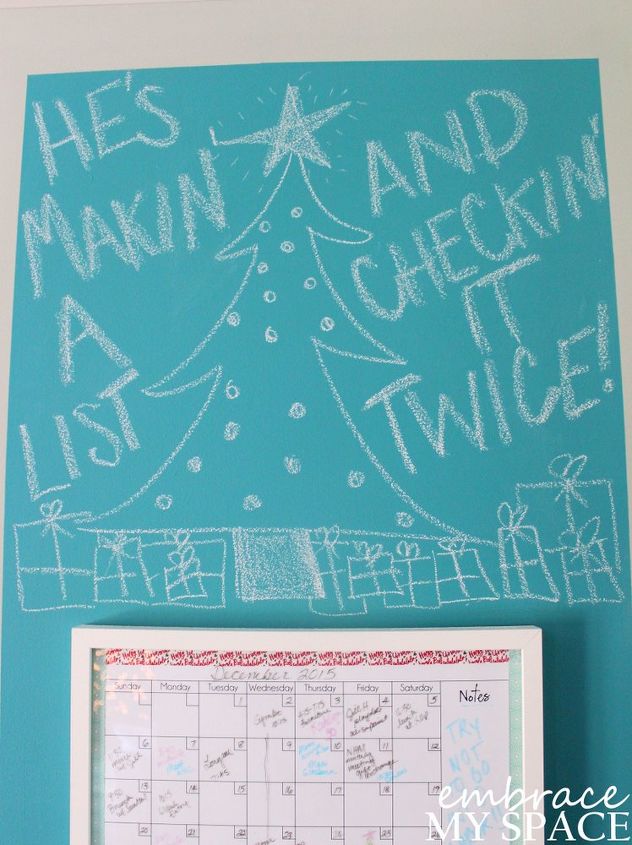
Finally, until I get some artwork or a clock to hang at the top of my wall, I'm having fun with the chalkboard! I think even Santa would love a home command center like this to keep himself organized during this most busy season!
Want more details about this and other DIY projects? Check out my blog post!
Comments
Join the conversation
2 of 54 comments
-
Wow! Your organization is overwhelming!
-
I will definitely try Rust-Oleum Magnetic Primer Chalkboard Paint. You are a fabulous woman and I love your projects. Thank you for letting me see these articles.
Emma 8-9-2018


Frequently asked questions
Have a question about this project?