


Reclaimed Wood-Herringbone Pattern on the Ceiling
4 Materials
$800
2 Days
Advanced
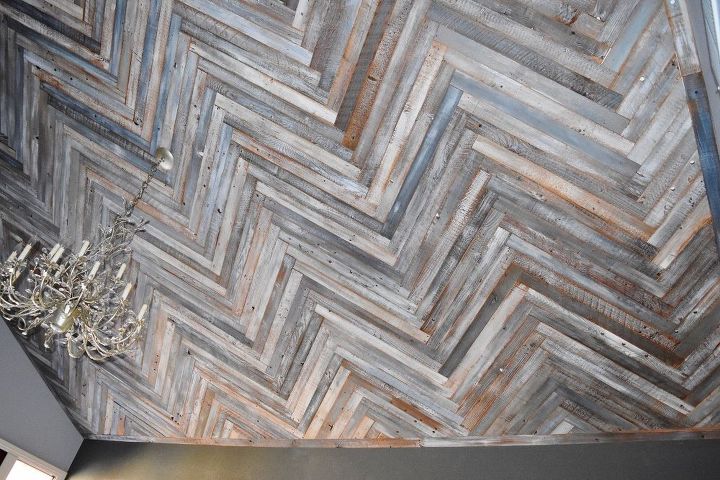
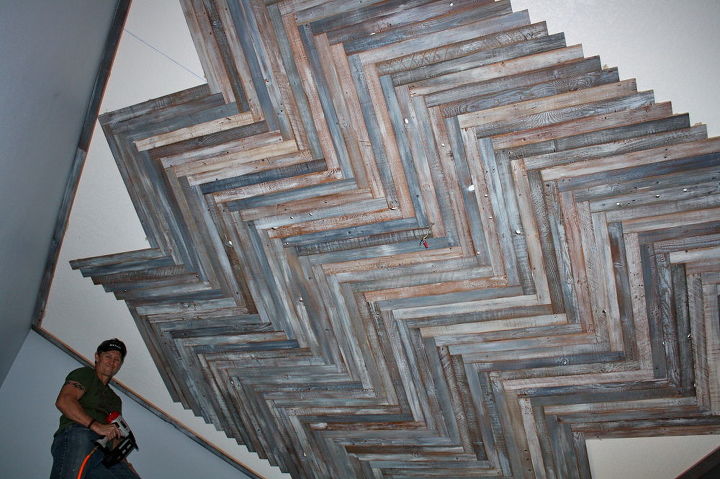
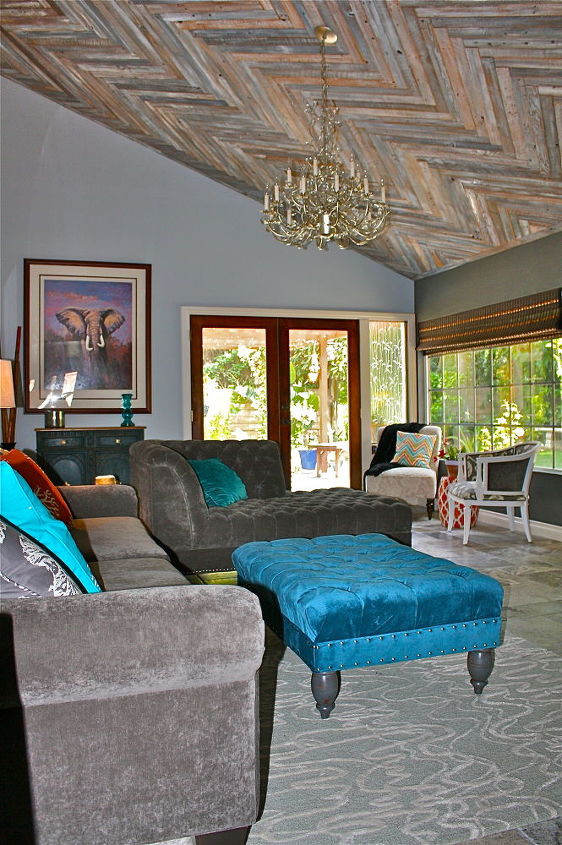
I love the look of reclaimed wood. I'm completely redoing the living room and have this vaulted ceiling that I just don't like! It's huge, bare and icky. I wanted to do shades of gray in the room with pops of teal. So, 100 year old douglas fir, stained in shades of weathered gray and touches of white milk paint were used. Each board had it's own character so I got quite a variation of colors. I like the idea of a distressed wood with a beach-cottage vibe to it. I will be mixing in some elegant features to keep it from looking too "shabby". I love the herringbone pattern and my husband and I decided it would be worth a try. We are avid DIYers, so it wasn't that difficult. Each board was cut to 3'. It's imperative that the measurement stays consistent or it will throw off your pattern. Yes, this is a ton of work. But, that's why it looks so cool! Next week we tackle the floor with silver travertine! I will update the post with pics as soon as the room is finished! If I'm able to move afterward.

Here's how I got the wood. 6' boards, raw, and very rough. Each one got sanded and stained/painted.
100 year old reclaimed wood that was actually milled for flooring. I did all of the prep work in batches, since I could lay out the wood all at once in the garage to paint.

Lining them up to stain and paint.

They were already T&G when we got them. The tongue had to be cut off on every single one! I would pick random boards from the pile.
Hub had to remove all of the tongues by ripping them. A jig was set on the saw to make sure every piece was the same length.
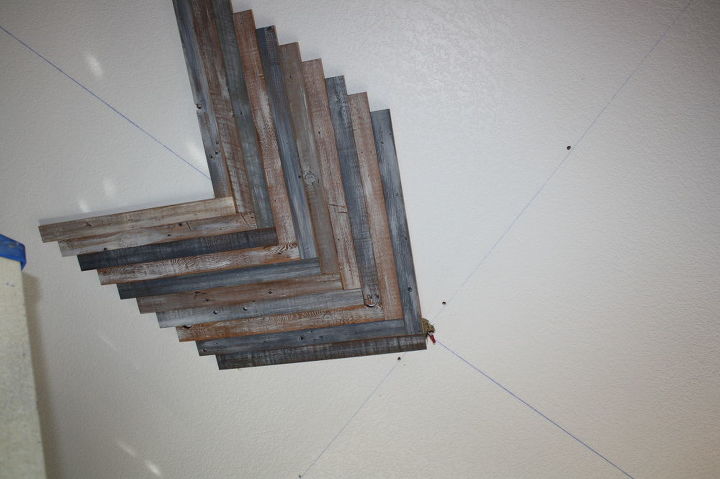
First row. Mark your center and measure off a 45 degree angle to start the 1st board.
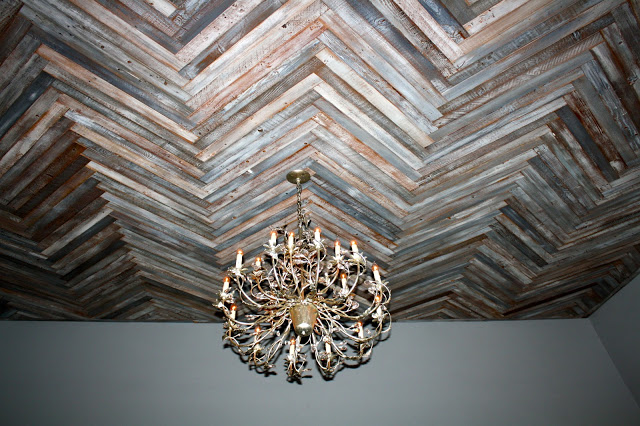
I've since learned that doing a herringbone requires you to be sure your joints all meet properly. In other words, if you laid a sting right down the middle, all of your joints should line up perfectly with the tip of the first board
Use a speed square as go to make sure each board is lined up properly.
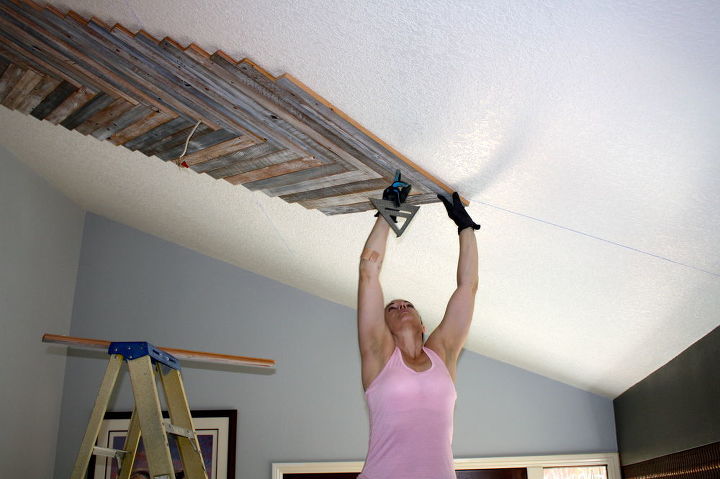
Hub used a combo of small nails after I dabbed each one with Liquid Nails.
Once we got to border-end pieces, each one had to be cut separately. Hub stayed up on the ladder and called out the measurement and I cut the wood on the miter saw! There were a lot of cuts and measuring!
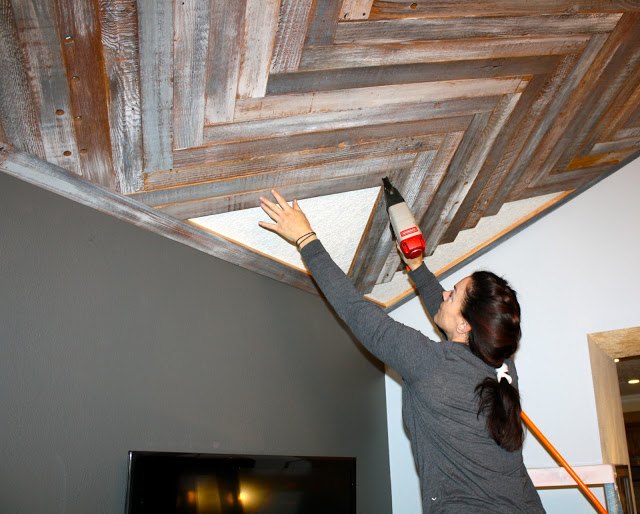
Adhesive and finishing nails were used to adhere the boards.
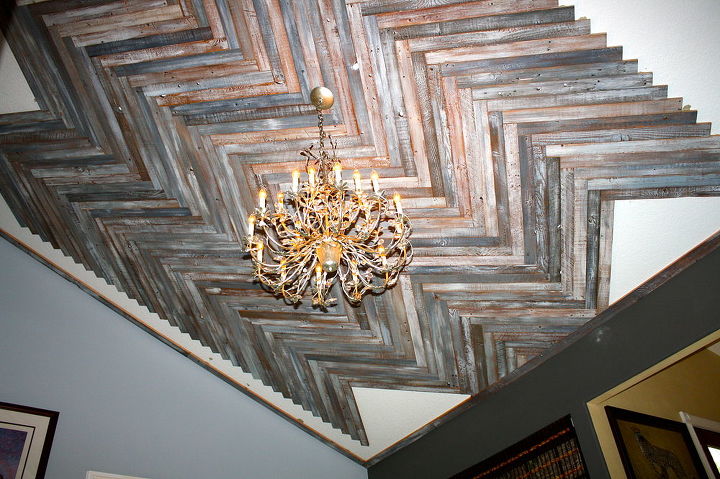
Couldn't wait to see the new chandy in place! The small cuts will take forever I'm sure!

Flooring is silver travertine in a Versaille pattern. Yes, I did that myself as well!
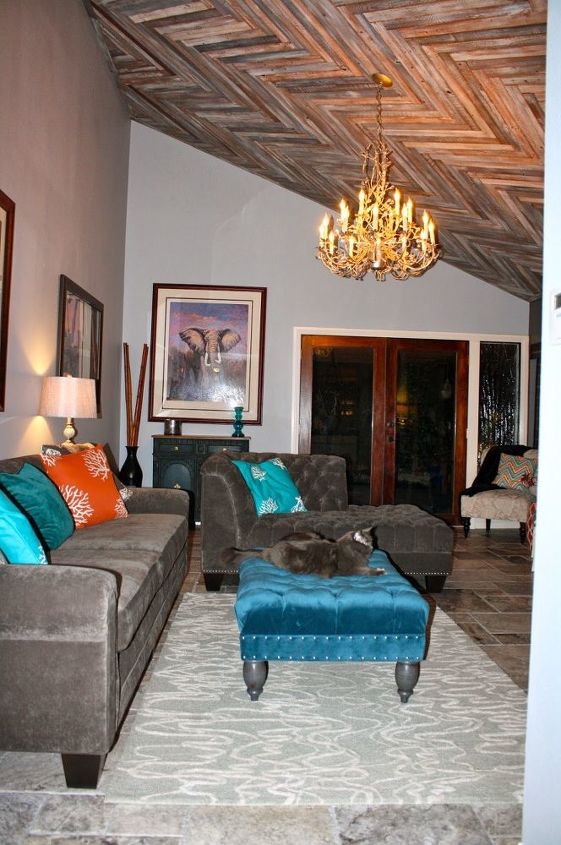

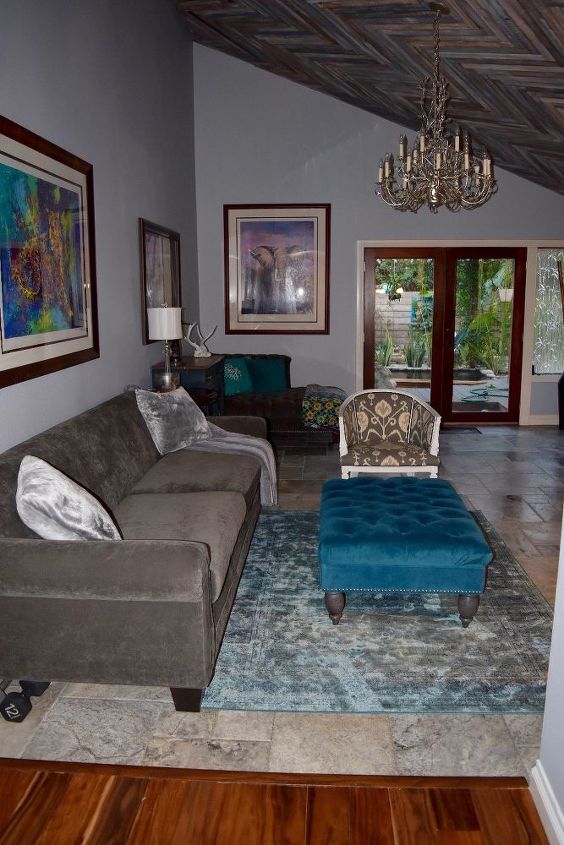
,I've since changed things around a bit. The chairs by the window are gone (that was a temp thing anyway) And I've painted the adjoining dining room a similar gray. I also have a different rug under the ottoman, and also took away some of the accessories. The problem I have is where to put many items that I redo and are awaiting sale. I probably should get a storage unit! To see more pics and how to's, visit my blog post!
2/18 updated room pic. diff rug. actually have a different coffee table too! i'll have to get a new pic w/that one. I change out the rugs frequently in here

Want more details about this and other DIY projects? Check out my blog post!
Comments
Join the conversation
2 of 176 comments
-
Gorgeous! Superb job. Come on over to my house now, lol.
-
Beautiful! Good you got rid of those colored cushions! That blue ottoman should go too!


Frequently asked questions
Have a question about this project?
I have leftover wood flooring from very old church that we pulled up and laid in our home ( love it) but I have extra pieces that were broken or water stained etc. From all the years. I wanted to use the pieces for a backslash in kitchen with herrinbone pattern. Just like your beautiful ceiling, i'm just not sure how to start...i guess the middle then 45°?
LOVE-LOVE-LOVE your herringbone reclaimed wood ceiling!! It is simply GORGEOUS, & I'm sure it is the focal point of your home! I wish I were brave enough to "DIY" something this complex... I was just wondering if reclaimed wood can be used to cover over a "popcorn ceiling"???
I love this so much and I am so jealous! It is so beautiful! Do you think you could use fence boards also for this?