


Homeade Boxwood Wreaths - What Worked and What Didn't
I was wanting some boxwood wreaths for my home for Christmas, but I just could not justify the steep cost (almost $100 each from some companies) .... especially when I have boxwood bushes growing in the front of my house!!! So, I made one!
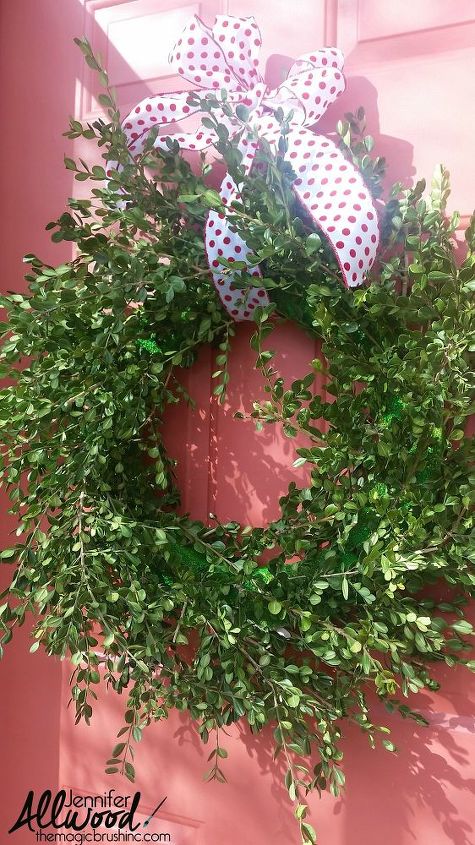
It turned out so stinkin' cute, but it was trial and error getting there!
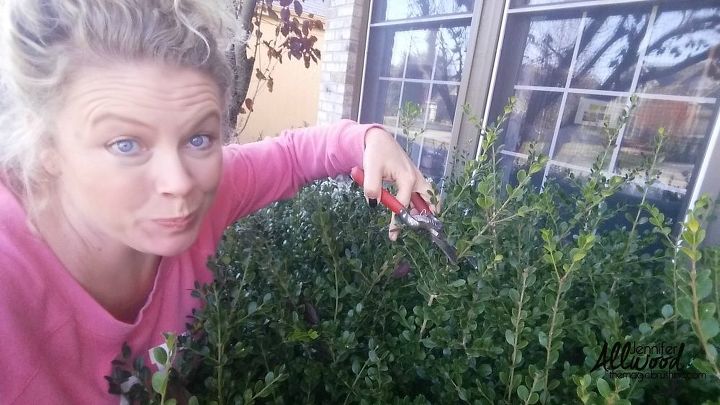
I have boxwood bushes on the front of my house that looked a little mangy and wild and needed trimmed anyway. So, I literally went out and trimmed off like 25 twigs..... all about 8 inch - 14 long. I thought this would be enough, but it wasn't. Trim waayyyyyyyy more twigs than you think you need.
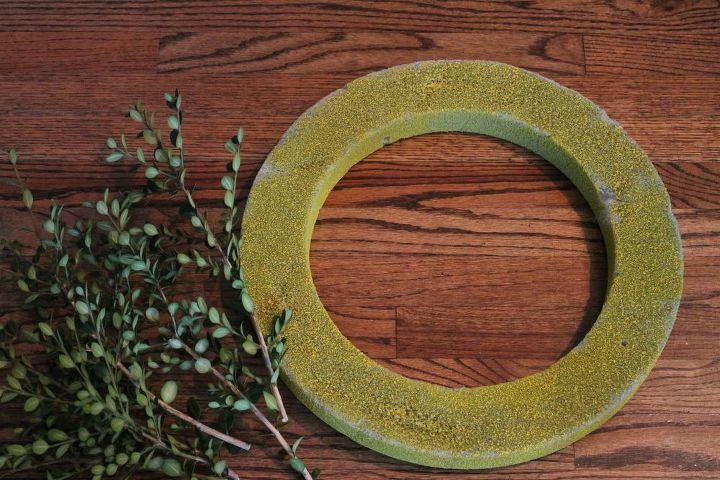
I had this styrofoam wreath form in my basement that I know I originally got at Hobby Lobby. I have no idea why it was putrid yellow/green? I must have spray painted it for another project at one point???

I thought the putrid yellow may show up, so I used an old can of green paint on the Styrofoam. It was messy and styrofoam doesn't like to be painted, it melts. So basically, it was just a hotmess. In my kitchen. On the counter.
The project just continued to go downhill. My first incredible idea was to STAPLE the branches to the styrofoam. Ummmmmmmmm no. Staples do not stay in Styrofoam. Who knew?
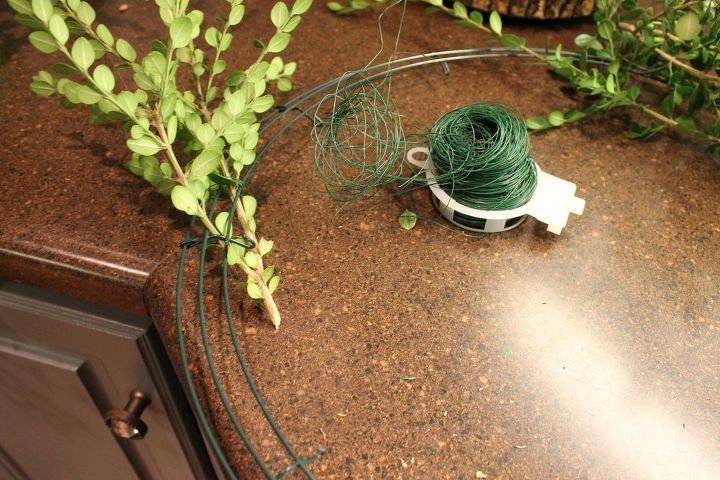
My 2nd idea was using a metal wreath form and my really nice looking spool of greenery wire (that's sarcasm). I thought I could shove the stems in the form and then wire it on. Fail #2. But thank goodness I am relentless in my project pursuit.....
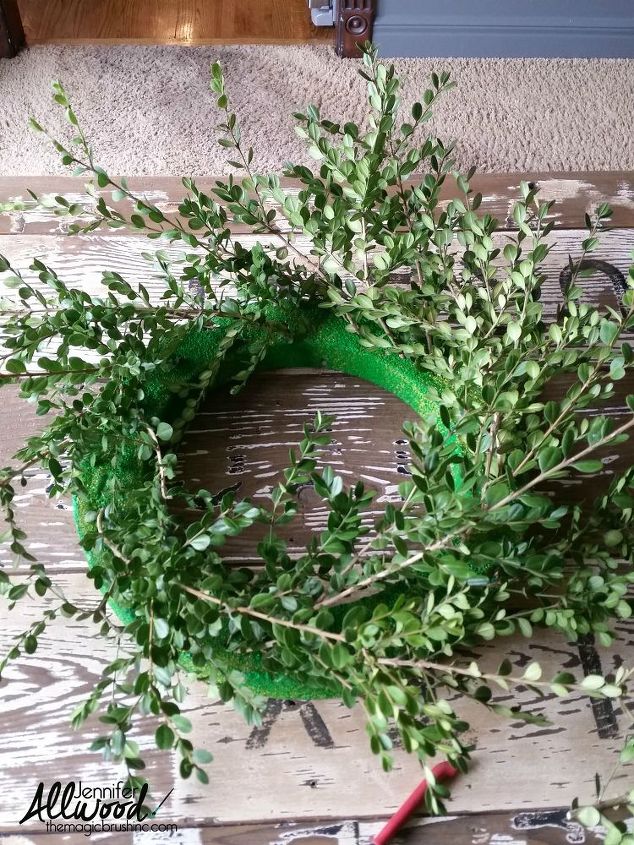
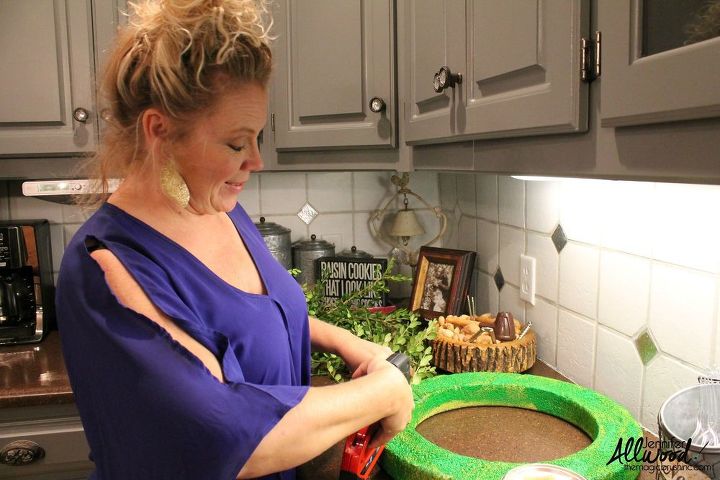
I eventually just started shoving branches into the stryofoam in roughly a 45 degree angle. Don't make me whip out my algebra on you, just slant them. And don't shove them in straight up and down or it will poke your eye out.
{
"id": "3116991",
"alt": "",
"title": "",
"video_link": "https://www.youtube.com/embed/_7lc6OLMfQ0",
"youtube_video_id": "_7lc6OLMfQ0"
}
{
"width": 634,
"height": 357,
"showRelated": true
}
I show you how to shove the branches in the styrofoam on THIS VIDEO. We also talk about the potential for wilting and how boxwoods smell like cat pee. It's a fun video with some awkward pee talk. It was also one of my most popular Periscopes, so apparently people don't mind cat pee talk.
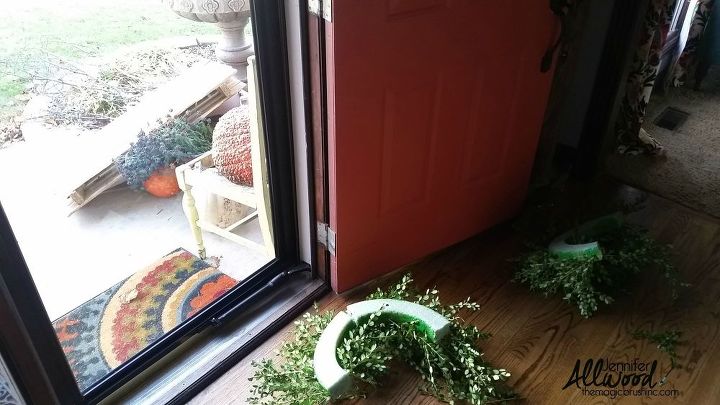
It fell off my door and shattered on my floor. We had an incredibly windy day in Kansas City (look outside... even my fall pallet that I've shared on Hometalk blew over). WHAT ON EARTH? I'm still mad about it on the inside.
OMGosh it worked. What would I do without you all? No one even knows except for my 200K social media fans and all of you that I've told. Ha!

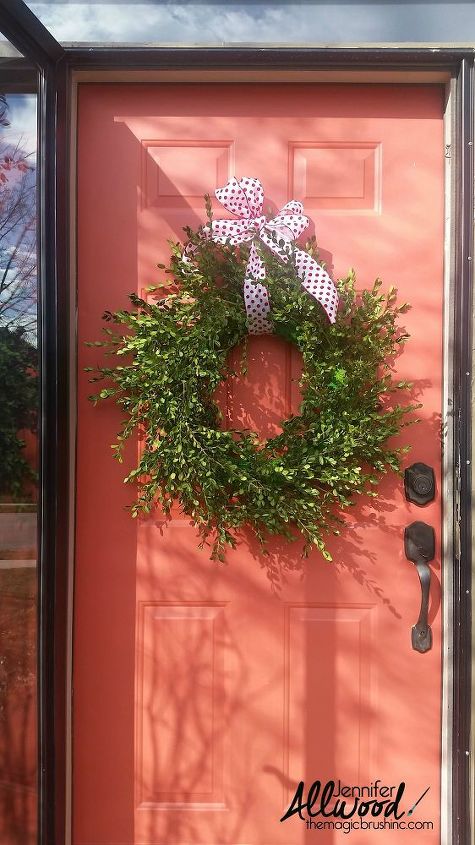
So up it went! Success!!!!!
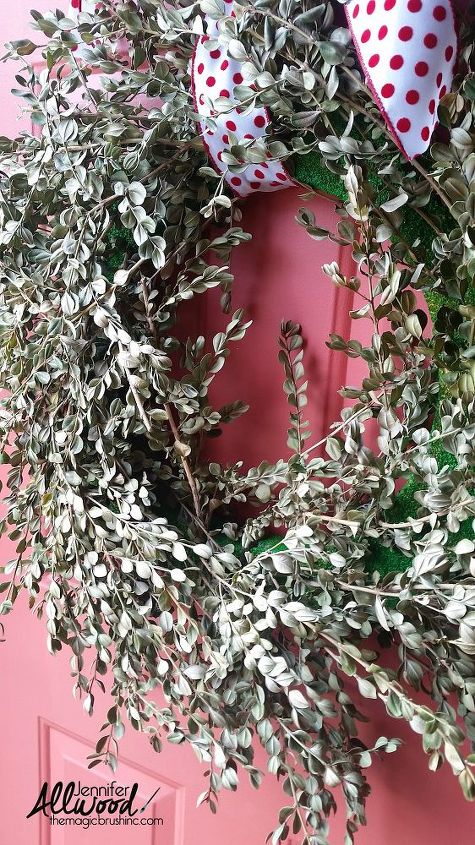
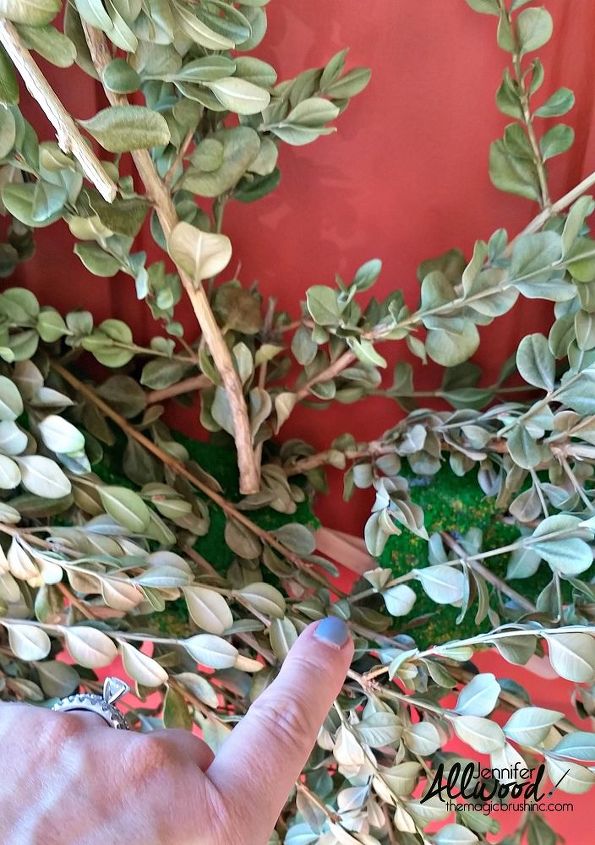
I did want to also show you an "after" picture. This is 3 weeks later. I have sprayed the boxwood with my boy's hair bottle of water (for the love. What is it with tween boys and their hair?) like 3-4 times. I started out strong and then I've forgotten for the last 10 day..... so it's dried out a bit. ADVICE: spray yours every day with water. My front door has a glass door on the front of it so that has smashed it a bit.
So all in all, I'm soooooooooo glad I made this. Next year I will start earlier and make more! I will not attempt a stapler and I will insist the wind avoid Kansas City during the holidays as not to have another broken one. I think I will also attach it to my glass door instead of the pretty coral one! Then it won't be smashed, but it could blow off.

Want more details about this and other DIY projects? Check out my blog post!
Comments
Join the conversation
2 comments
-
Your wreath came out beautiful in the end. I've never made a boxwood wreath, but my sister makes natural wreaths with all types of greenery. In the future, you might want to try a wreath form like this, with the little wire twist-tie thingys to hold your cuttings in place: http://www.craftoutlet.com/soft-clamp-wire-wreath-form-20
-
Beautiful! Thank you for your honesty in making the wreath! I know how expensive these wreaths are-and now I know why!


Frequently asked questions
Have a question about this project?