


How to Make a Cutting Board in 30 Minutes
$10
30 Minutes
Easy
Like most aspiring woodworkers, I love walking into Home Depot and imagining all the things I could make with the pretty, perfect boards I see lining the aisles. But you might be surprised to find out that it only takes a few extra minutes (and almost zero woodworking skill) to turn rough, uneven lumber like this stuff...
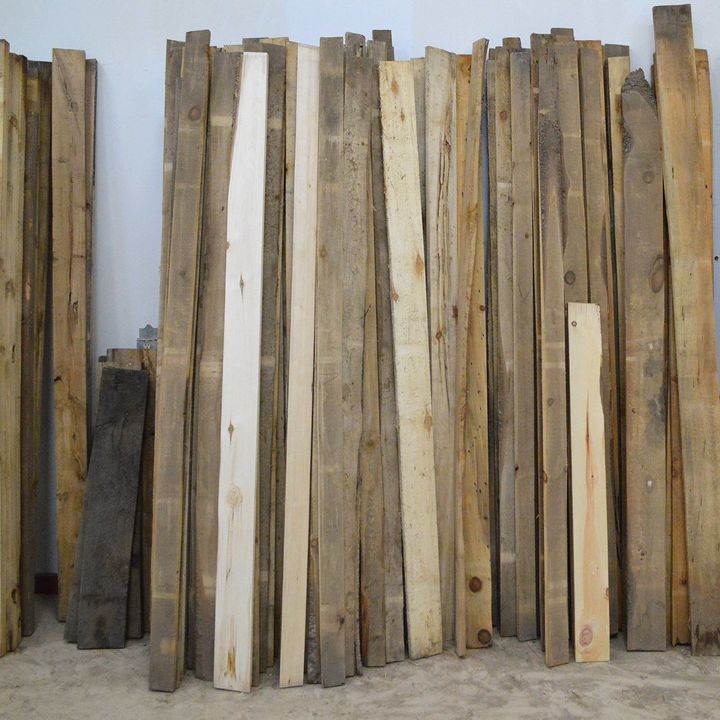
The rough lumber I started with.
...into a beautiful finished product.
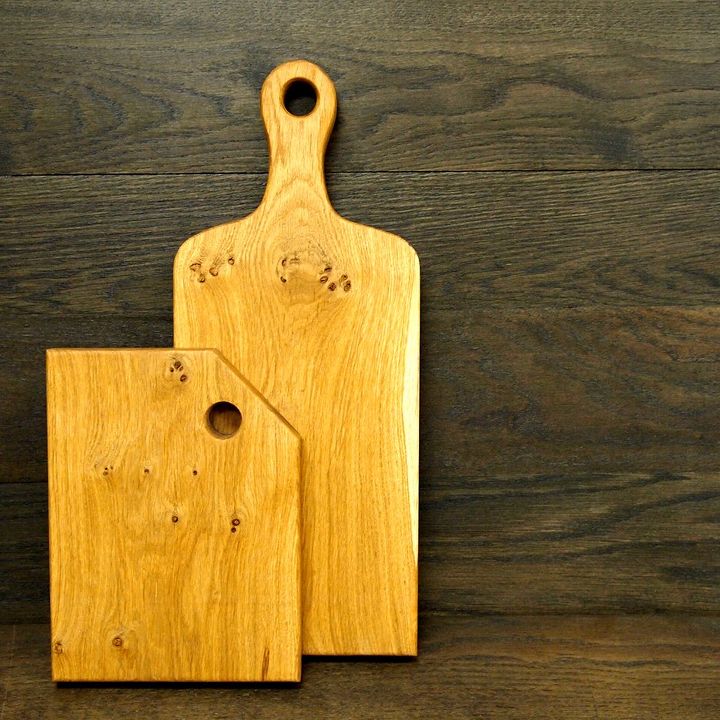
Simple, beautiful cutting boards.
The secret is just a couple extra power tools. This is the part where I confess that, even though I work at a public woodshop, I really don't know much about power tools. But when I tell people where I work, the first thing they say is usually, "I would love to get into woodworking, but I wouldn't know where to start!" And I tell them, "Start with a small cutting board!"
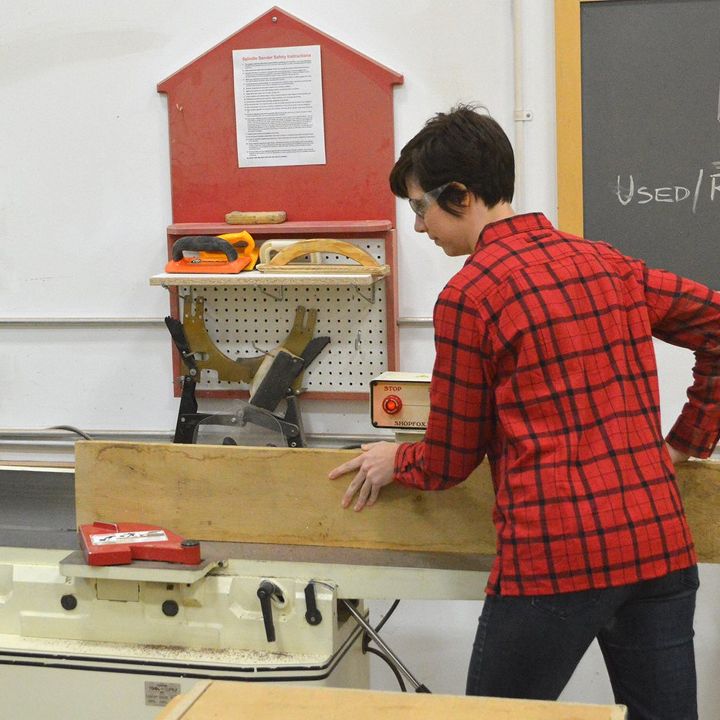
Using the jointer.
The jointer is the first step toward making rough lumber look like that pretty stuff you see at Home Depot. The second step is to smooth out the faces of the board, and to do that, you need a planer.
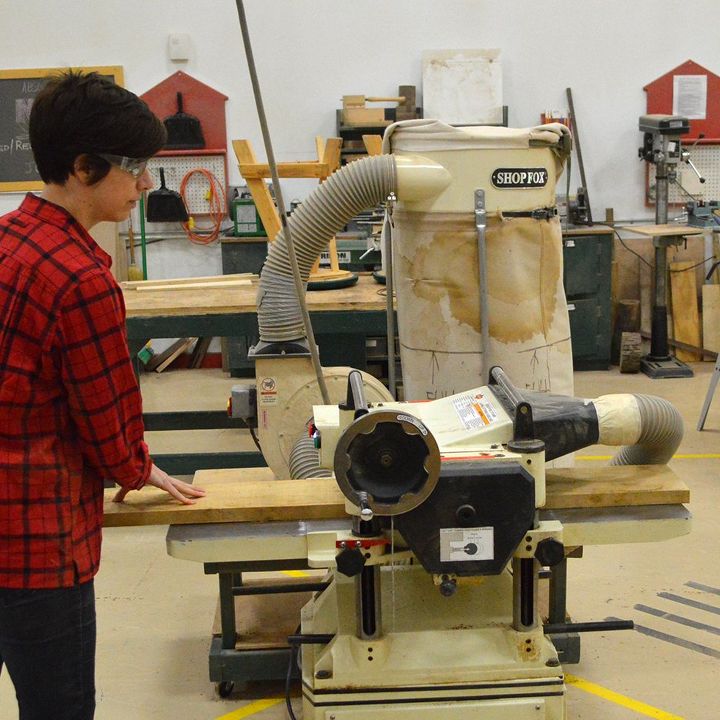
Using the planer.
Once you have the two faces planed smooth, you can run the board through the tablesaw to make the non-jointed edge smooth and perfectly parallel to the jointed edge. And in about 5 minutes, you've got one of those perfect boards, ready to become a cutting board!
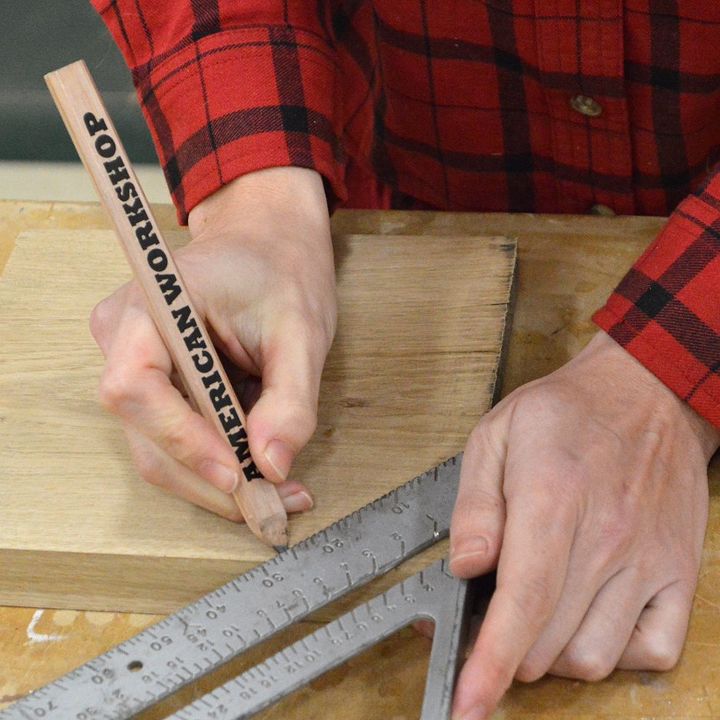
Marking the cutting board.
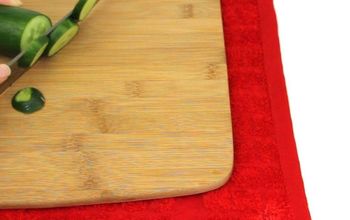
You can make your cutting board any size or shape you want. Just draw your pattern on with a pencil, then head over to the band saw to cut it out.
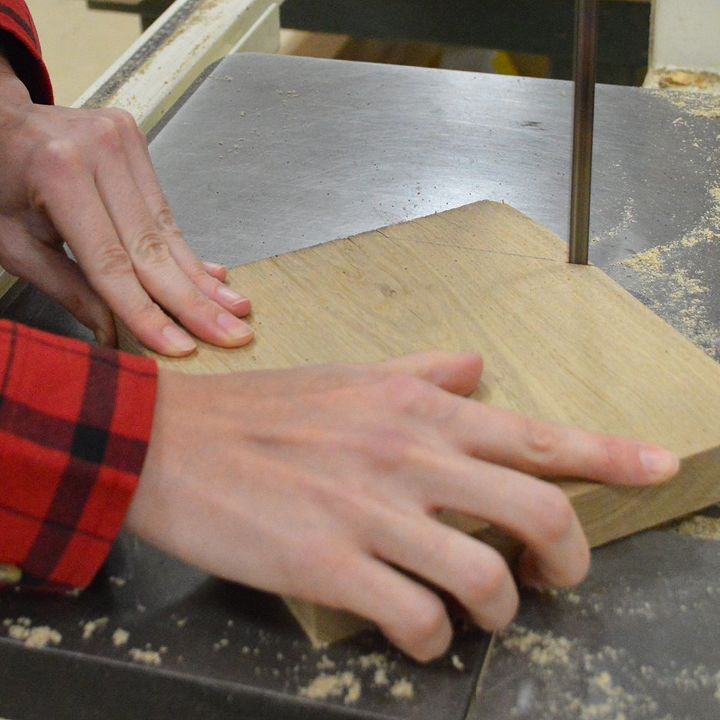
Using the band saw.
Of course, your cutting board is going to be so beautiful that you'll want to display it on your kitchen wall instead of hiding it in a cabinet. For that, you'll have to drill a hole so you can hang it. The drill press makes that part super easy.
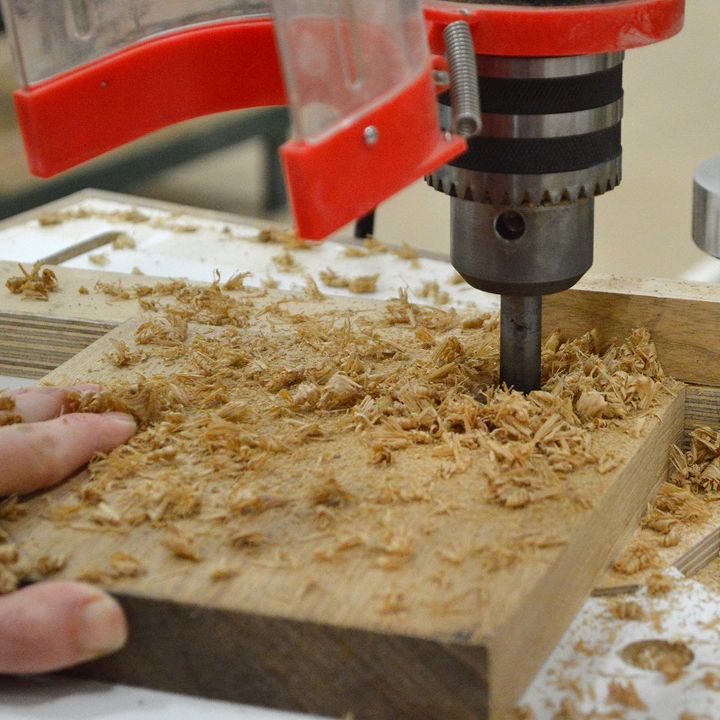
Using the drill press.
Finally, for nice clean edges, you can run the cutting board through the router table. You could use a fancy bit for a more elegant edge, but I just used the plain round-over bit that was already in the router. Keeping things simple.
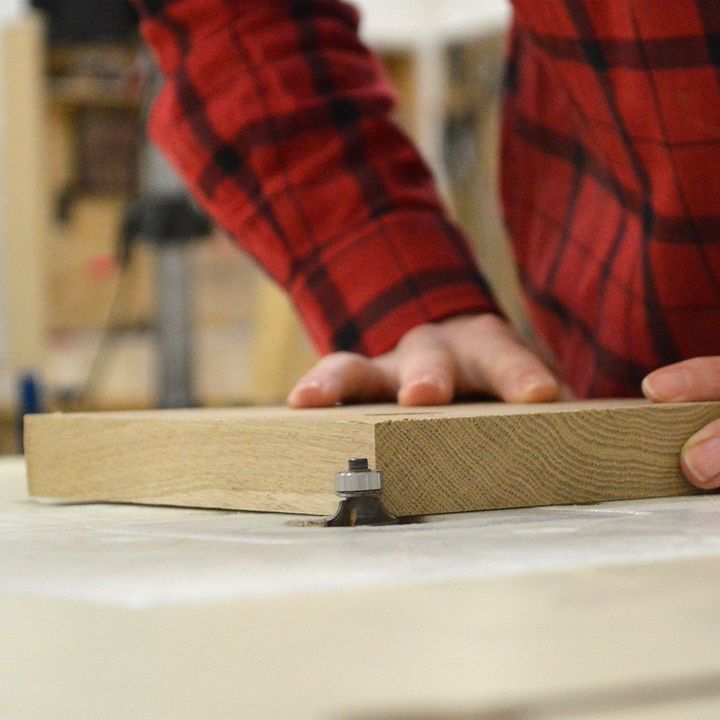
Routing the edges of the cutting board.
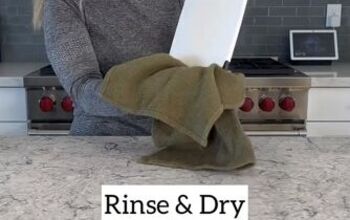
After a final sanding, give your cutting board a coat of butcher block oil to protect it and to bring out the grain.
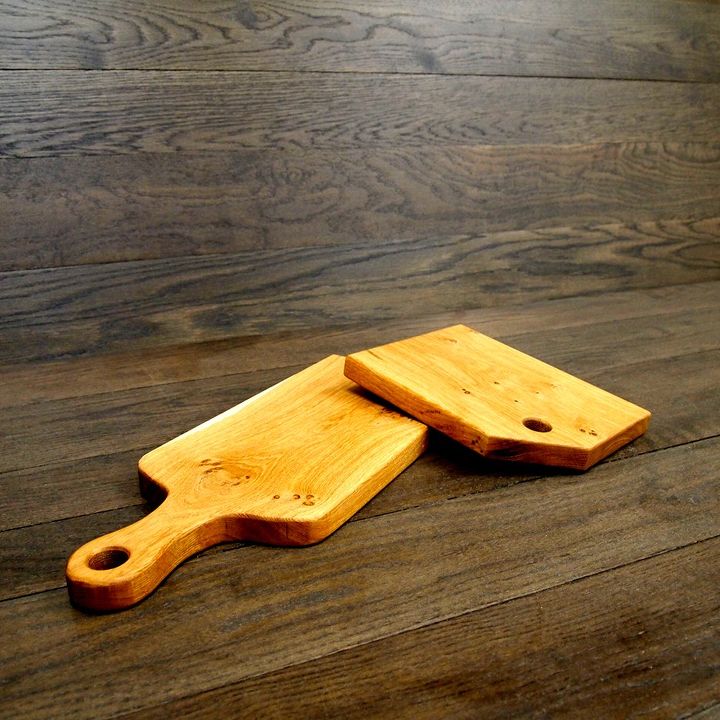
Simple cutting boards.
It may sound like a lot of steps, but you'll be surprised at how quickly you can do it!

Want more details about this and other DIY projects? Check out my blog post!
Comments
Join the conversation
5 of 23 comments
-
Nice beginner project but unless one has access to a shop equipped with all the power tools required it would be cost prohibitive to buy them, especially for a beginner.
-
You need to practice safety in that woodshop!! Using the band saw like that is extremely dangerous. The guard should be lowered and just barely above the board you are cutting. I wouldn't want to be in a shop where safety isn't the first priority.


Frequently asked questions
Have a question about this project?