


Making a Broken Lamp Beautiful Again
I was given this lamp for free because it was broken and going to be thrown away. Broken does scare me though! With a little paint, glaze and some recycled bead, this lamp was given a whole new life.
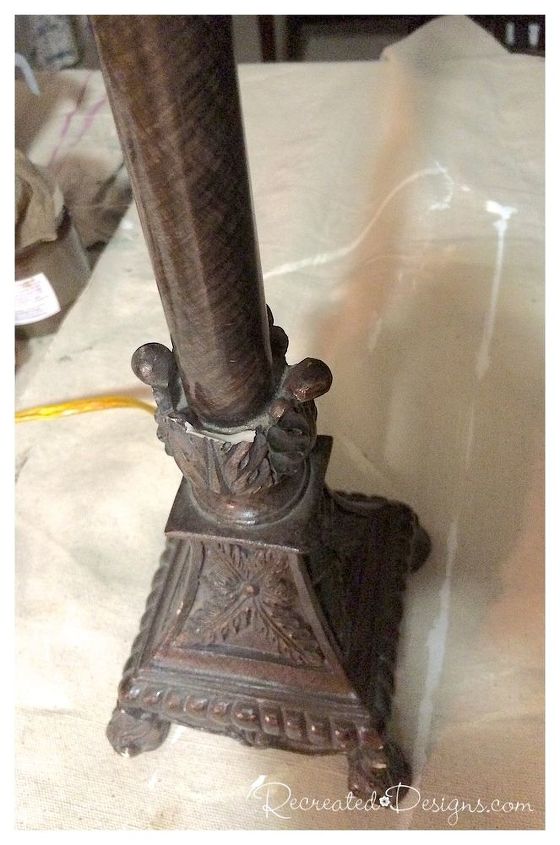
This broken lamp was a freebie that someone was getting rid of because it's base had a missing leaf and the shade was a tangled mess of missing beads and strings. If you know me at all, you know broken doesn't scare me :) I gladly accepted it and knew that with it's pretty lines and shape, it could be something beautiful again.
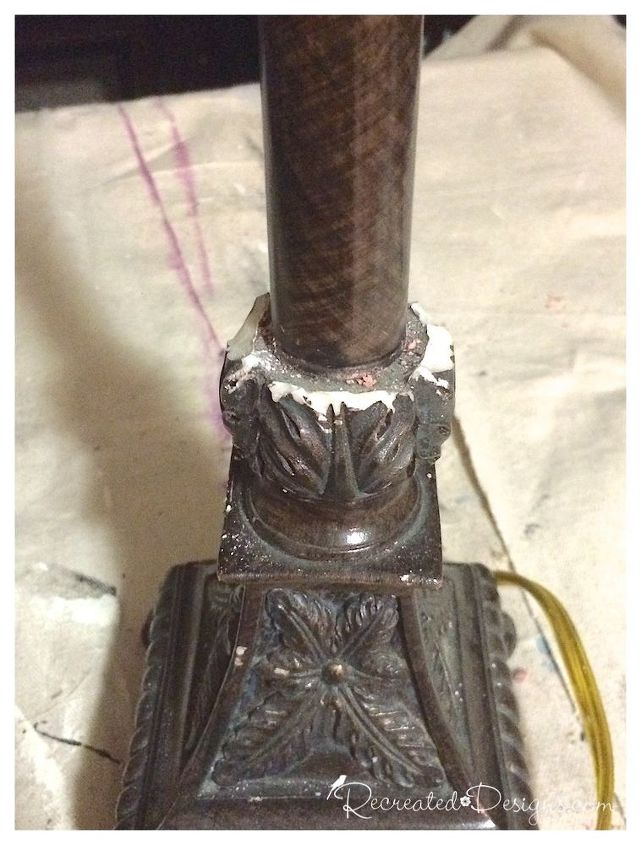
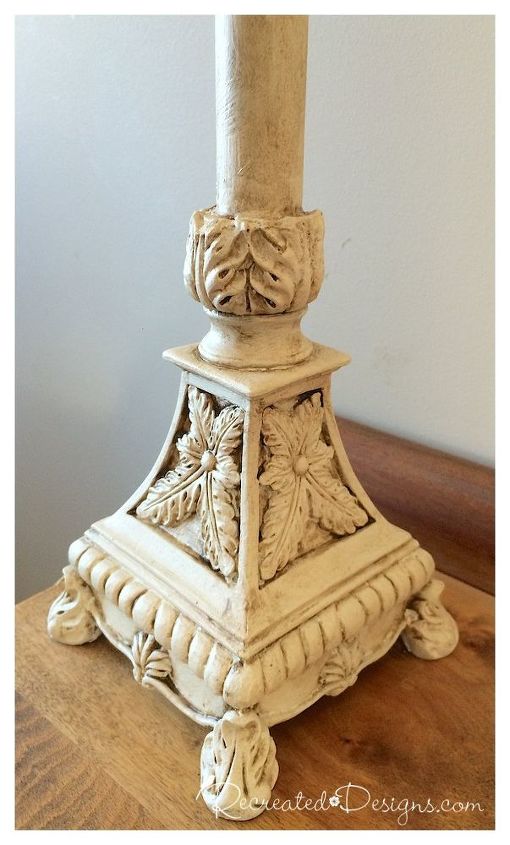
Before I could recreated the lamp, I made a few minor repairs. There was no real way to fix the broken leaf on the base so I just broke off the other three with a pair of pliers. I knew once the base was painted, you wouldn't notice that the leaves weren't compete so it was the easiest solution. ////
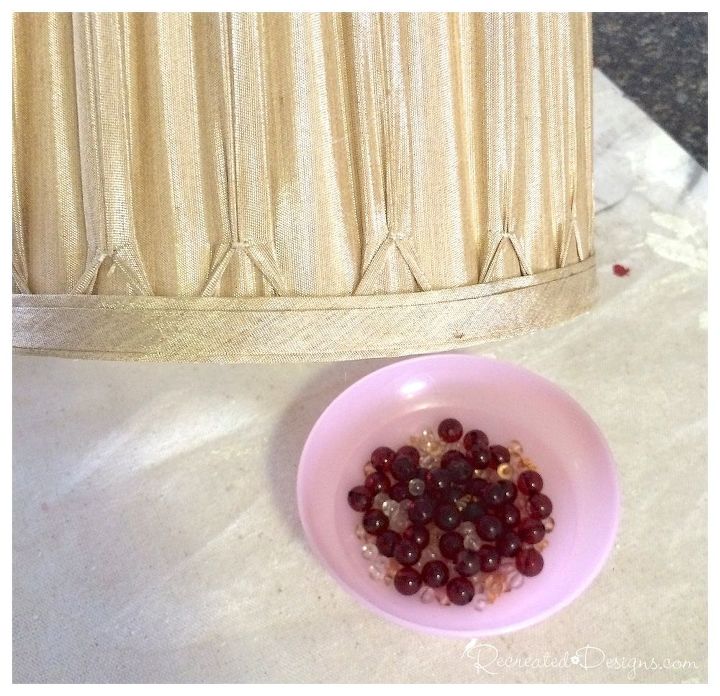
As for the lamp shade, I trimmed off all of the beads and strings and kept them to use for a future project.
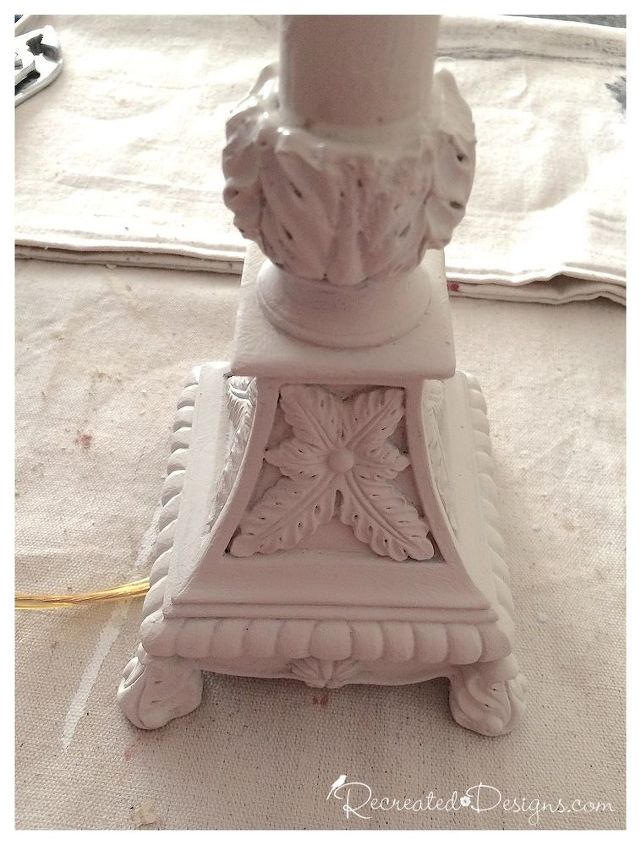
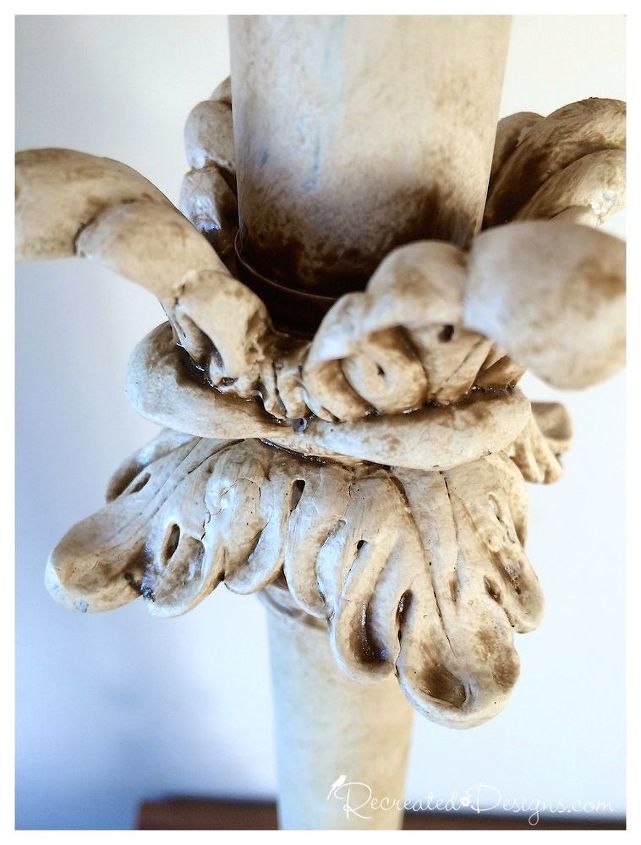
Since the lamp had a very "old world" feel I wanted to make it looked aged. I began by putting a coat of Fusion Mineral Paint in Champlain on the lamp base. Fusion Mineral Paint is very smooth so it was perfect for getting into all of the nooks and crannies of the details.
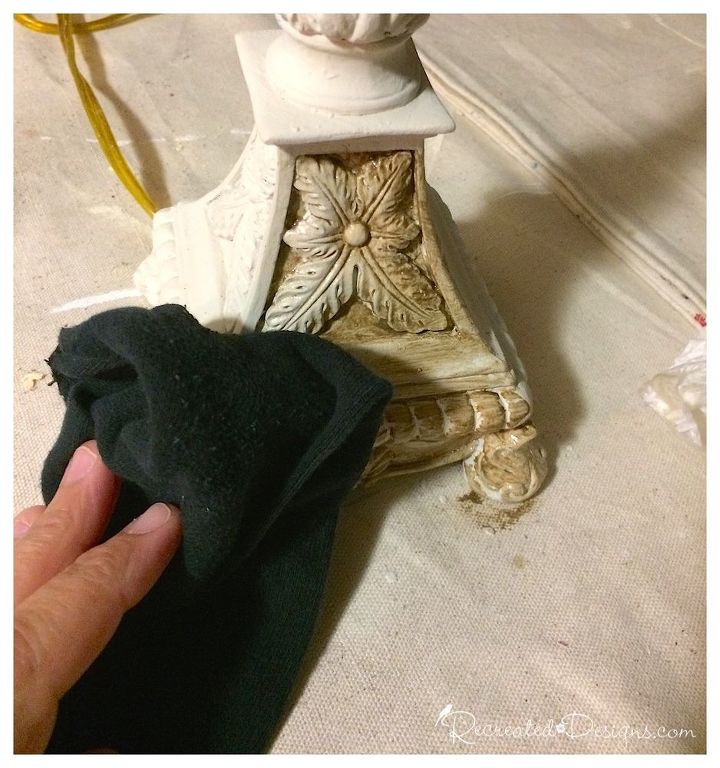
After applying the coat of Chalk paint, I started to apply Fusion Mineral Paint Antiquing Glaze. I loooove this glaze!! It goes on so beautifully and has a long "open" time so you have plenty of time to work with it on a piece.
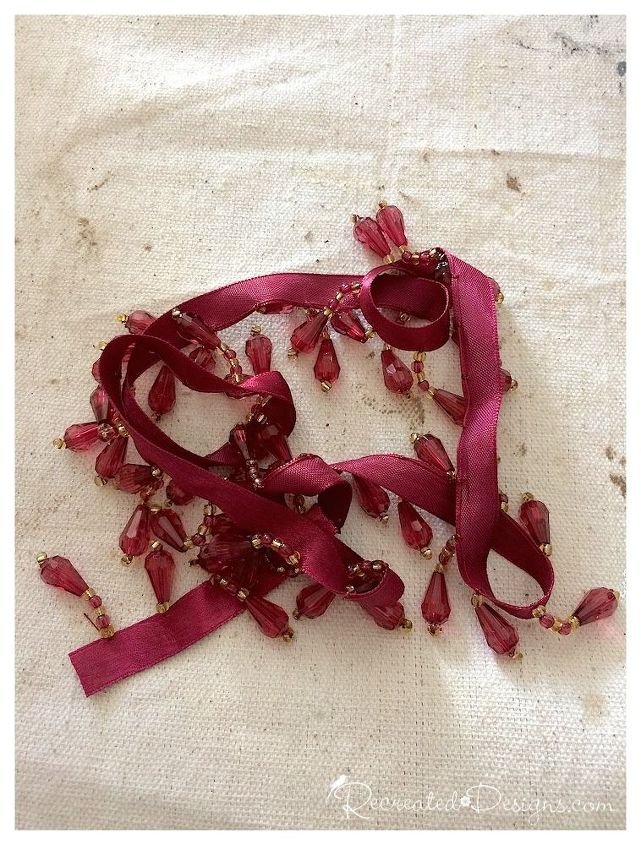
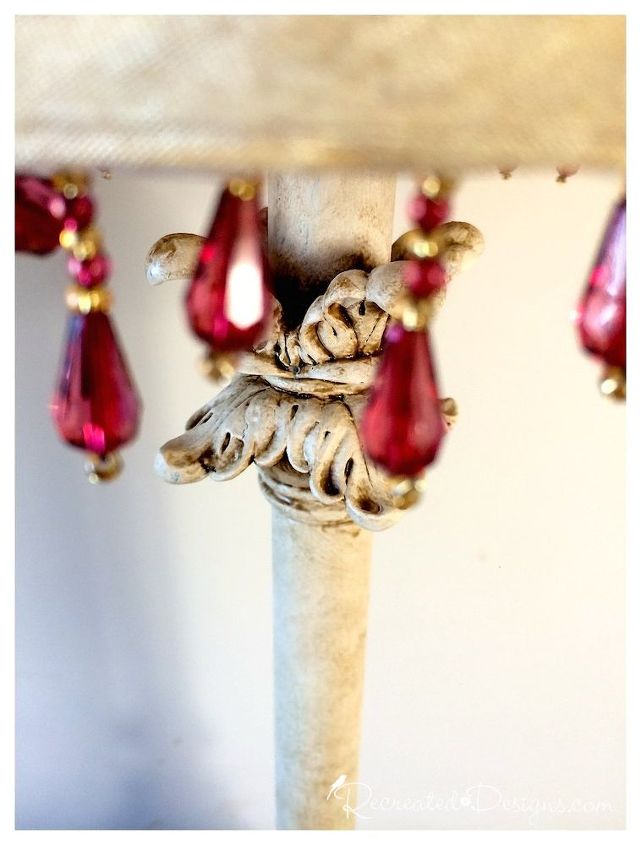
Wanting to add a little colour, I had so beautiful ruby beads left over from another project that were perfect to add to the shade. The shade itself had been in great condition, except for the beads, so I wanted to reuse it if at all possible.
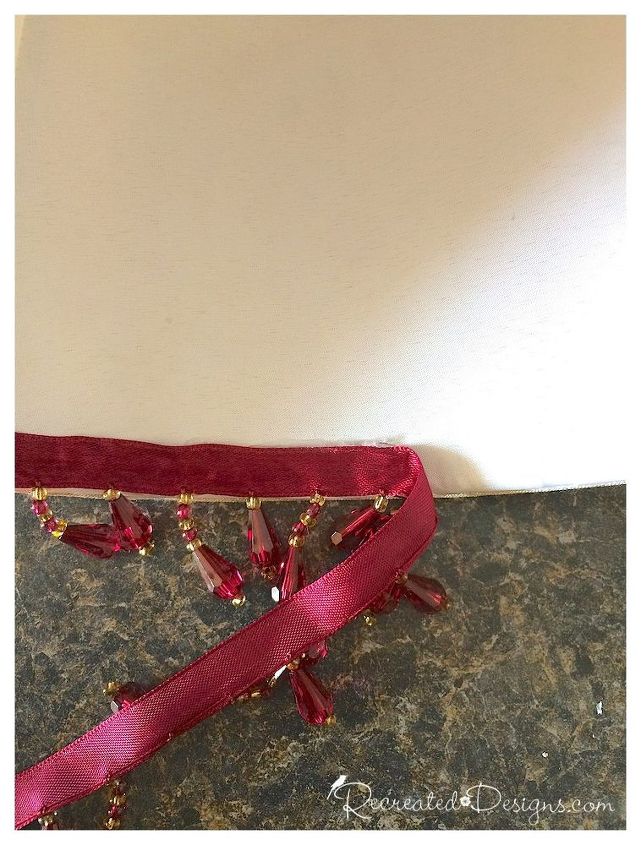
A little hot glue attached the ribbon of beads to the bottom, inside edge of the lamp shade perfectly. By adding them to the inside, I was able to hide the glue and the ribbon and just highlight the pretty beads.
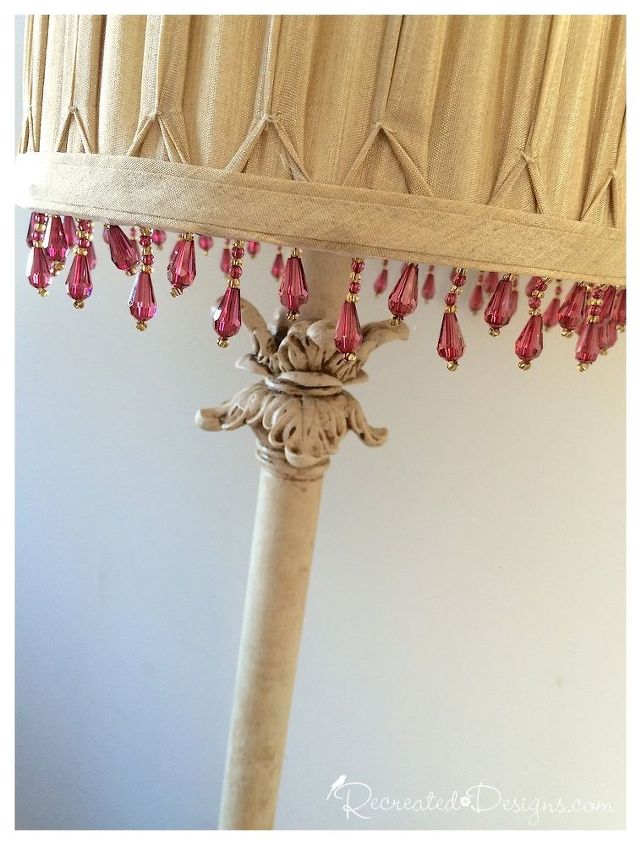
Once the base was painted and glazed, and the beads were attached to the shade, the only thing left to do was put the no-longer broken lamp back together :)
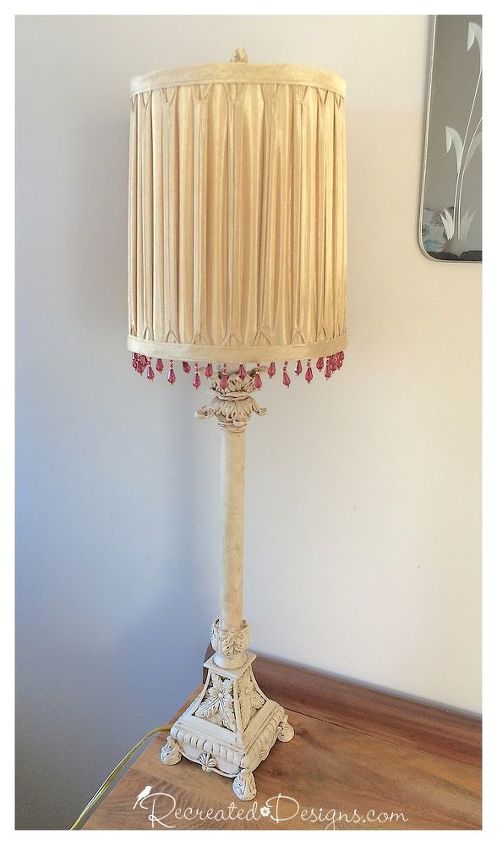
I am so happy that this lamp didn't end up in the trash as there was so much life left in it!

Want more details about this and other DIY projects? Check out my blog post!
Comments
Join the conversation
2 of 6 comments
-
Beautiful job. Thanks for sharing.
-
Pretty! Love the addition of the beads!


Frequently asked questions
Have a question about this project?