


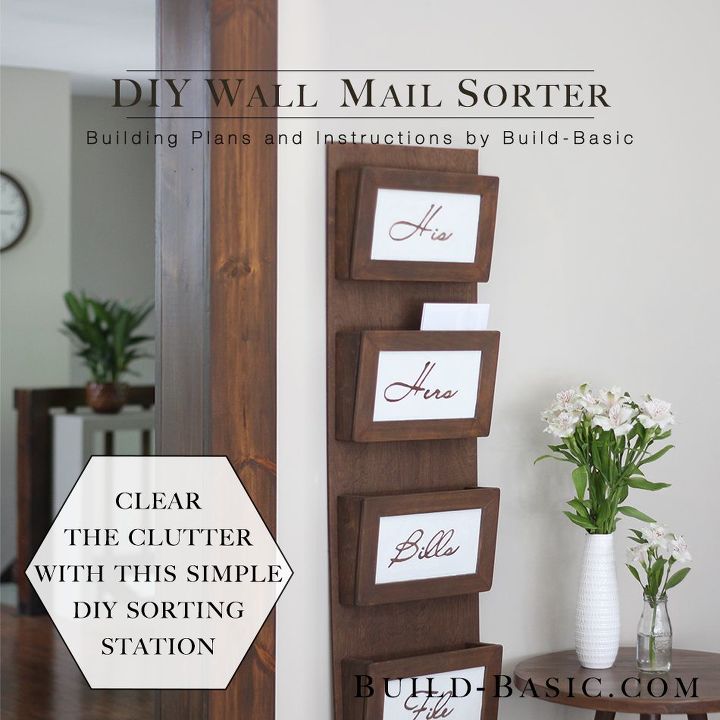
DIY Wall Mail Sorter #Organizing

No matter how I try, I can never seem to stay ahead of the pile of mail that quickly builds up on our kitchen counter. Finally, I set aside a few quick hours to assemble this handy sorting station using stock materials at the home center and basic tools. Scroll down to see how easily the parts come together and stop by my blog, Build Basic, using the link below to see each detailed step, and a full cut list to make your own!
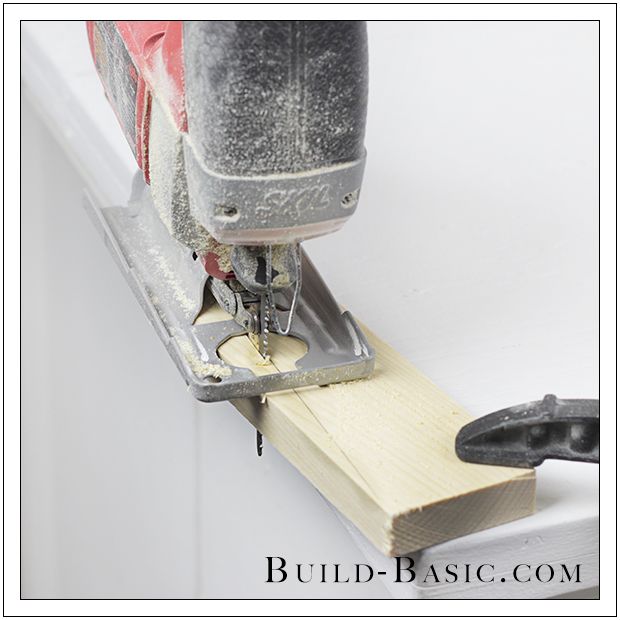
1. Prep the Parts
I first used a miter saw to cut the parts to size. To make the mail slots "tilt" outward, I used a jigsaw to cut them at an angle.
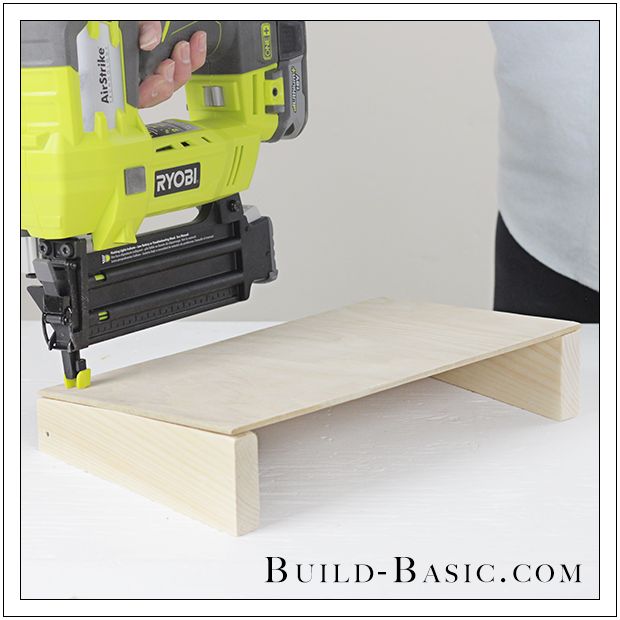
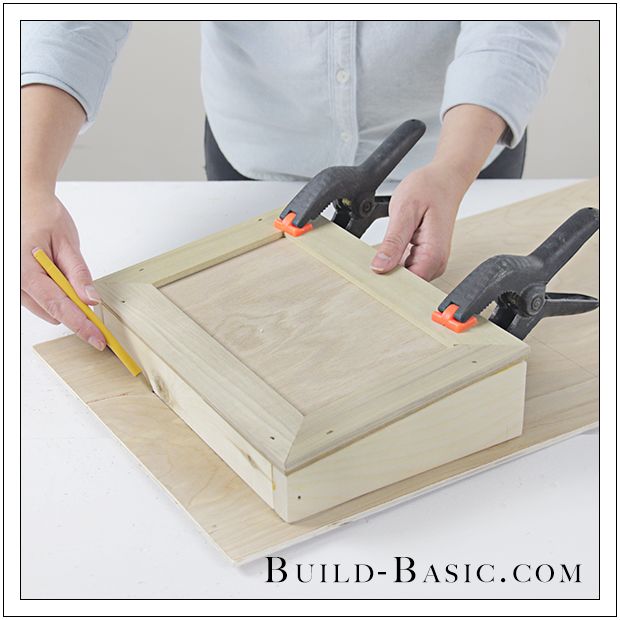
2. Assemble the Mail Slots
Using glue and a nail gun, I attached the face of each mail slot to its angled side walls, and bottom piece.
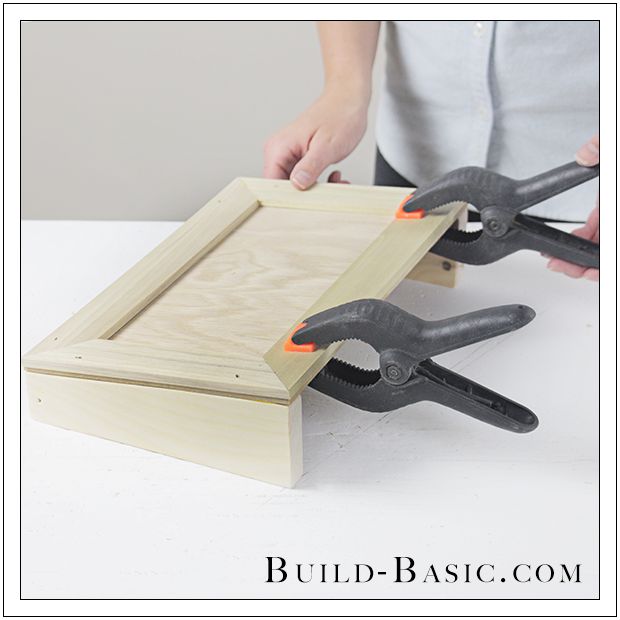
3. Attach the Trim
I cut pieces of a thin hobby boards to length, and attached them to the face of each mail sorter to create a decorative frame.
4. Attach the Mail Slots to the Backer Board
Using glue and nails, I attached each mail slot to a thin piece of plywood. I finished with a coat of stain and some custom stenciling I made using just painter's tape! (Check out the full stencil tutorial on Build Basic!)
I hope you enjoyed this project! To see each detailed step and a full cut list, click over to my site, Build Basic, using the link below! Thanks for reading!! --Jenn
Comments
Join the conversation
-
ABSOLUTELY AWESOME! I love it! just 1 Question...why in the name of god didn't I think of it? lol To me this looks about as easy as a walk in the park... TY Mademoiselle for sharing this with us. :-)
-
I need this so badly. I am truly overwhelmed with the mail. It is beautifully done and I want one.


Frequently asked questions
Have a question about this project?