


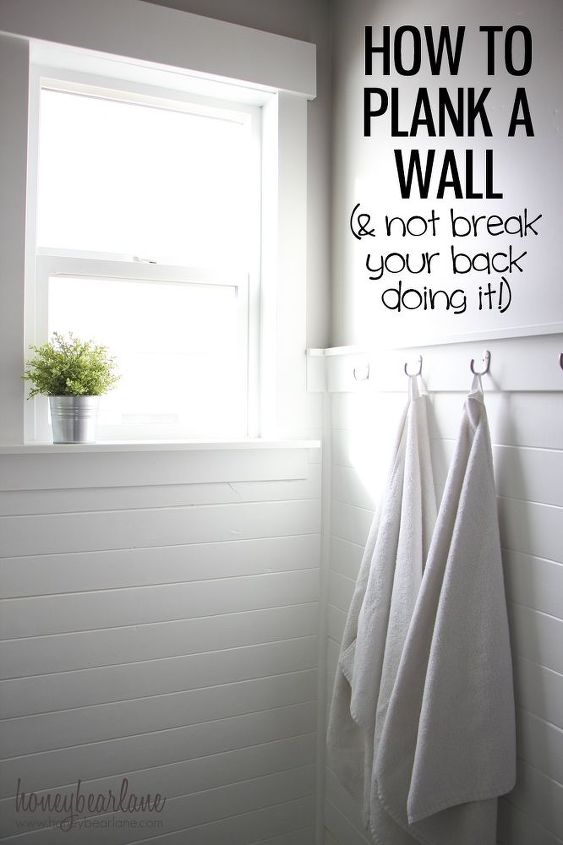
Planked Bathroom Wall
$50
3 Days
Easy
The towel rack of the kids bathroom kept falling off. I came up with the perfect solution, albeit maybe not the easiest. But I love the end result and I'm so glad I did it, even at the expense of my poor back! Read on...

I love the look of planks and it took me quite the trial and error experience to figure out the best option for planking in this bathroom. I ended up using tongue-and-groove pine planks from Lowe's. They were great to work with and very cost effective.
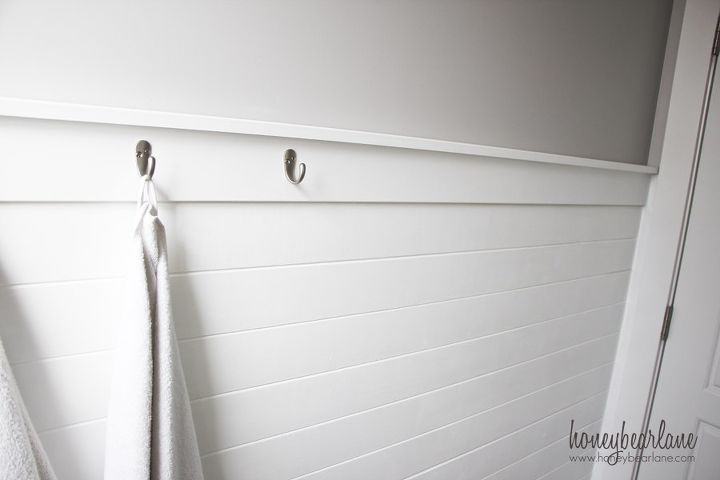
I topped it off with some MDF boards and some simple robe hooks for towels. Now we have a place to hang towels and I can decorate the room!
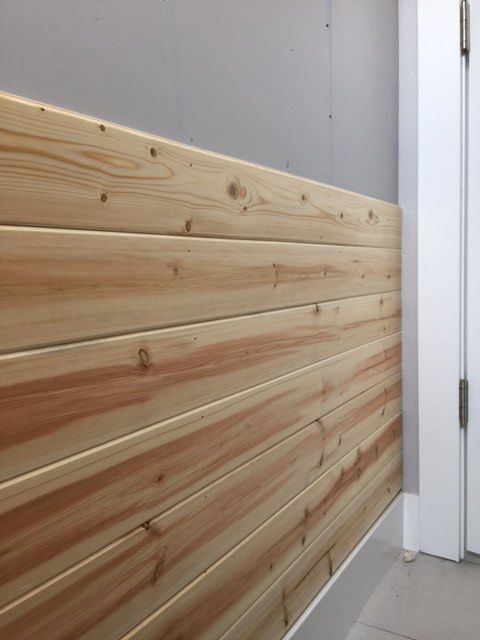
Tongue and groove is easy to use. Make sure the first board is level and nail it in place. Then the rest slide into each other with a little encouragement from a mallet (and another board so I don't damage the tongue.) Each board was nailed into studs.
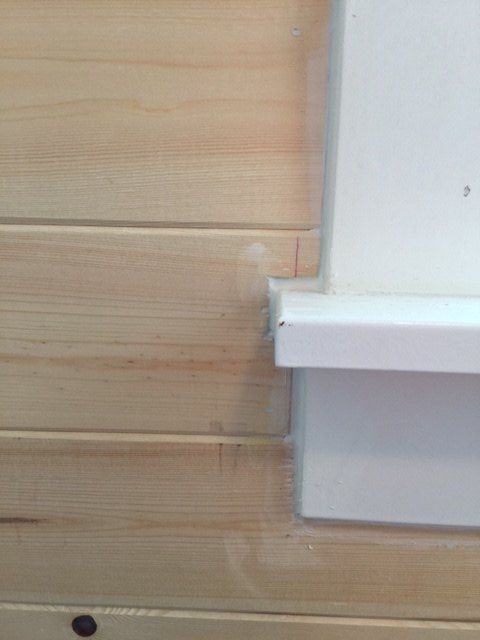
I used a piece of paper to cut a pattern for these tricky areas like around the window. I used a jigsaw to cut them. Caulk is very forgiving!

Once it was all done, I primed it with shellac primer so no knots would bleed through. I also caulked the heck out of every spot that needed it, including in between some boards that were chipped or whatever. Then I painted two coats of latex satin top coat on top...and my back was done! I did this project being six months pregnant so that explains the strain on my back!
Don't you love it? It's quite glorious if I do say so myself. In fact, I've decided to plank the rest of my bathrooms this way...once this baby is out of me of course!

Want more details about this and other DIY projects? Check out my blog post!
Comments
Join the conversation
2 of 58 comments
-
Great look ! Job well done !
-
Great job! Thanks for the tutorial and hope that the rest of your pregnancy is uneventful!


Frequently asked questions
Have a question about this project?