


DIY Painted Planter
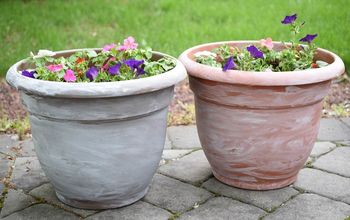
Here is a planter makeover that I recently did. I have this aqua green planter that is in great condition and just the right size for the plant it holds. The problem is, it doesn't go with any of the other colors in the room. I decided the quickest way to fix that was to simply paint it.
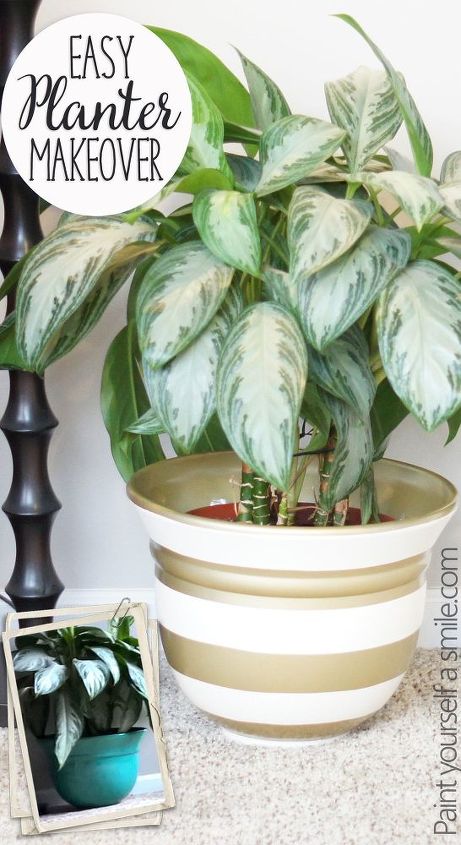
It came out better then I could have hoped. Here are the steps I took....
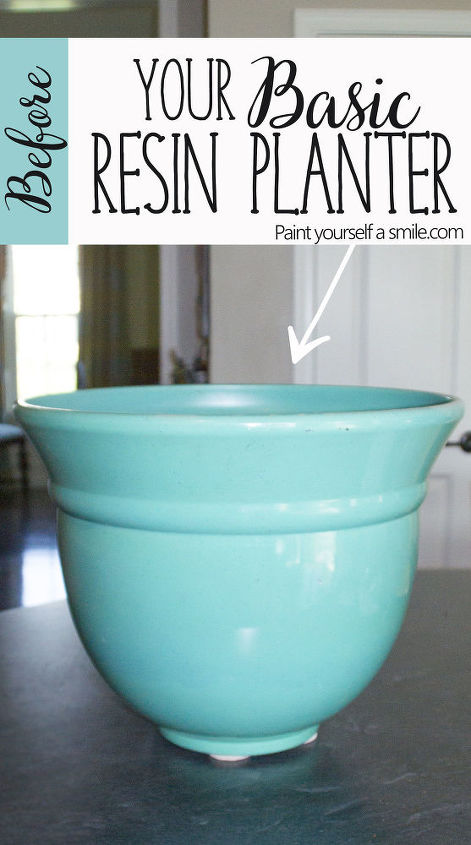
It starts with a large resin planter pot that no longer matches the family room
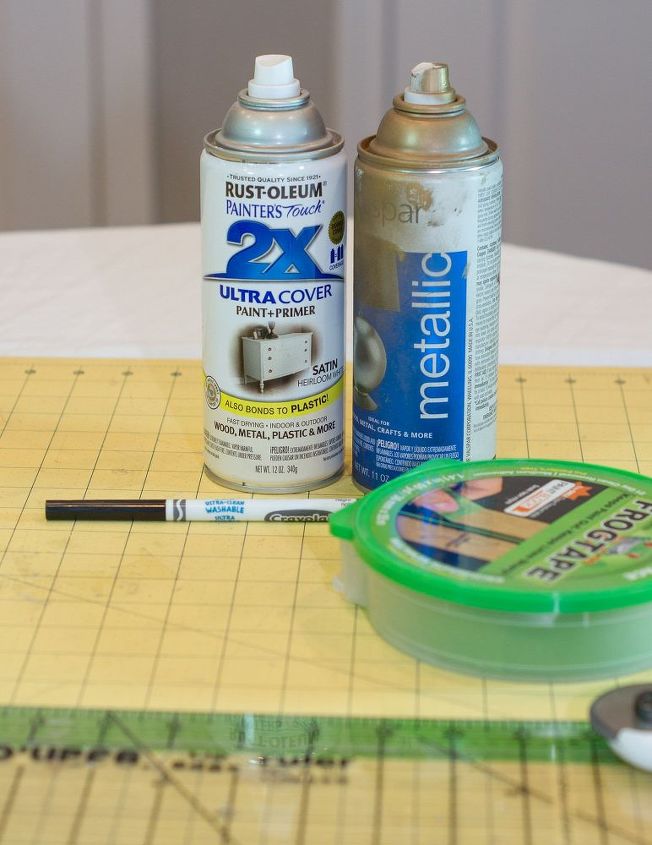
Supplies
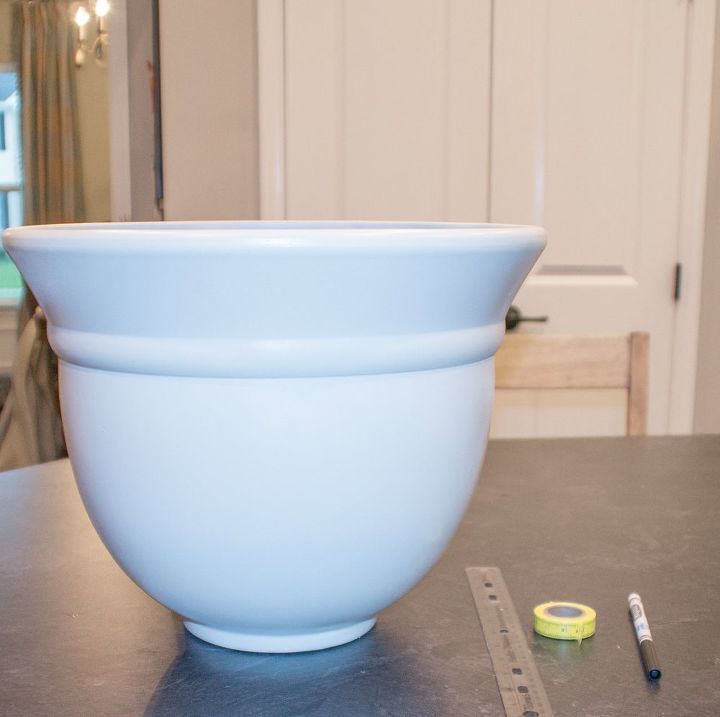
Prep:
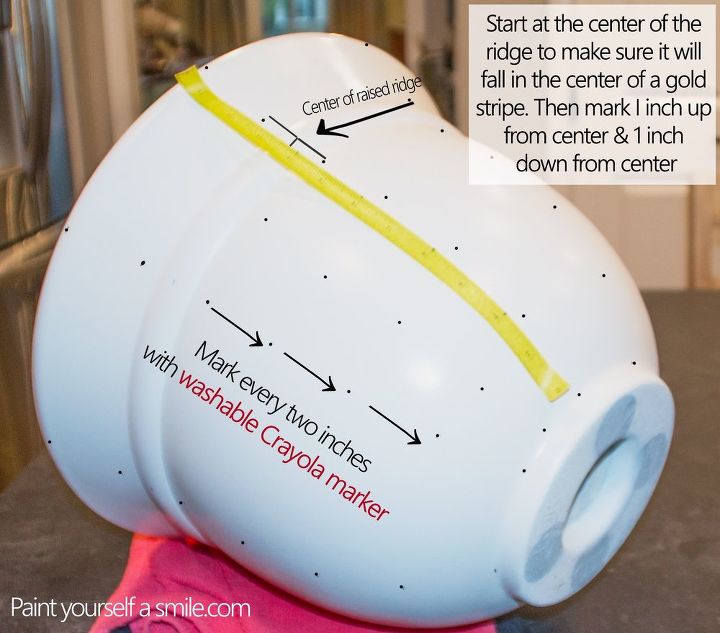
Once the spray paint had a chance to cure, it was time to measure and mark where I would place my painters tape. Keep in mind the tape is going to cover what will be the white stripes. What is not taped will result in a gold stripe. If my planter was completely plain and without any decorative detail, I may have simply started at the top of the planter and made a mark every two inches going down since I want the stripes to all be 2 inches wide. But if you look at the planter I am using you see it has a decorative raised ridge that runs along the top half. decided it would look best if the ridge was directly in the center of a gold stripe. To ensure that the ridge falls directly in the middle of the gold stripe I used the ridge as my starting point. First I measured and found the center of the raised ridge. Because my stripes are 2 inches wide I measured and made a mark 1 inch up and 1 inch down from the center. Then from those marks I measured down or up every 2 inches. It should look something like the above picture. The dots will mark the top of your tape line and the lower dot is the bottom of your tape line. Continue making the vertical line of dots around the circumference of the pot.
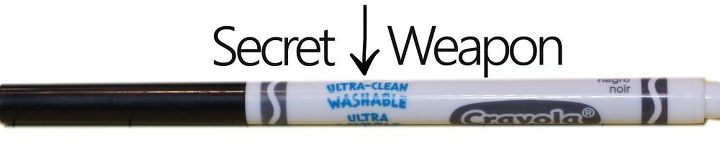
To mark where to the tape goes: I use a CRAYOLA WASHABLE MARKER. They are a school supply staple and can be easily found at the store or at the bottom of your child's backpack. Pencil lines and chalk marks can be hard to get off but the washable marker washes completely off. It is great to use for temporary marks on walls too
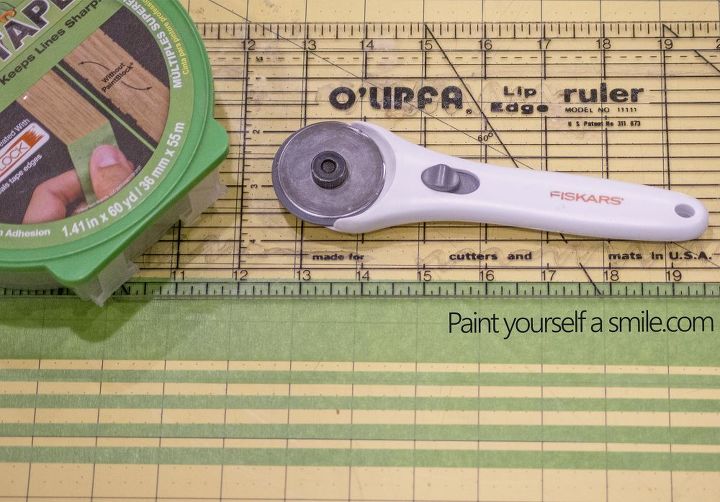
If you have ever tried to tape a curved object like a lamp shade or in this case, a planter pot you likely know that tape doesn't bend well because it likes to make a straight line. This is problematic when trying to tape around a curve. If you try to force the tape to conform to the curve it buckles and folds which defeats the point of using masking tape to create a clean line. To prevent this, you will need to cut your tape into long thin strips about a of an inch wide. It is easy to do with a ruler, rotary cutter and cutting mat. The thinner width will allow it to bend with a slight curve.
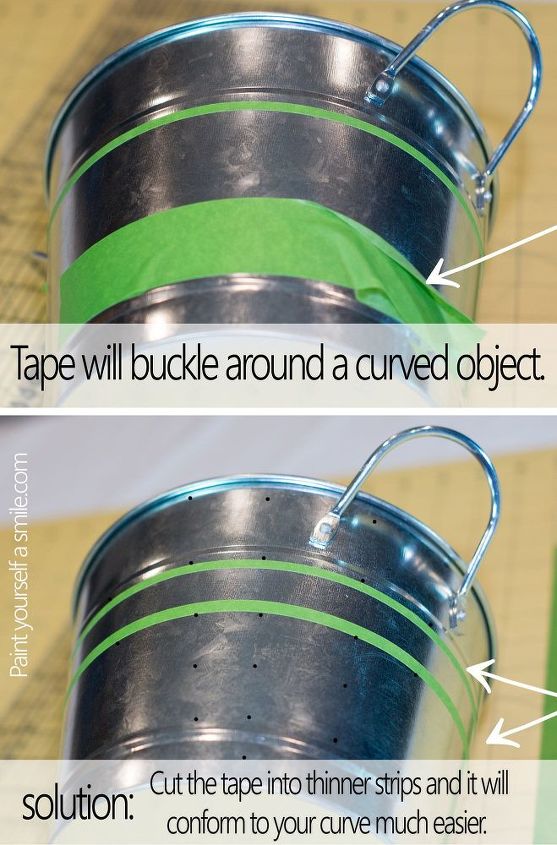
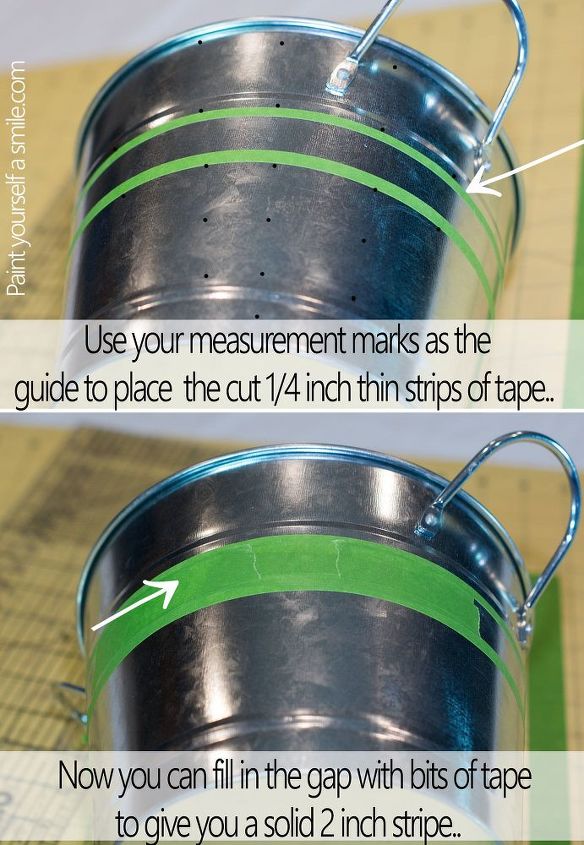
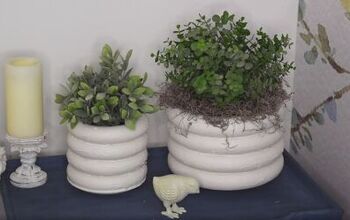
At this point I got carried away and was forgetting to take photos so I went back and used this small silver bucket as an example. Using the dots you made as your guide, place a line of tape for the top of the stripe and a line of tape masking the bottom of your stripe. Once that is done you can fill in the middle with wider strips of tape. This should create a perfect 2-inch stripe going around the planter. Continue to do this till all the stripes are masked off.
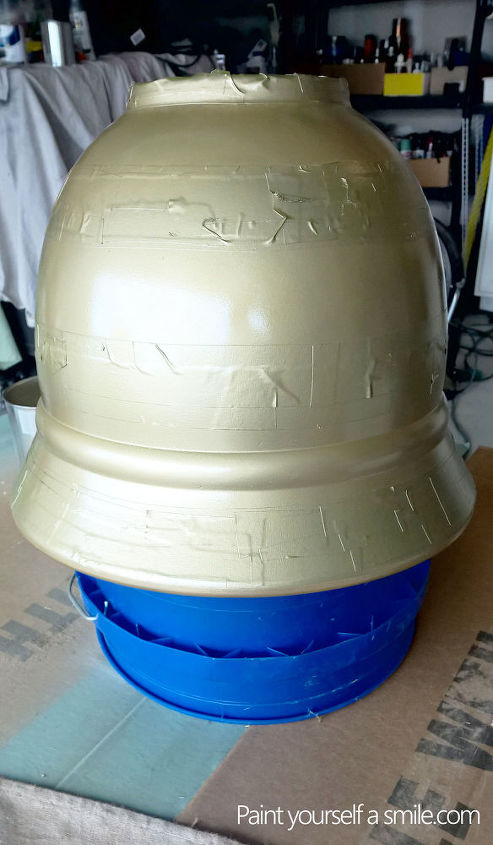
You now have your stripes masked off in tape and all that is left is to spray the unmasked areas gold. I also painted the inside of my pot.
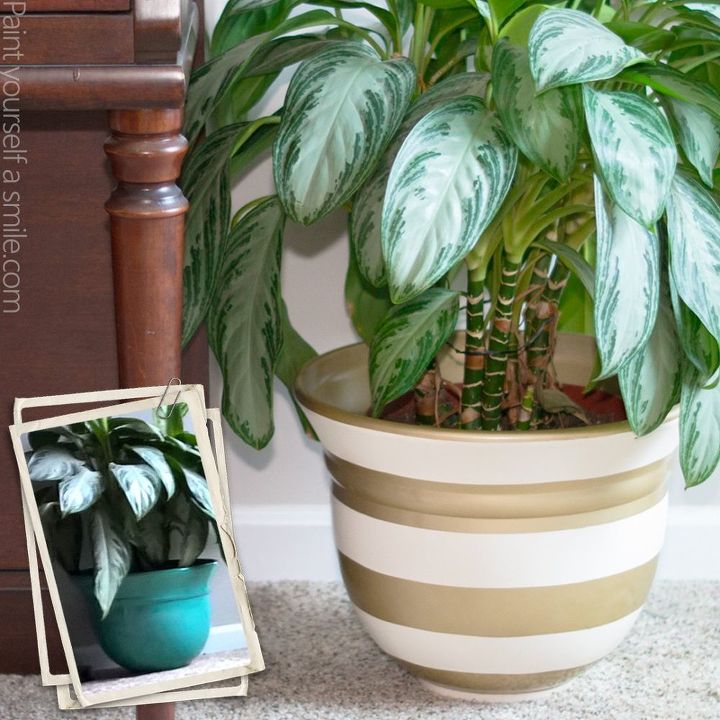
After a few hours when my paint was completely dry I removed to tape and my planter was ready to go. click the link below to check out more

Want more details about this and other DIY projects? Check out my blog post!
Comments
Join the conversation
3 of 5 comments
-
Much prettier! Teal is my favorite color so the fact that you improved on it says a lot to me!
-
Simply beautiful, looks high-end! I love the plant too! Great job!


Frequently asked questions
Have a question about this project?