


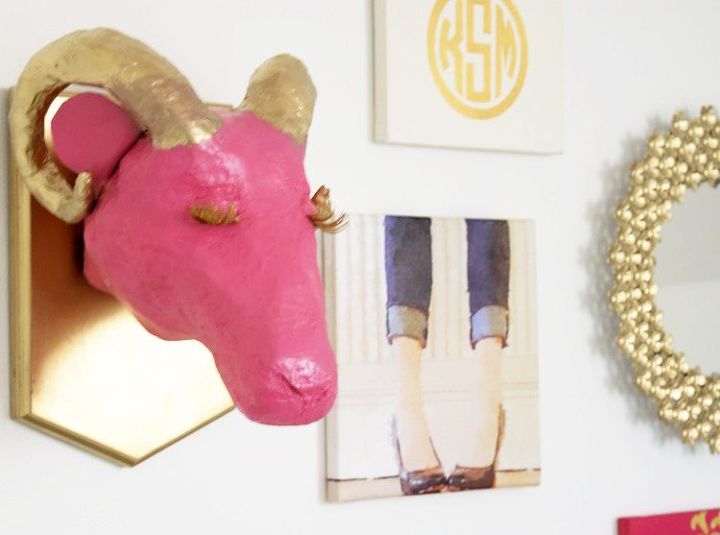
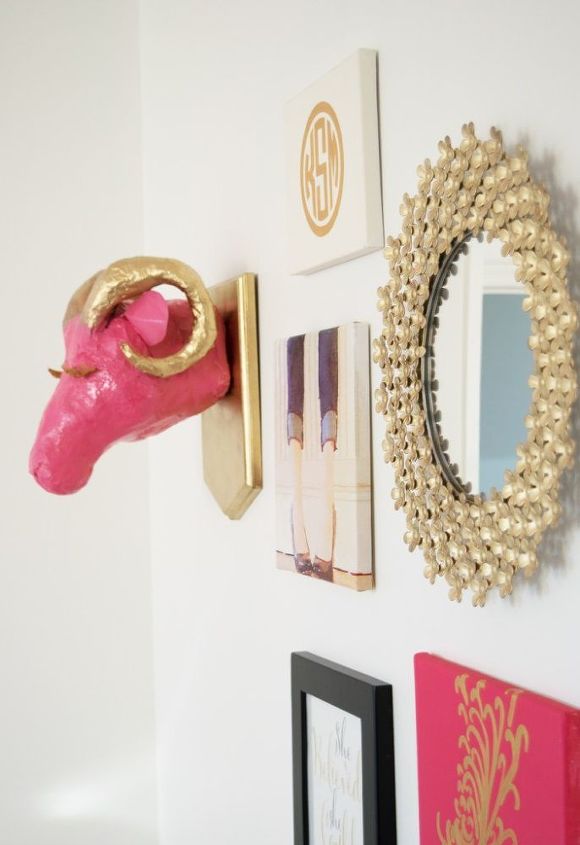
The Glam Ram: Paper Mache Ram Trophy Head
This paper mache ram trophy head is the last element of the gallery wall that my daughter wanted in her recently re-done bedroom. The ram head is significant it is her school mascot. decor, ymom likeaboss
The conversation went something like this:
I have to say that I haven't really worked with paper mache since I left elementary school...a few years ago! But I really enjoyed this project! Not only is it fun to get your hands all goopy, but you can actually form something with nothing more than newspaper, flour and water and most importantly...it is a very forgiving craft. If you make a mistake (which I did several times) you can easily mend it. After Ram(shes) was all done and ready to be hung, she fell off of the counter and cracked in several places. I merely whipped up a wee batch of water and flour ,ripped a couple strips of newspaper and voila...she was easily mended.
What you need to make a paper mache ram trophy head (or other animal trophy head):
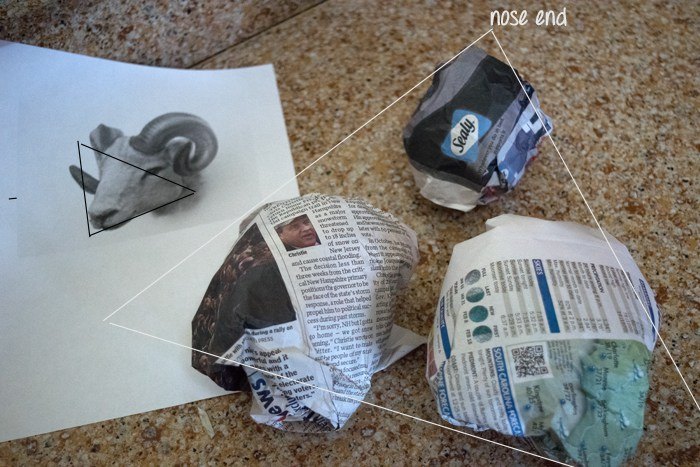
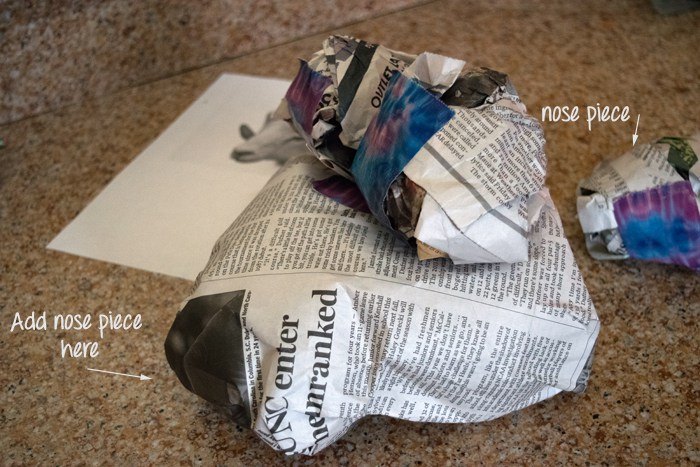
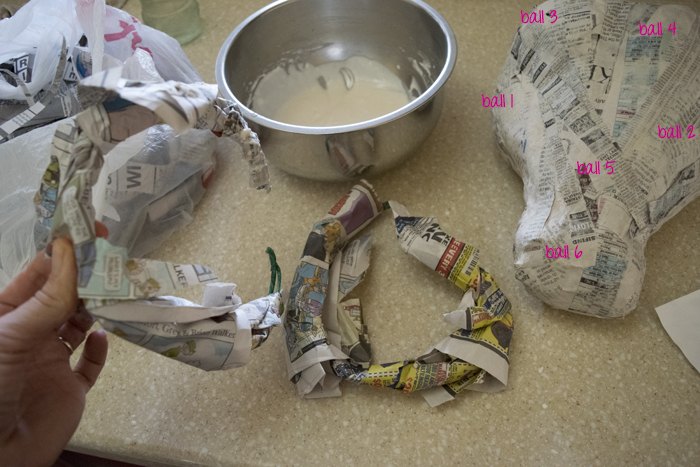
I wrapped those first three balls of paper and taped that together. Then I added 3 more pieces, 2 side by side where the eyes will be and 1 added on to the opposite end where the nose will be.
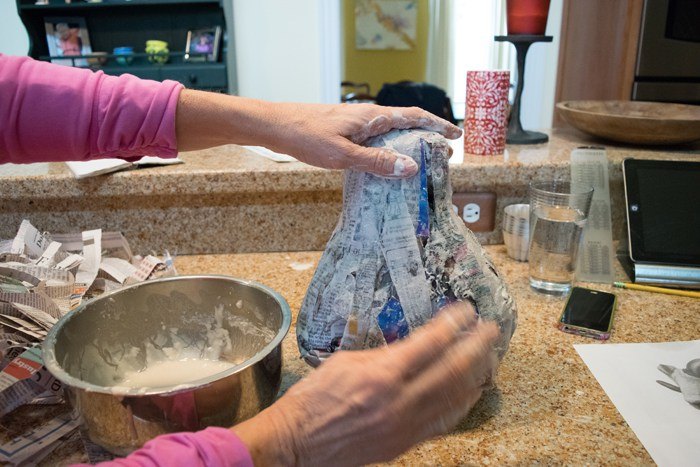
Here's where the fun starts. Mix equal amounts of water and flour (I would do 1 cup of each at a time). Dip your strips of newspaper in the flour/water paste and run the paper through your fingers to get most of the paste off of it. Start overlaying your paste strips on your figure, covering it completely. Once its covered, set it aside to dry. Or, you could put it in your oven, set at 150-200. How long depends on how wet your figure is. I would turn my oven for one half an hour and then let it sit in the oven after I turned it off.
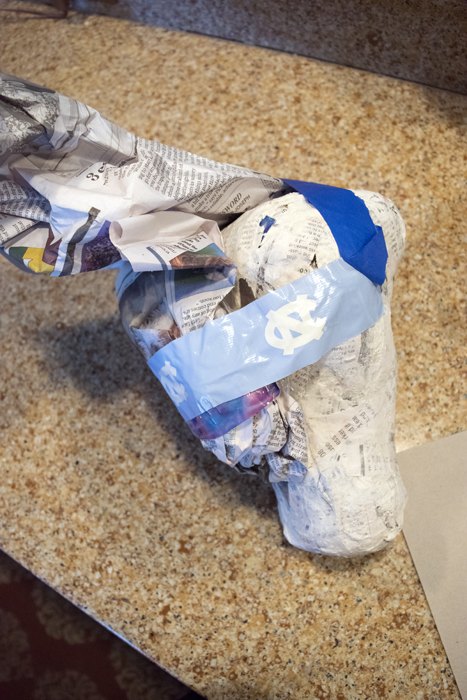
After I had her head pretty much set, I realized that she needed a neck and that she needed a little more meat under her chin. It was so easy to just bundle some newspaper up, tape it on and then cover it with the paper mache. Just a note, it does seem that I had a hard time finding tape that wanted to adhere to the dried paper mache...not sure why. But it stayed on long enough for me to cover it with the paper mache.
n retrospect, this would've been a good time to take some of the original paper balls out of her head to reduce the weight. As it was, I did it after I attached the neck, which was not a problem at all. I told you it was very forgiving. I also ended up cutting a hole under the nose to remove those balls of paper. I was hesitant to pull them all the way from the back...didn't want the structure to collapse. Once I got all the 'stuffing' out, I merely patched her up with paper and water/flour paste.
I drew in where I thought her eyes would go and then placed the horns appropriately, using the photo as a reference.
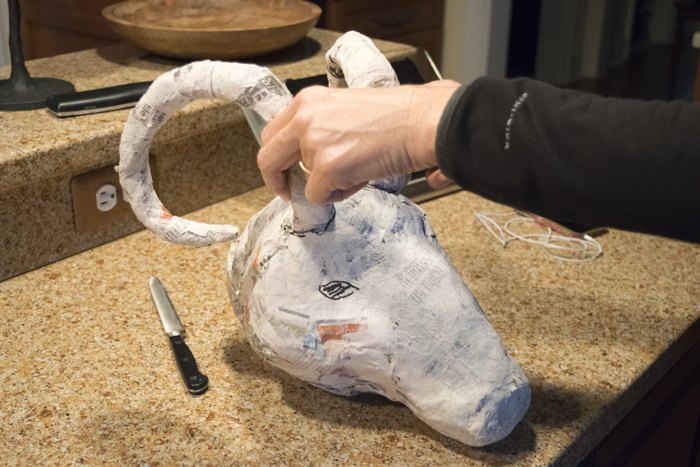
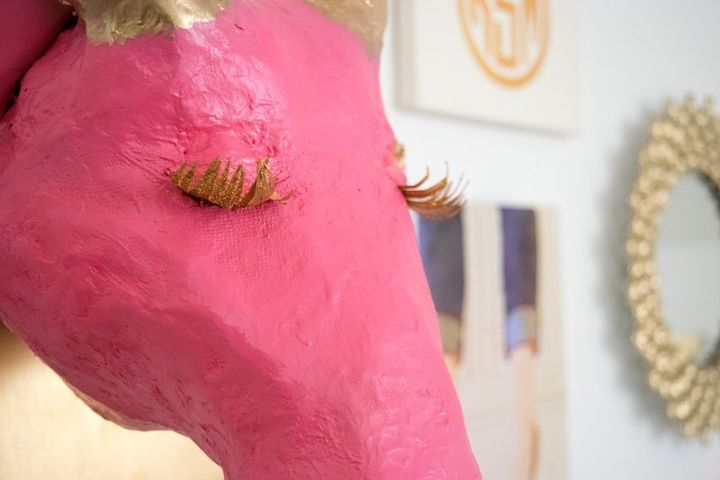
I cut holes in her head big enough for the horns, put a little glue in the holes and then stuck the horns in. I propped the horns up on cans while they were drying to keep them in place. By wrapping the paper mache strips both vertically and horizontally on the horns and where they attached to the head, I was able to make them very secure. I ended up making the horns much thicker after they were 'installed'. I also cut out the eye area, added a small ball made of aluminum foil to the eyesocket and paper mache-d over it when I attached the horns. I used a knife to outline the eye area.

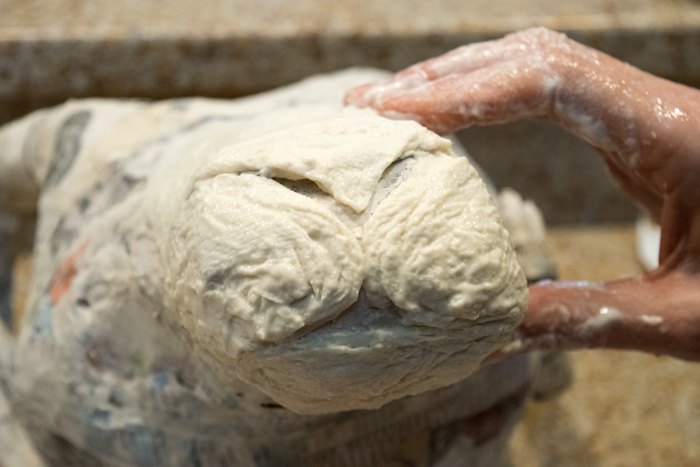
used paper towel instead of newspaper to mold her nose and mouth. Paper napkins and paper towels are much easier to mold.
I added ears cut out of cardstock to her head.


Want more details about this and other DIY projects? Check out my blog post!
Comments
Join the conversation
2 of 97 comments
-
Thank you for the information. I'll be sure to add salt.
-
what a great idea love the ramshe its gorgeous


Frequently asked questions
Have a question about this project?