


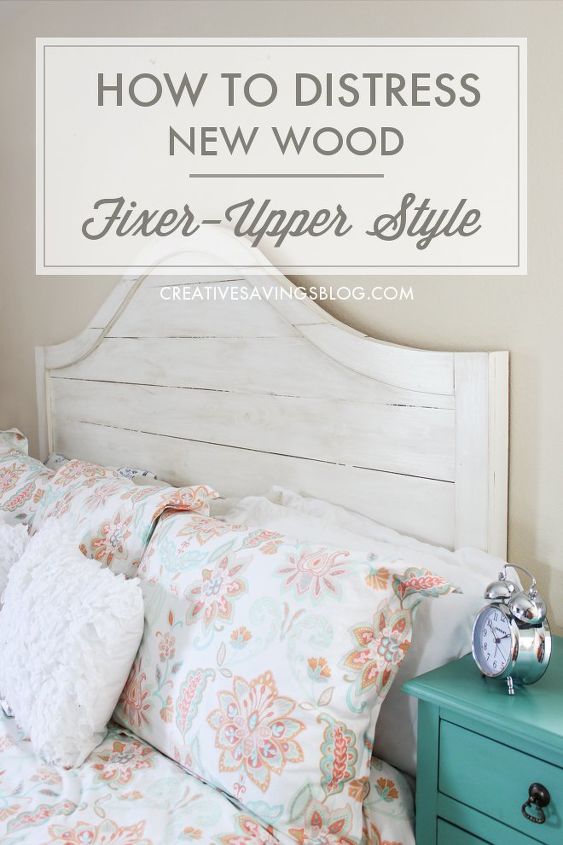
How to Distress New Wood #FixerUpperStyle

by
Kalynbrooke
Medium
After building our headboard, I knew I wanted to distress it Fixer Upper style, all of which I have never done before to any kind of furniture, let alone brand new wood. Thankfully, I read a ton of tutorials online and was able to piece together what I needed to buy to achieve the end result.

Step 1: Sand furniture smooth {if needed}, and prime with one coat water-based primer.
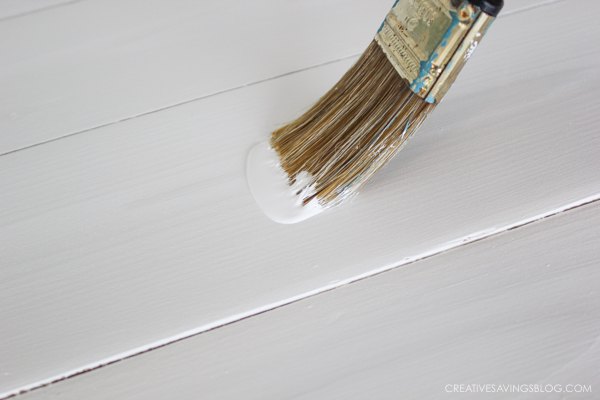
Step 2: Paint with a semi-gloss paint in a white or ivory color. I used the color Polar Bear from the Behr line at Home Depot. Two coats of this were enough to cover all the crevices.
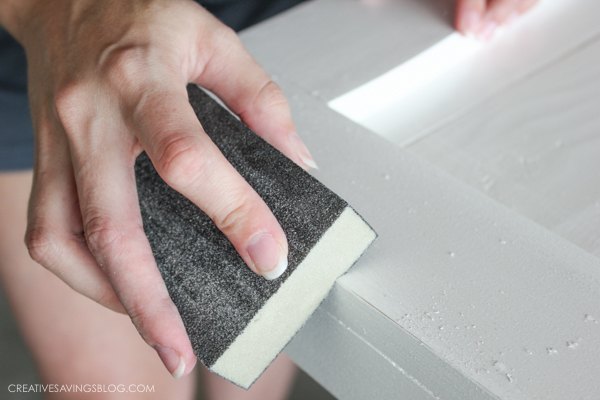
Step 3: Using a sanding block, sand along all the edges where there would most likely be natural wear. I alternated between sanding hard in some spots and soft in others so it looked "random".
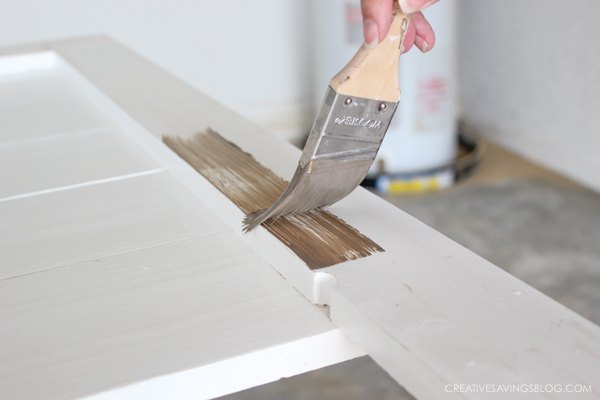
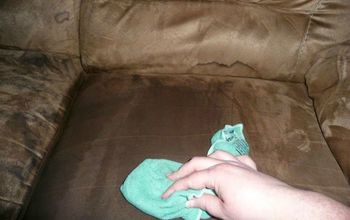
Step 4: Mix a 50/50 ratio of chocolate brown paint {I used Glidden's Monterey Cliff} with a can of Behr's Faux Glaze. Then paint a medium amount {not too much, but not too little} of the paint onto furniture and wipe off immediately with a paper towel or rag.
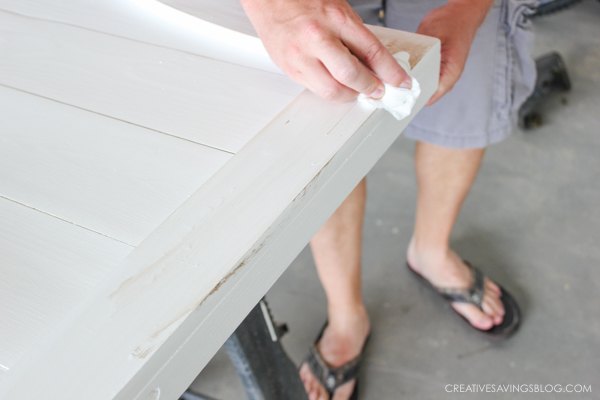
Step 5: When everything is dry, give your piece of furniture a final coat of Polyurethane to seal everything in and give it a nice shine.
For a more detailed tutorial, be sure to visit the link below:
Want more details about this and other DIY projects? Check out my blog post!
Comments
Join the conversation
2 of 12 comments
-
I do actually! You can get them here: http://creativesavingsblog.com/diy-projects/h...
-
Sweetness


Frequently asked questions
Have a question about this project?