


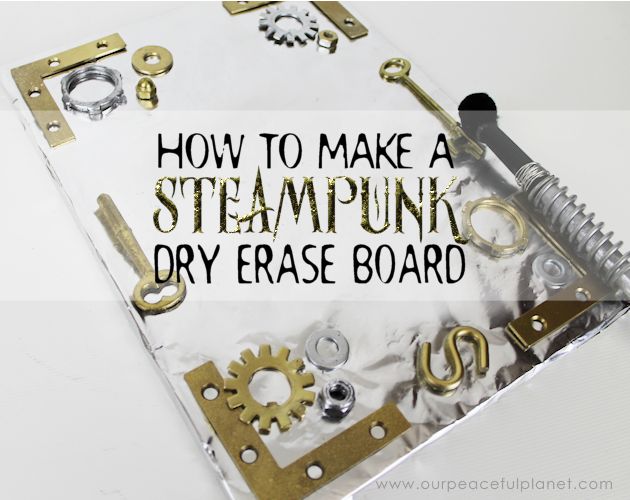
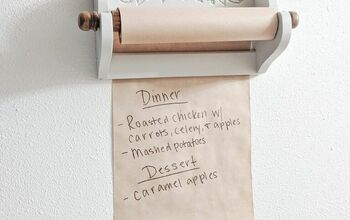
Steampunk Dry Erase Board
This simple DIY Steampunk dry erase board is perfect for keeping track of upcoming events or reminders. All you need is foil, foam board and metal parts!
SUPPLIES
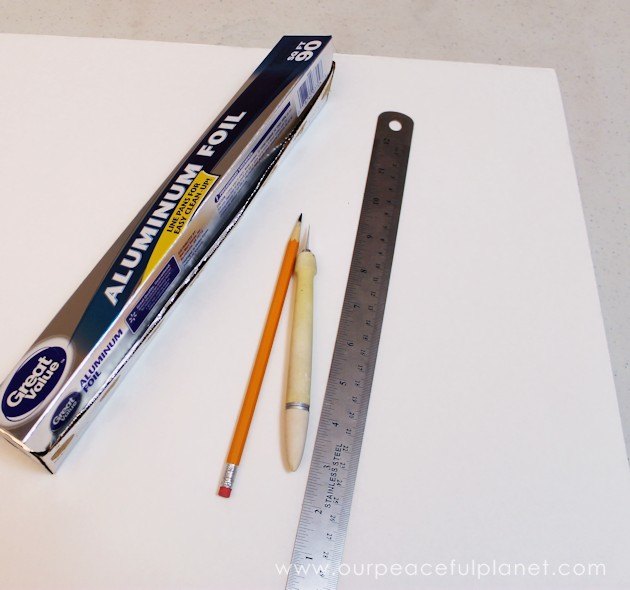
The basic supplies for the dry erase board itself.
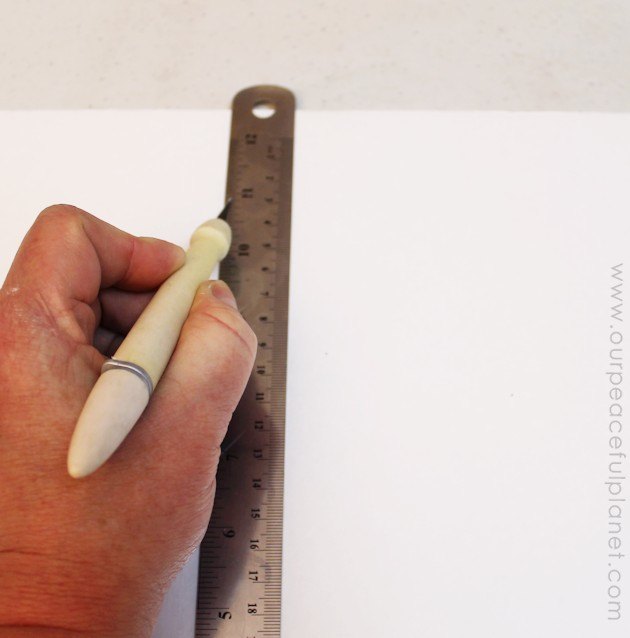
Cut the wipe off board to the size you want. Make sure it's no larger than the foil which needs to wrap around the edges.
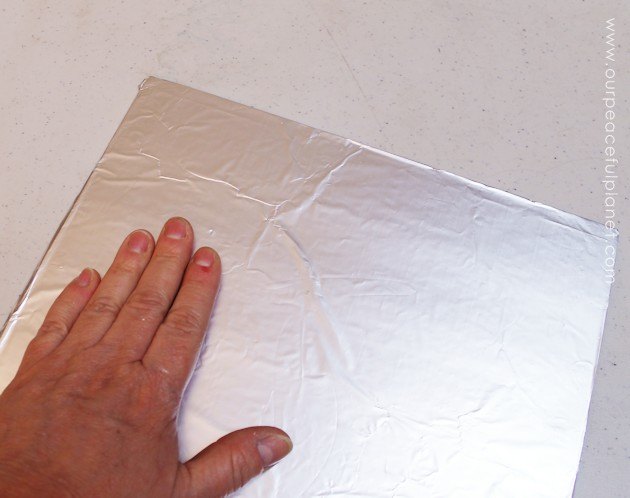
Spray your foam board lightly with spray adhesive and carefully smooth on your foil. You want about a inch to wrap around to the back and glue in place.
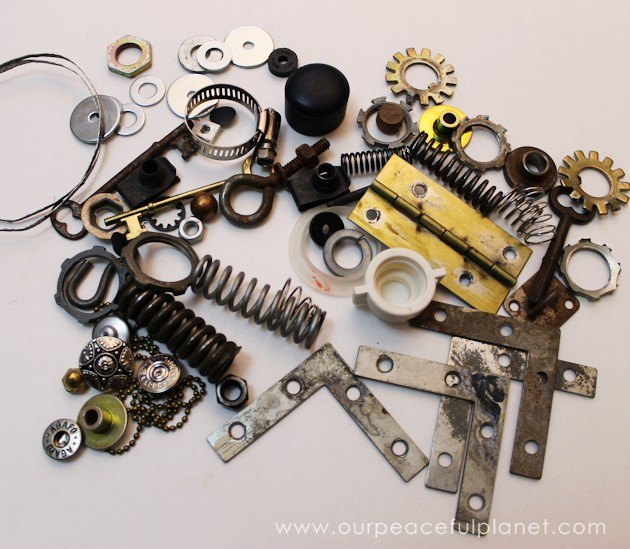
Gather your metal pieces!
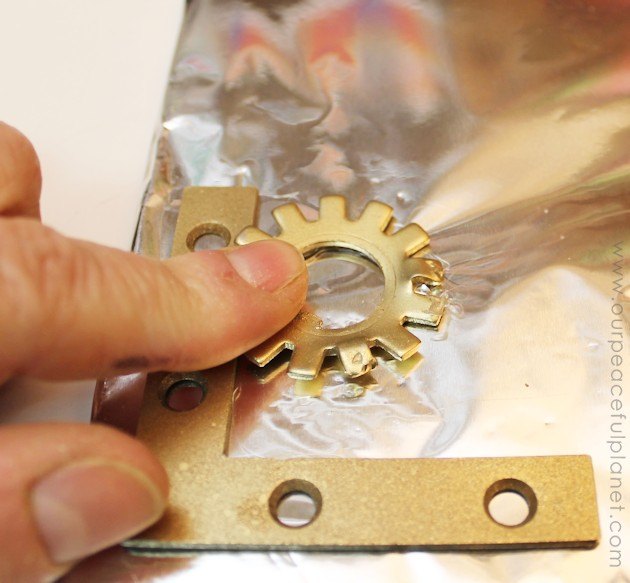
I spray painted some of my pieces using gold and silver spray paint. Then attach them to the edges of your dry erase board.
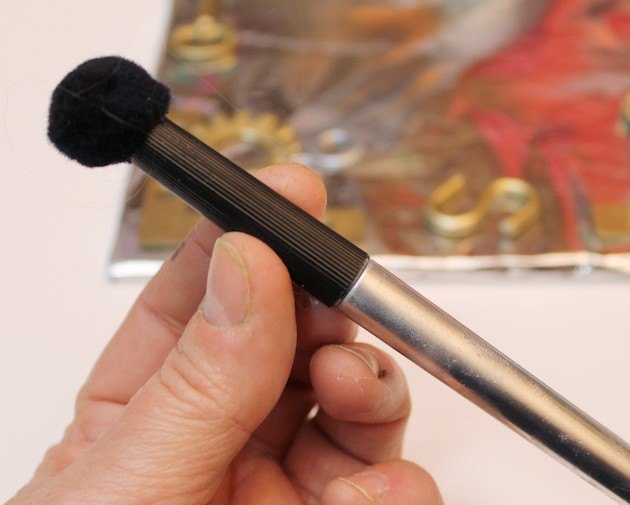
I painted a dry erase marker to match and added a black pom pom on top for quick erasing. Lots more photos and details are on my site below!

Want more details about this and other DIY projects? Check out my blog post!
Comments
Join the conversation
2 of 13 comments
-
Why I am not getting new mails from hometalk
-
A photo of the finished board in use would have been appreciated.


Frequently asked questions
Have a question about this project?