


THINK SPRING With DIY Ideas, Including a Moss Covered Bunny
$4.00
Easy
How do you start thinking of spring when you still have snow on the ground? Simple...you join up with Blog Hop and just make up your mind that you're tired of the drab winter look and you're looking for anything to say it's SPRING!

This is my finished moss-covered $1.50 bunny!
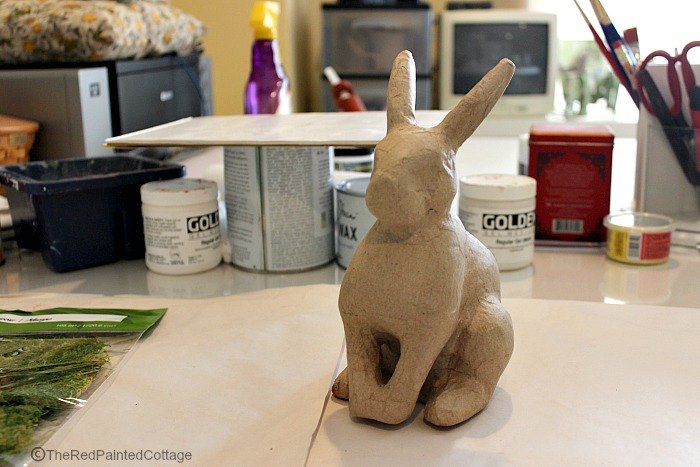
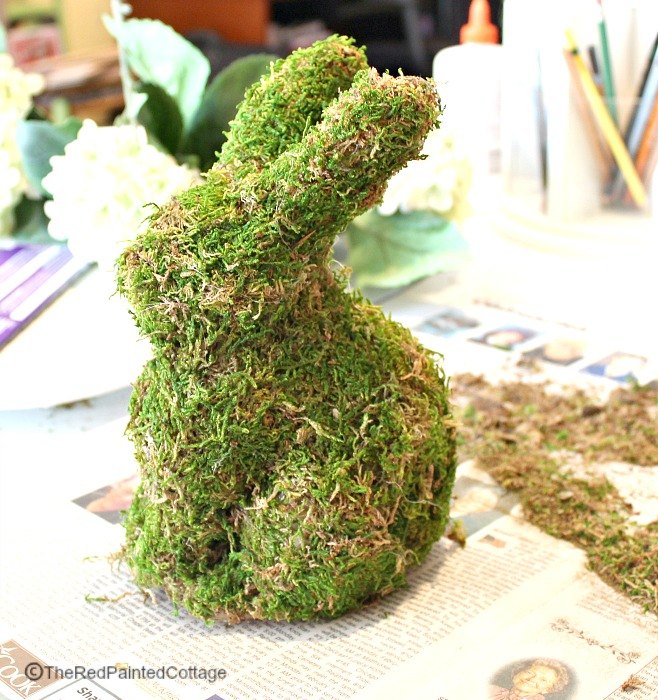
I was very fortunate to find this awesome paper mache bunny on sale at the store for less than $1.50. How could I pass him up for that price...obviously, I couldn't! I immediately thought about covering him in moss. I bought a package of green moss. Look for moss that seems more flat, as some have more undergrowth attached to the moss and is thicker.

I used my hot glue gun and used a low setting so I wouldn't burn my fingers through the moss. I started at the ears. Just start cutting and/or tearing pieces of moss. After hot gluing the ears, I wrapped moss around them and pressed the moss tightly to the bunny ears.
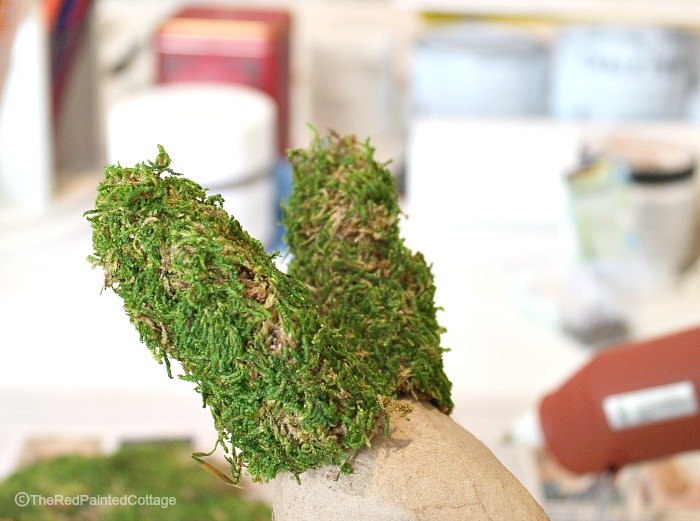
You need to press well after each piece of moss you adhere or your bunny is going to look very bloated and a bit out of shape if you don't do this. I cut the excess moss to shape it around it's ears.
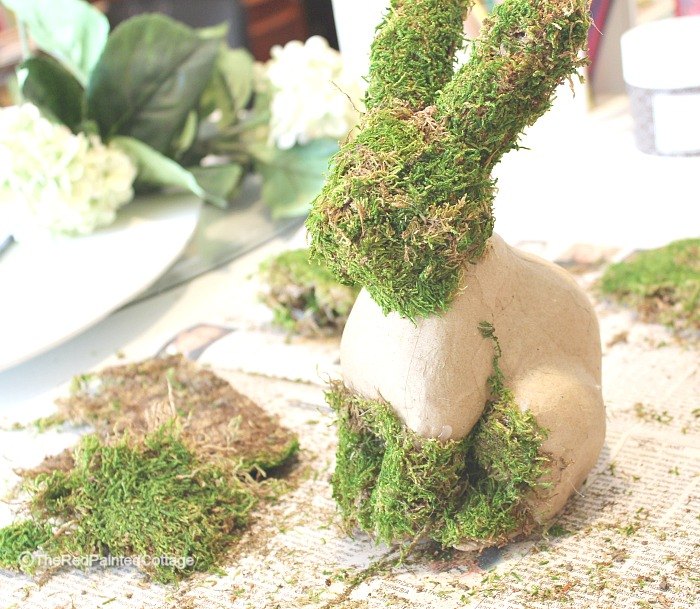
The lower front of my bunny was a bit tricky because of it's legs and the way they were positioned. So I just started gluing and piecing the moss in and around this area.
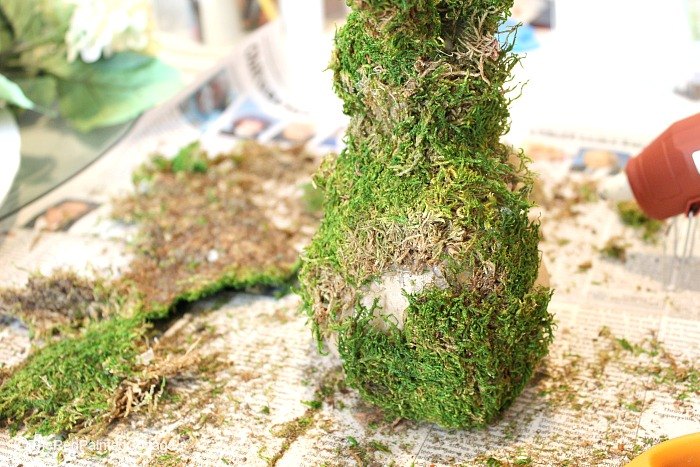
Keep moving around the bunny, filling in all the areas that can be seen.
When I was finished, I used my needle-nosed pliers to carefully remove all that dried up, stringy glue (if you've used a hot glue gun, you know exactly what I'm talking about). After removing all that from the bunny, I took remaining moss and used Elmer's Glue to cover up any areas that showed globs of the hot glue that had dried, too much of the brown areas and anywhere else I needed to make him look presentable.
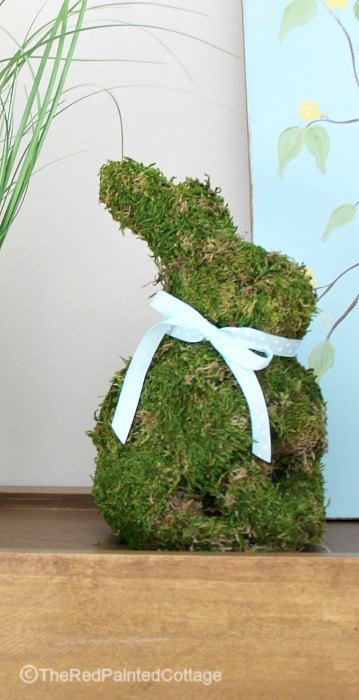
The last step is to trim him up good and tie a ribbon around his neck. It's hard to see, but mine is aqua with white polka dots. Doesn't he look like he's waiting anxiously for spring!
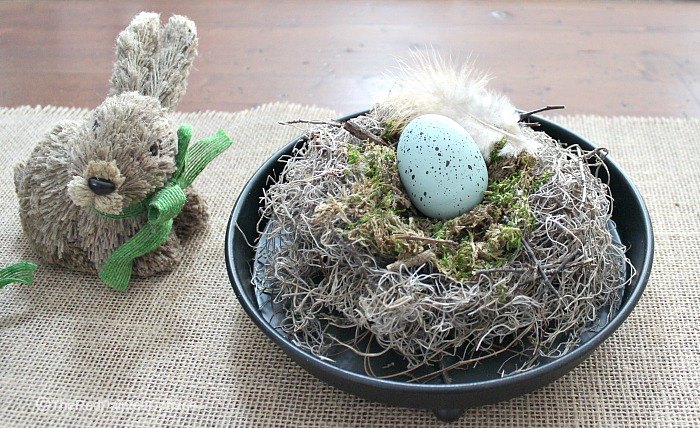
I also made a birds nest using some Spanish moss that I indented in the center for my egg. I added small broken twigs to it and used the last of my green moss from my bunny. I set an egg in it, along with a feather.

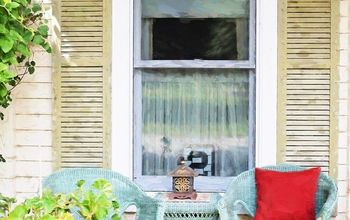
Then I covered it with my cloche and I currently have it on our dining room table. I have several other ideas on my blog post that you can also use for spring.

Want more details about this and other DIY projects? Check out my blog post!
Comments
Join the conversation
4 of 10 comments
-
Try using a blowdryer on hot to melt those nasty hot glue stringy things! Works like a charm and done in seconds
-
So adorable and inexpensive too!!!


Frequently asked questions
Have a question about this project?