


Small Master Bathroom Budget Makeover

Our master bathroom is tiny. When we first bought our home 2 years ago, we quickly got tired of the cheap fixtures, cracked and broken tile, and little to no storage. We had to get creative with space constraints, but we had a vision and were able to completely transform the space with lots of built-in character!
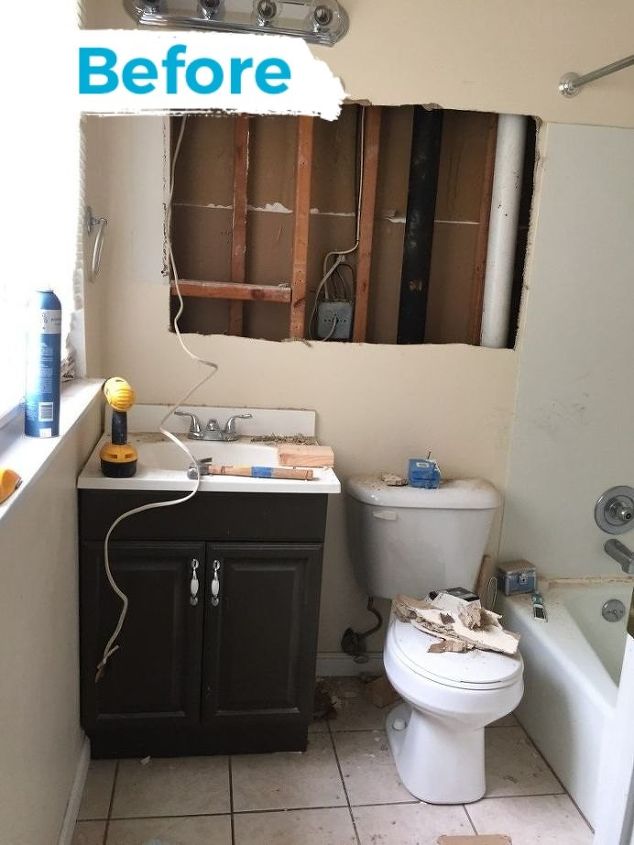
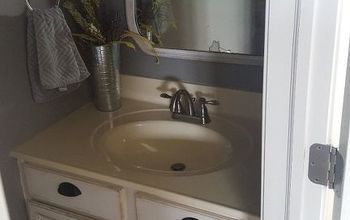
The only official before picture I had was what the real estate agent sent us, so this is shortly after we started taking things apart. As you can see, we opened up the wall because we needed to extend the studs (to add shelves above the toilet) and move the outlet a few inches up. The vanity was cheap builder's grade that was painted (and chipping). That would soon change, but we chose to reuse the sink basin and the toilet, to save money.
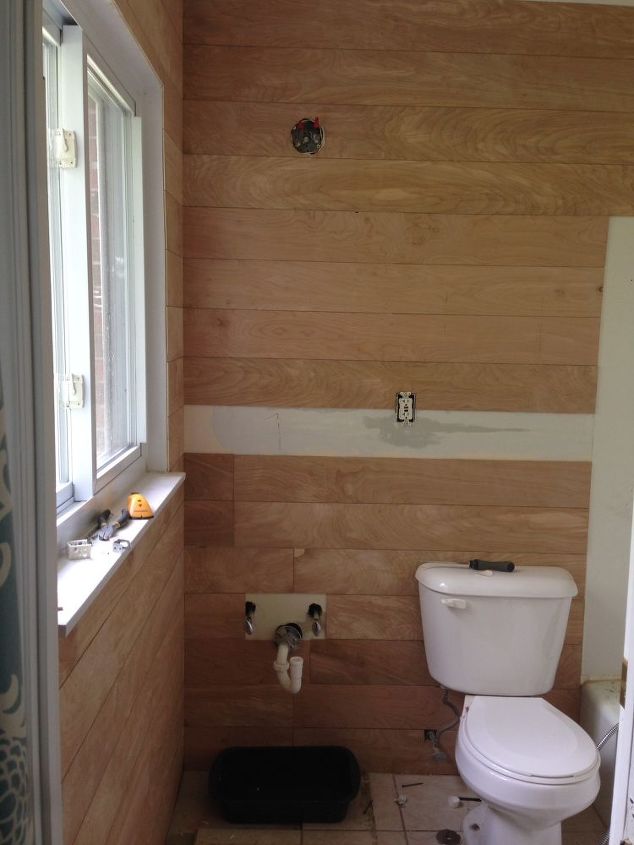
Once the wall was repaired, I added faux shiplap by using 1/4" plywood and attaching it to the wall with a nail gun, liquid nails, and spaced with coins. I also installed white octagonal tile, which was a first time for me, but is totally do-able, especially with a small space!
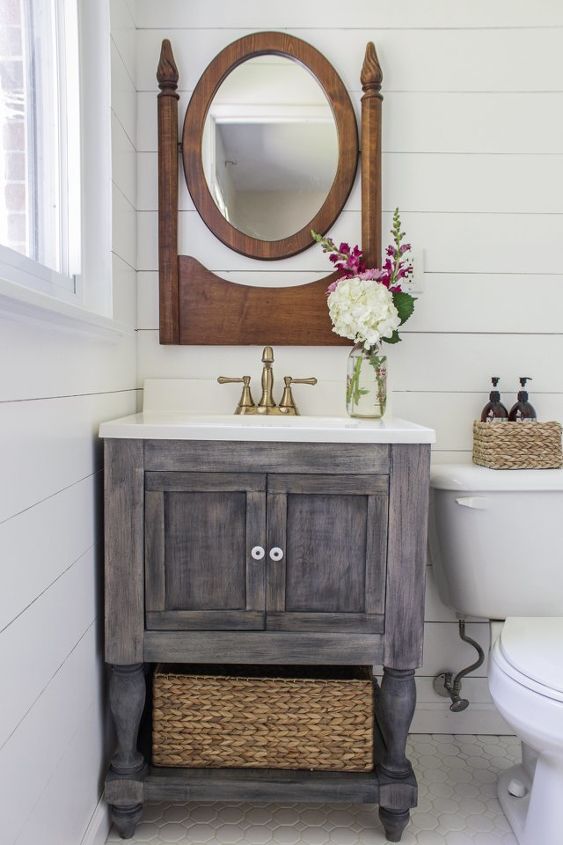
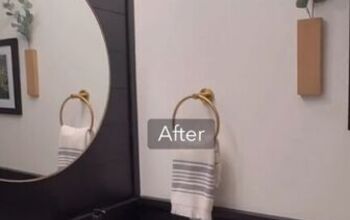
After the tile was grouted and the walls were painted, I got to work building a new vanity. I designed a turned leg vanity that fit our space and provided adequate storage. I gave it a custom gray stain/dry brush finish and installed the old sink with a new faucet. I figured if I was saving myself so much money by doing all the work myself, it was okay to splurge on a nice faucet and a nice light fixture (that you can see at the bottom). The mirror above the vanity is vintage and from an old dresser that I stole it from. :) I love the warmth it brings, don't you? FREE BUILD PLANS for this vanity (plus details on how I finished it) is found here.
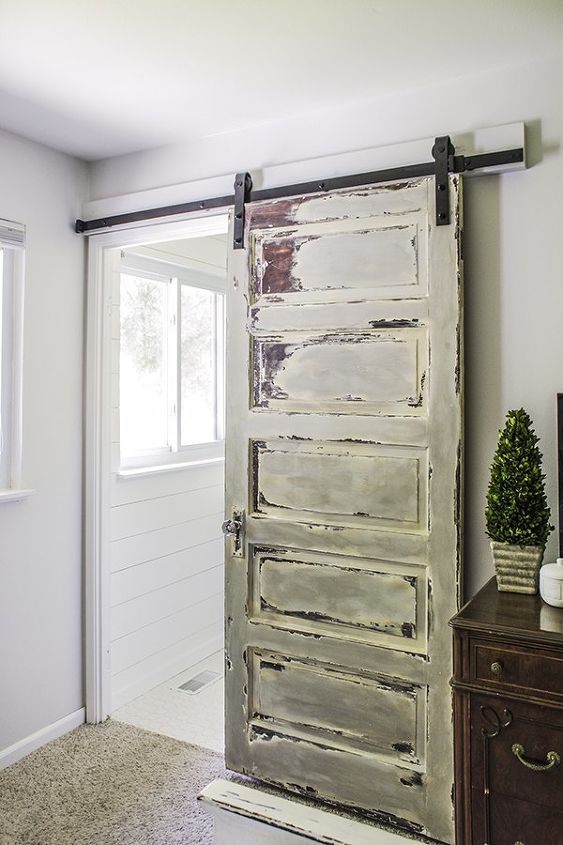
Next was adding a sliding barn door which opened up floor space and allowed more light to come in. The door was a vintage one that was painted several layers of paint, but that I scraped some off and then gave a layered paint look to add some visual interest. For privacy, it locks by a hook latch on the inside of the door and eyehole screws on both sides of the door frame. The light fixture in this picture is different than the one we actually chose, but we had to install this one temporarily until the REAL one arrived (it was on backorder). For my tips and tricks on installing a sliding barn door click here.
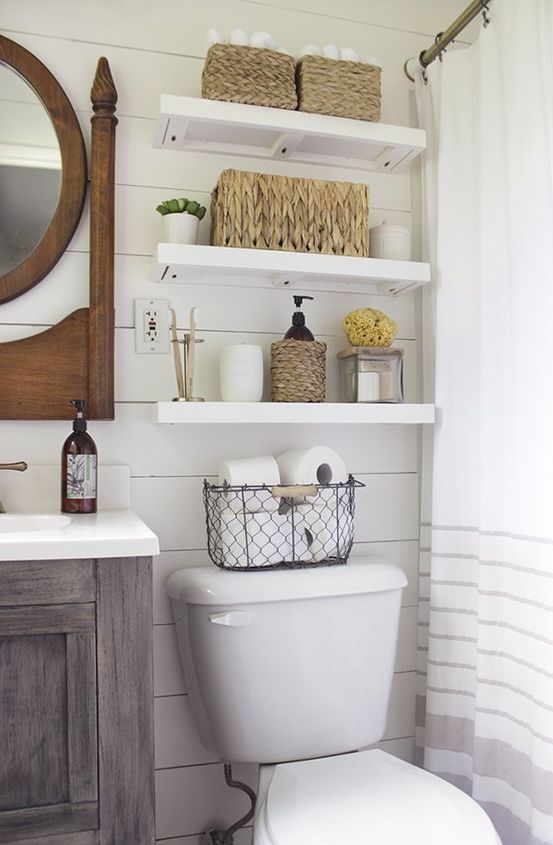
Finally, I added some floating shelves above the toilet for extra storage. The baskets and jars hide all our toiletries and keeps things from piling up on the limited counter-space.
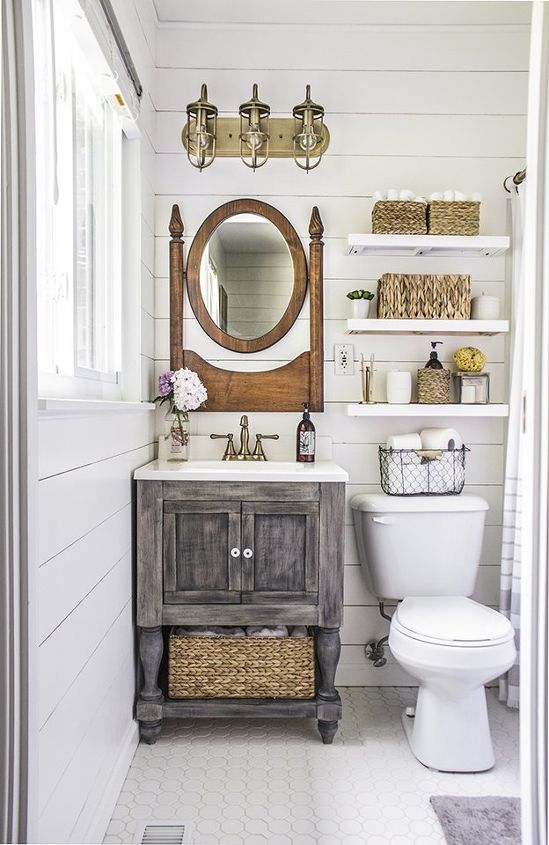
The finished bathroom is something I am very happy with. Even though we couldn't bust down walls and expand, I really felt we made the most with the space we had and added a lot of cottage charm. Total cost for bathroom makeover: $1250 **some items we received were sponsored but I figured this cost as if we had to pay for everything out of pocket-- or in other words, what it would cost for anyone to duplicate** To see the full bathroom reveal including ALL THE SOURCES for everything used, see link below! I also share at the top of the post, the links to every step of the process, including: -initial design plans -progress and tips -tutorial for the vanity -tutorial barn door install
Comments
Join the conversation
-
Please considering moving your toothbrushes into an enclosed section or at least further away- Flushing any toilet causes germs & particulate matter to swirl up into the air 6' high & 6' wide above the toilet bowl. Guess what particles that particulate is composed of? Don't want it on the toothbrushes!
-
Wow, super cute! Nice job on everything.


Frequently asked questions
Have a question about this project?
When you laid the tile, did you have to put a pad under it or did you just lay it on the floor directly?
Thank you in advance. It looks great.
Thank you! I will try this project. Over the toilet I now have a lovely, large. storage cabinet. It is centered over the toilte & leaves apx. 14" bare wall on each side begging for these shelves. The existing cabinet has great storage except, without creative folding it just doesn't accommodate large towels.
My experience with floating shelves, unless they have those ugly brackets
under them, are difficult to install. Are yours of a unique mounting technique?
Thanks again, I am anxious to get on with this, what looks like a simple project but how many simple projects are really out there?
Is it difficult to remove the tile?