


Cheap and Easy Planters
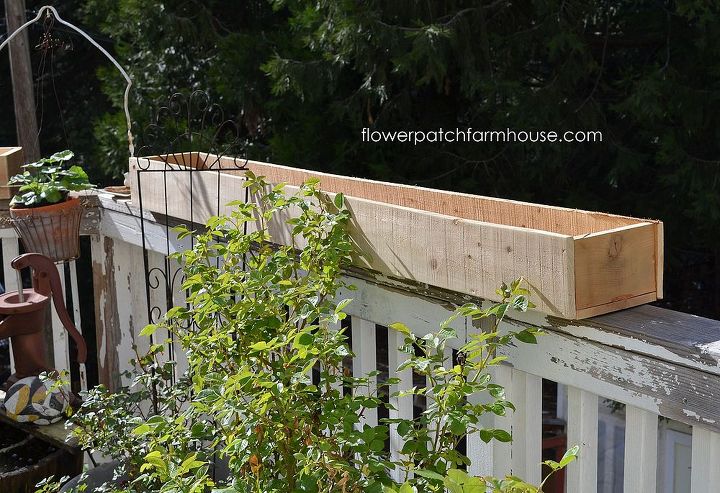
In about 2 hours I built two 6 foot long planters to set on my back deck rails. Cedar fence boards are inexpensive and easy to use.
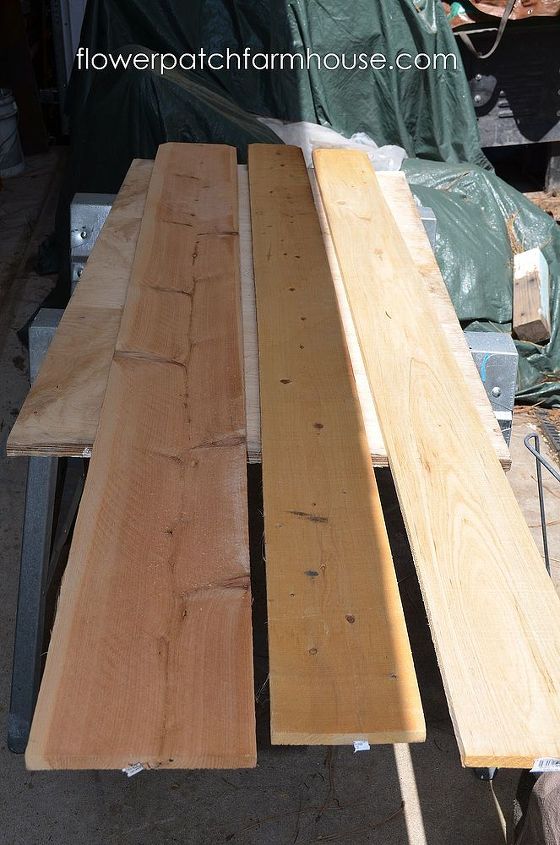
I used 3 six foot cedar fence boards, 2 six inch boards and 1 eight inch board for the base, I wanted a wider box so the roots of my plants had plenty of room.
1. Buy some cedar fence boards, I went with two 6 inch wide x 6 feet long and one 8 inch wide, and some scrap wood to make the ends. These are the inexpensive dog eared fence boards you can buy at most lumber yards and big box stores like Lowes and Home Depot, they are not cut to be exact dimensions and can vary widely. Usually they have both cedar and redwood, either will work.
I dry fit the boards to see where I needed to trim. Cedar fence boards are not strictly uniform in size and shape.
2. Square off the dog eared end and dry fit the boards. Since the fence boards are not cut the same you have to make them match with your trusty tape measure and saw.
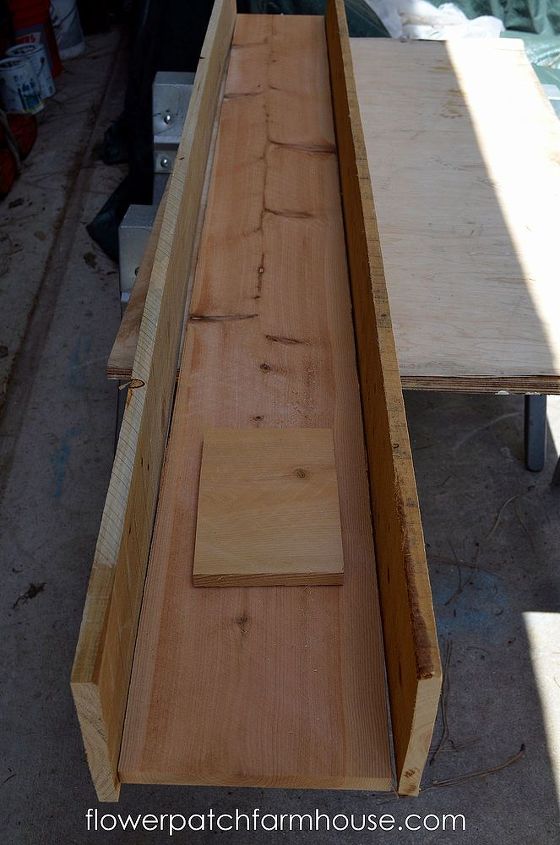
I used scrap pieces for the ends, glued all edges before nailing them together.
3. I put the end piece on first, used just scrap pieces of wood I had on hand. I applied wood glue before nailing. Actually this is a photo of me putting on the last side but it does show my end piece is just scrap and the generosity of Titebond glue. I started out with my nail gun but it jammed so I fell back on a good ol’ hammer and finish nails. A wee bit slower but still quite effective.
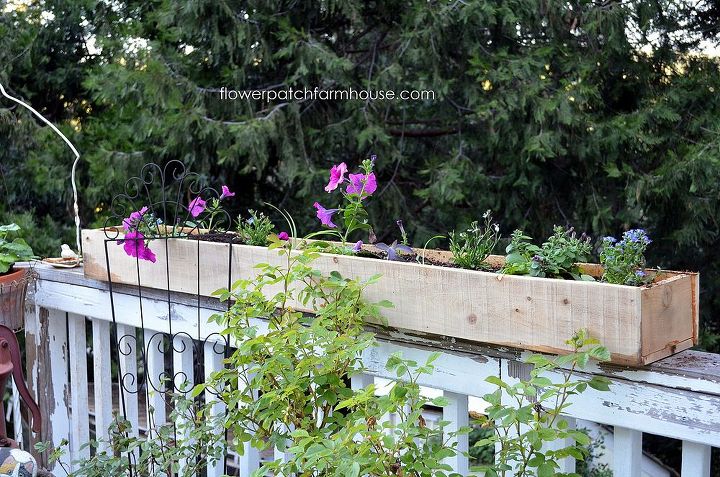
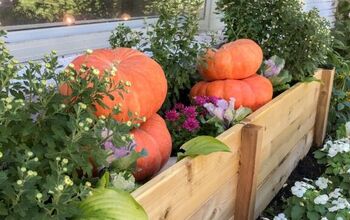
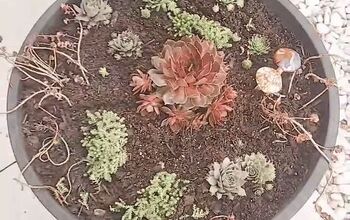
Fill with your favorite flowers, mine are mostly trailing types so they will drape down beautifully, and enjoy all summer long. Water with an organic liquid fertilizer once a week for lots and lots of blooms.
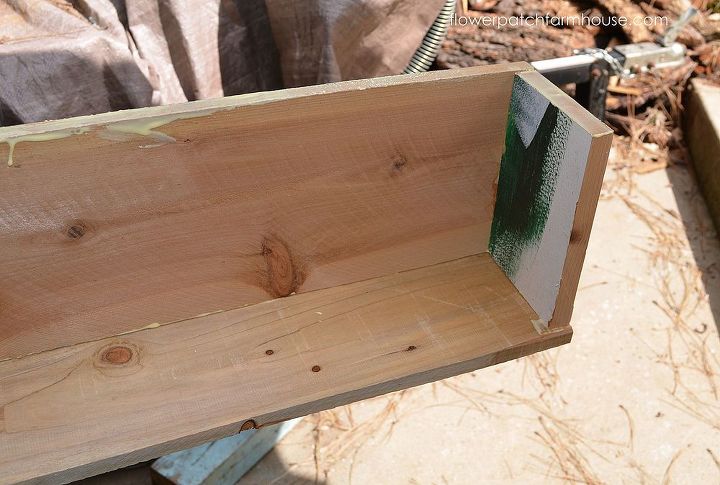
4. Screw to deck rail so the pesky raccoons will not knock your wonderfully roomy planter to the ground below. Here I am letting the glue dry before filling. Be sure to drill holds for proper drainage, I drilled mine towards the back of the planter where it hangs off the deck rail. (moisture constantly on the deck rail will cause rot so if you want to protect your wood railing you can attach feet (little pieces of wood) to the bottom of the planter so it can get air flow.
I drilled holes along the bottom back edge so water can drain and screwed to my deck rails. We have pesky raccoons that would knock these down in a night raid if I did not.
5. I gave them 24 hours to dry then I had fun planting them up. I left them unpainted or stained, I want these to weather naturally to a soft grey.
6. Mix up some coconut coir into your potting mix for added water retention. It is natural, sustainable and easy to work with. You can purchase Coconut Coir in bales or bricks, a little goes a LOOOONG way as it is compressed.
Read more on the blog .

Want more details about this and other DIY projects? Check out my blog post!
Comments
Join the conversation
3 comments
-
Awesome, Pamela!
-
Well done Pamela.I love that rustic look* It will look fab when the flowers grow and fill the planter up :) x


Frequently asked questions
Have a question about this project?