


She Uses Stain to Refresh a Furniture Piece Into a Piece of Art

Stain has become my medium of choice lately. I have always used stain to do my shading on my signs and other artwork, so one day, I decided to try using it as my "paint"... and so it began :)

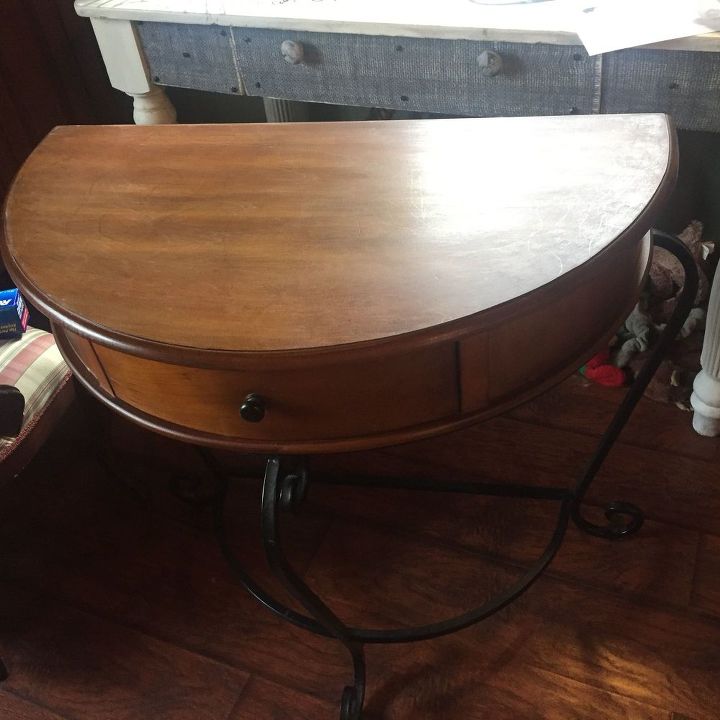
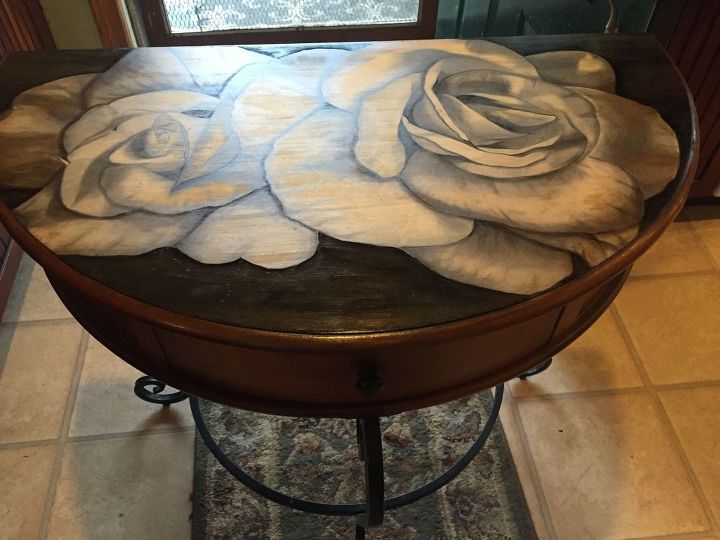
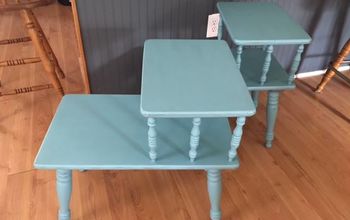
I had a problem at the beginning, but thanks to friends here and on another page, I was able to fix the problem. This was the original piece. I had done a smaller accent table that matches this piece that I wanted to match or at least complement.
I sanded the top of this without stripping first and came up with these swirly marks... :(

I sanded it down again and thought I could work with it.
But at this point, I decided it just wasn't going to work. The stain wasn't reacting properly and I knew I wouldn't be happy in the end. So.... I stripped and sanded and started all over...
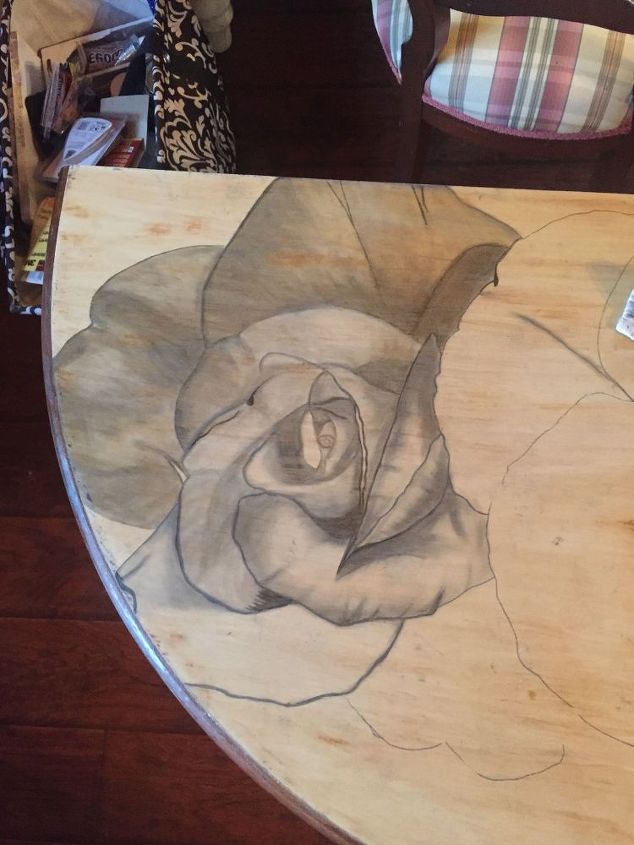
I transfer the image by using carbon paper. Alternately, you could use a projector, but I don't tend to like that as well.
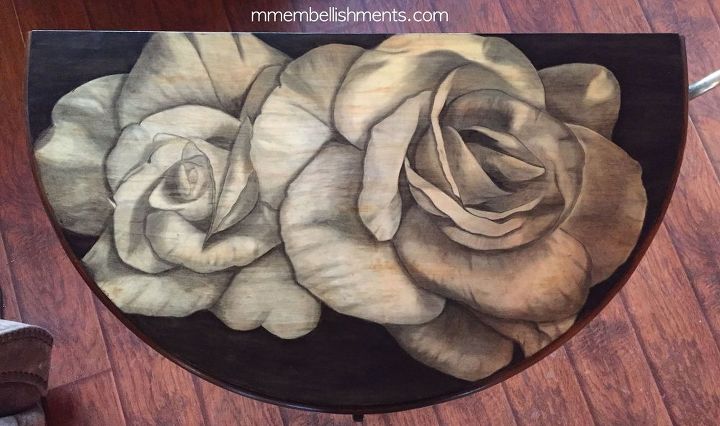
I add the stain to the darkest areas first and let it soak in and then it is just a matter of drawing the stain out with the brush, adding stain, shading/ drawing it out with the brush/ blending, adding stain, repeat, etc.
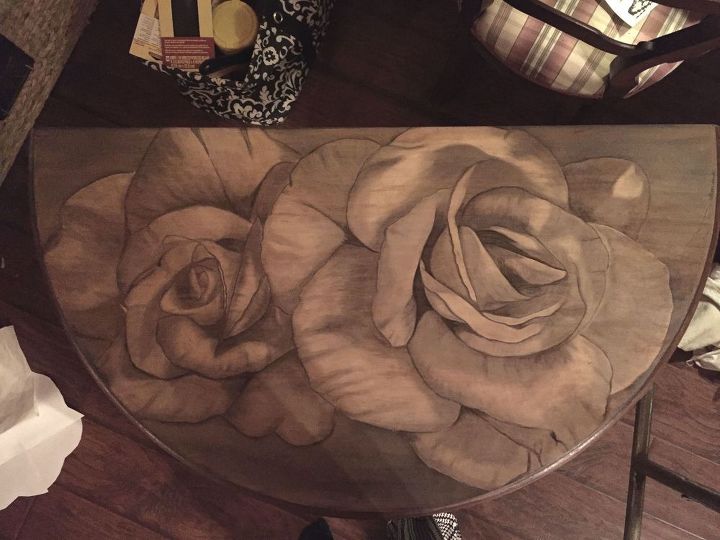
I am constantly looking back to my inspiration photo for where to shade. At this point, I should point out that I do NOT consider myself an artist! I think I am artistic but I can't just sit down and freehand draw anything!
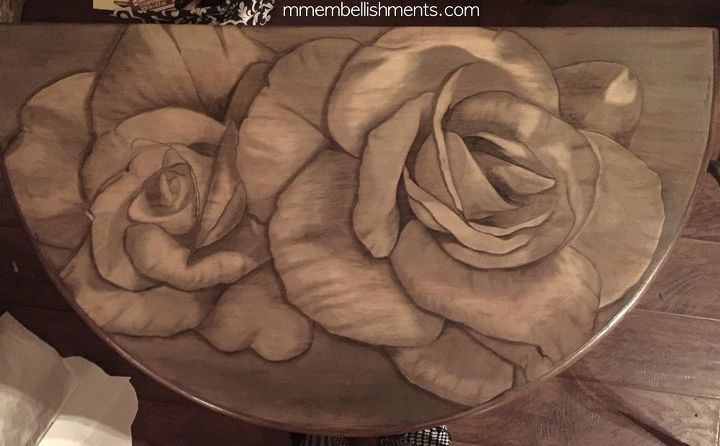
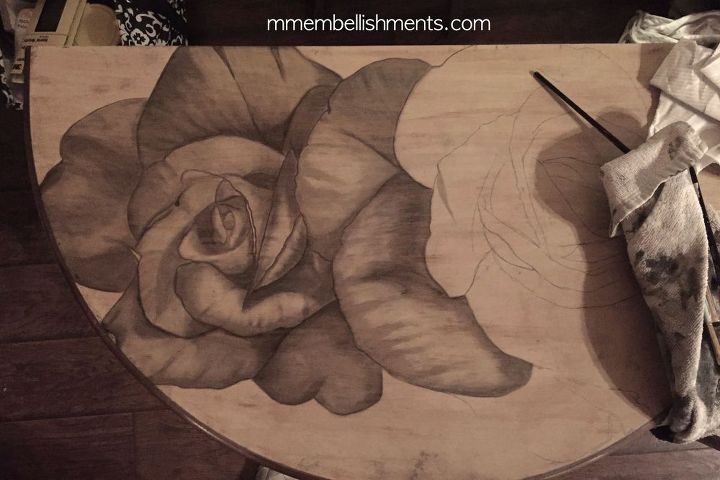
This picture was before I started to add the stain to the outside.
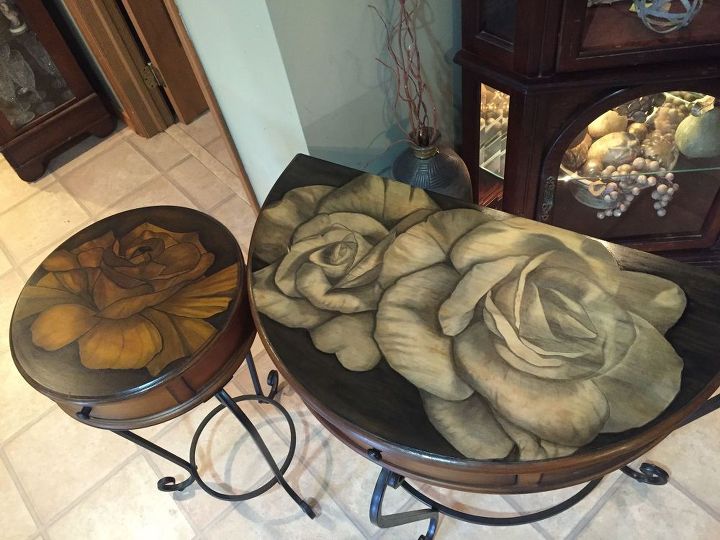
This is the little accent table I wanted to "match". Didn't turn out that way, but it's ok. I like them both.

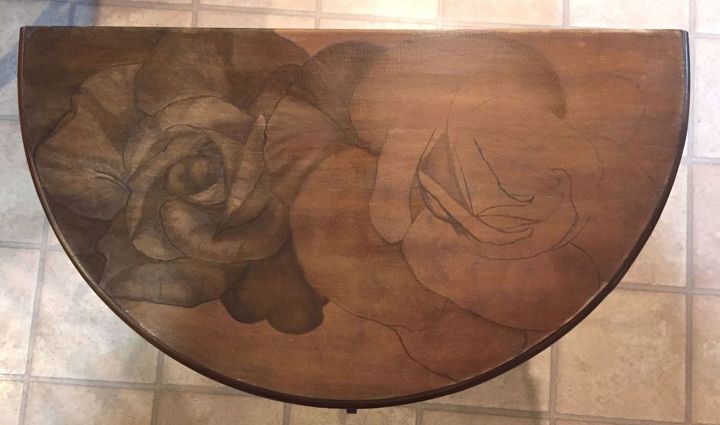
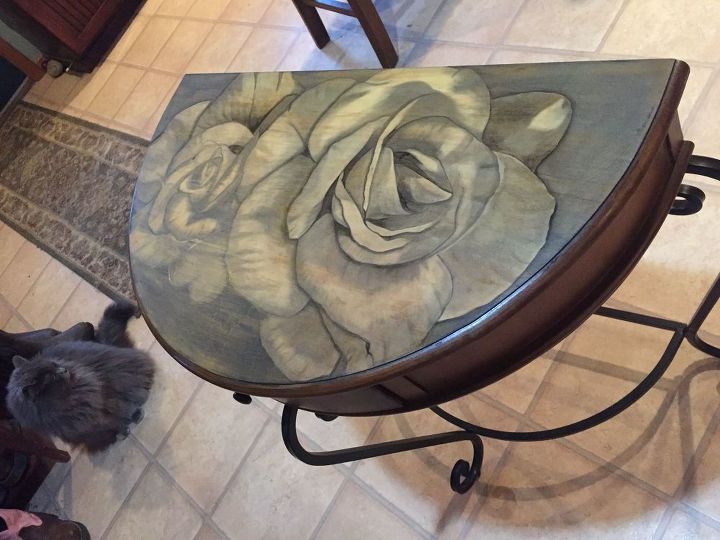
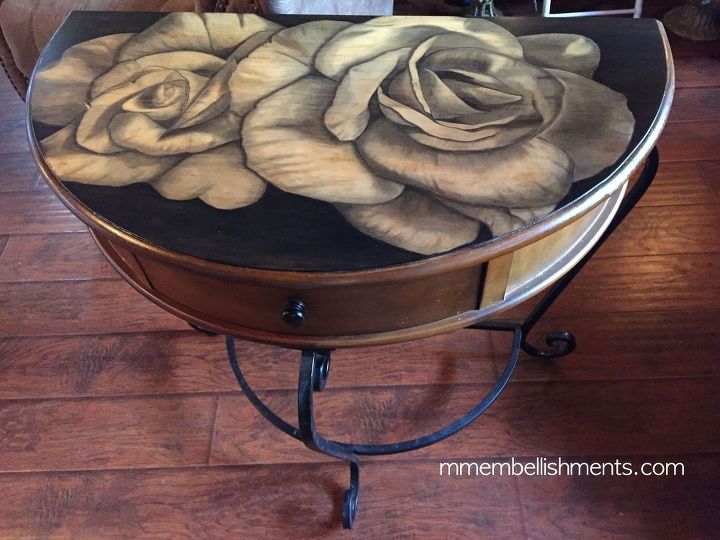
Staining the outside proves to be difficult. I did get a tip from a friend. She said she works the outside AS she is doing the flower. She looks at it as ONE piece of art ... makes sense. I might have to try that. But I like the really dark effect of the outside, especially with the wrought iron accents of the table.
After it was all done, I applied 3 coats of General Finishes HPTC. It is water based and I have been told it does NOT yellow. Hope not! I then did a fine sand and then another coat. I buffed it out with brown paper. I could put a layer of wax on top, but it ended up being so velvety smooth with this technique that I do not feel the need!
Hope you enjoyed .. and you should give it a try! People have told me they are too scared to try it. I tell them (and you if you have made it this far in this post).. grab a piece of scrap wood and just give it a whirl. Make sure it is sanded smooth or you won't be able to draw the stain out. Let me know how it goes, I would love to hear back from any of you! If you like this, please take a moment to visit my Etsy page and my website to see other unique pieces I do. Feedback is ALWAYS welcome! :) ~Michelle www.mmembellishments.com
Comments
Join the conversation
-
All the work I’ve seen you do is just breathtaking!! I’m going to try it one day soon, but WOW!! Just AMAZING WORK!!
-
Not an artist ??? If you are not an artist, then I do not know WHO is !
Phantastic work. I wished I could do that.


Frequently asked questions
Have a question about this project?
How did you get the image of the rose onto the carbon paper? It's absolutely gorgeous!
Hi. Would you mind explaining (in more detail) on how you did the shading? Would love to try it, but not sure I understand how. Thanks
Your tables are beautiful,I sure would call you a gifted artist.Question I have 3 tables with the colored bases I would Jos like the bring these up to 2020 any suggestions on how I could pain them ?or do something else to?I hate just throwing them out.Thank you colleenbecker