


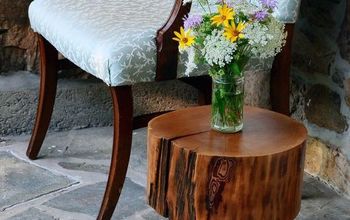
DIY Tree Stump Side Table
This is a very, very simple project, but you'll end up with a gorgeous side table that is incredibly sturdy and will last you for years!

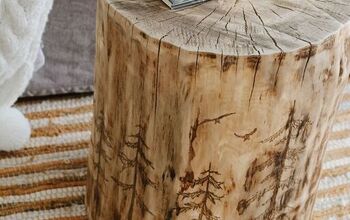
Start off with an old tree stump. Allow the stump to sit out in a cool, dry place for at least 2-3 weeks to dry out. We left ours in the garage. This will ensure any bugs, moisture, etc. are completely out of the stump before you bring it into your house!
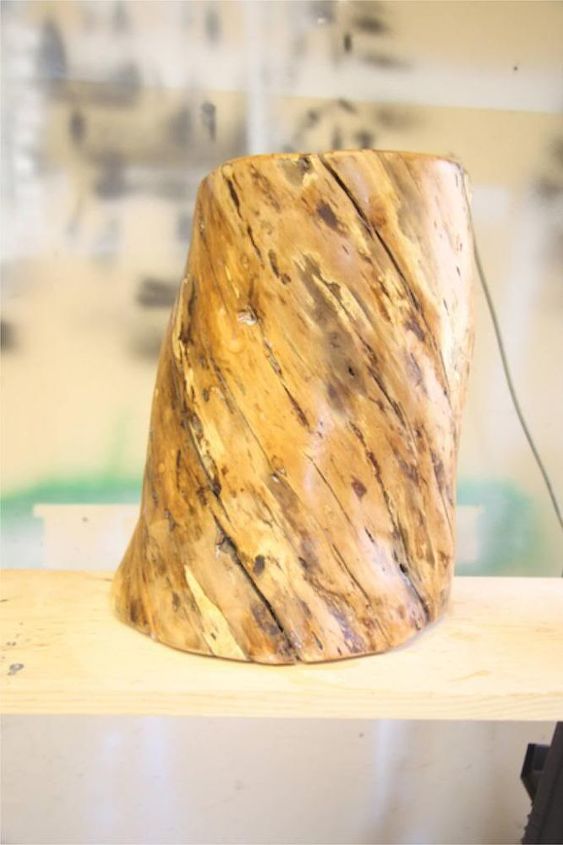
Use a chisel to remove the bark from the stump, then sand. Once it's sanded, you're almost done (seriously!). I used a foam brush to apply 3 coats of polycrylic, sanding lightly in-between each coat.
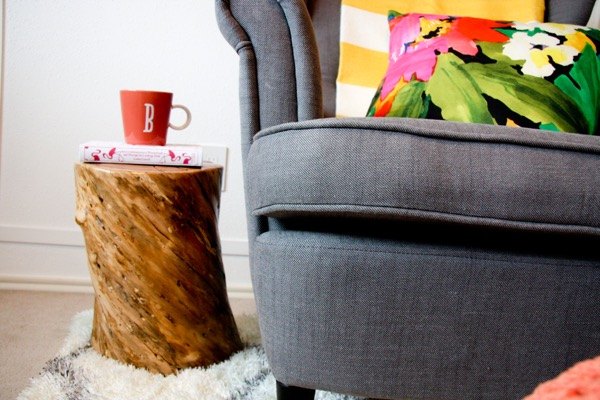
Then, I let it dry and brought it into the room! You can see way more detail + photos on the full blog post.

Want more details about this and other DIY projects? Check out my blog post!
Comments
Join the conversation
2 of 44 comments
-
I took a tree log, cut it flat on the top and bottom, glued a ceramic tile to the top with caulk. You can pick the whole thing up by the tile and it won't come off. The only thing I didn't do was remove the bark. I use this as a side table to my wicker chair on the front porch. Someday the bark will probably fall off and then I'll sand it.
-
I love these natural, rustic accessories. You found a lovely interesting log.


Frequently asked questions
Have a question about this project?