


Add Some Color to a Wooden Recipe Box
3 Materials
Learn how to use a coloring book design to add color and unique appeal to a plain, wooden recipe box.
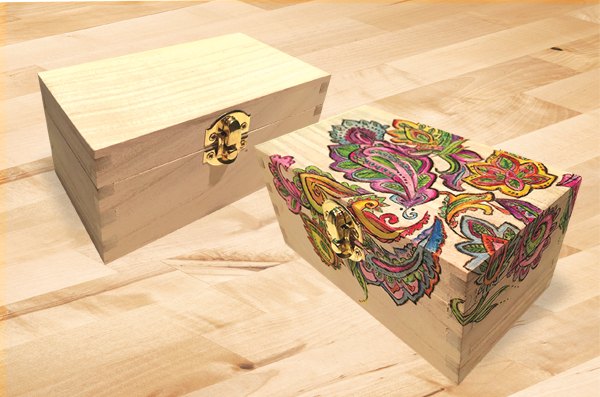
Before/After - look what a little color can add to ordinary items!
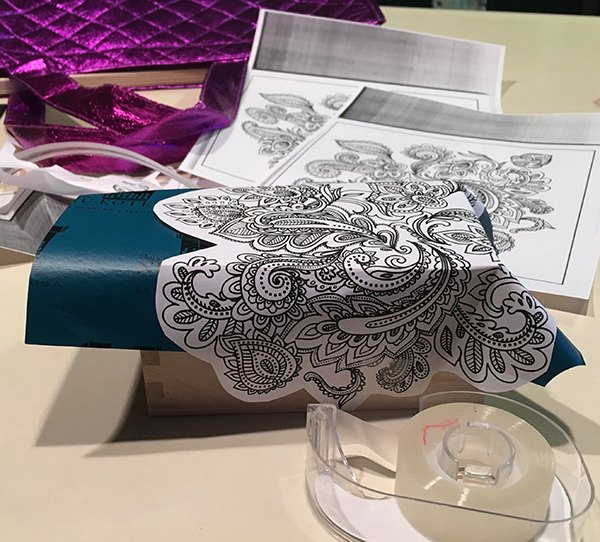
STEP 1 - Transfer the pattern chosen from your coloring book onto the box. Use graphite paper under the pattern and trace using a red pen so you can see the lines.
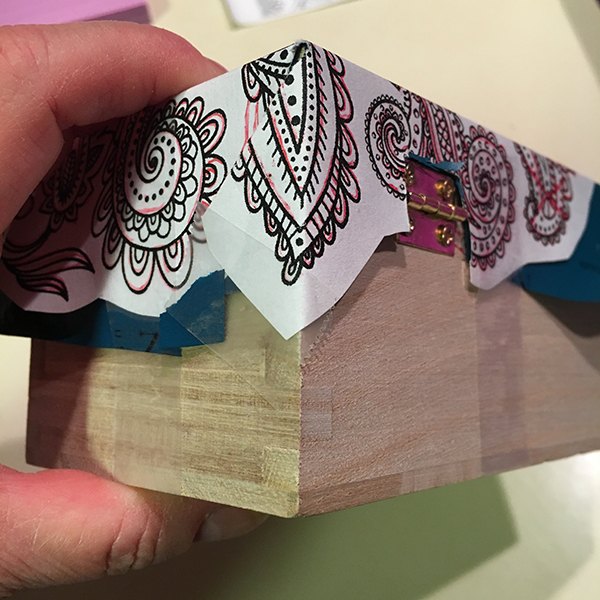
Match up the corners as best you can where the design "wraps" around the edges of the box.
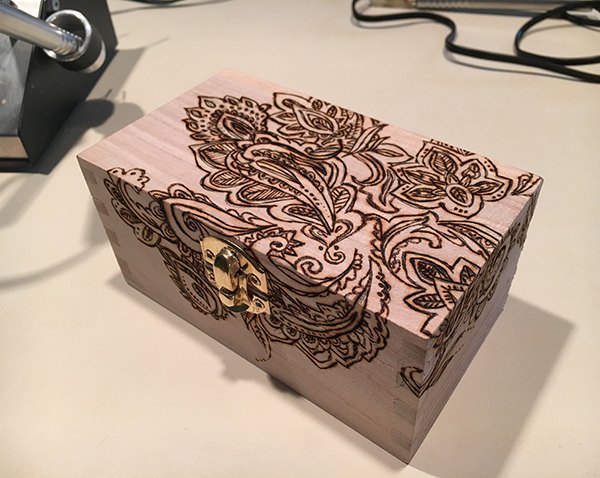
STEP 2 - Woodburn the design onto the box using a woodburning system or a woodburning pen. We used a Razrtip woodburning system from Woodcraft.
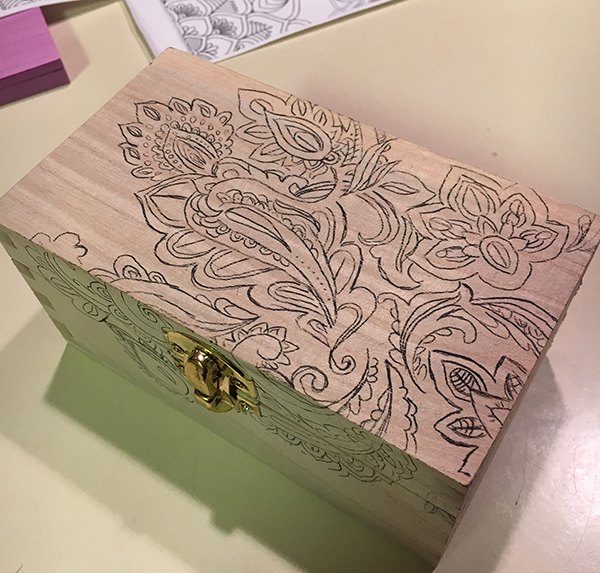
STEP 3 - Sand off the visible graphite lines left from the transfer process. Not only does this step remove the lines from the transfer paper, it also creates texture for the woodburned lines, making the boundaries very clear and defined.
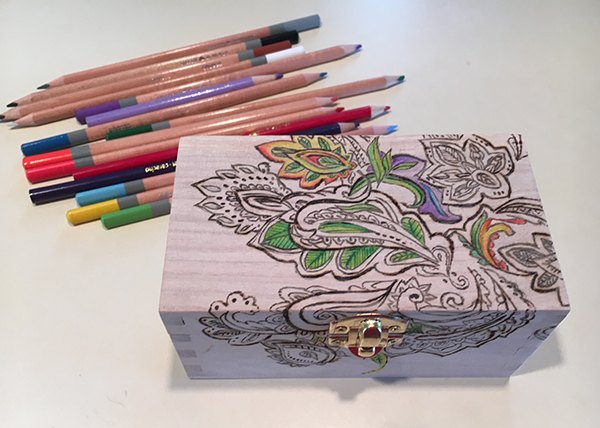
STEP 4 - Color the design with colored pencils, shading and blending as you go. If you want to use colored markers, make sure you test for bleeding in an inconspicuous spot.
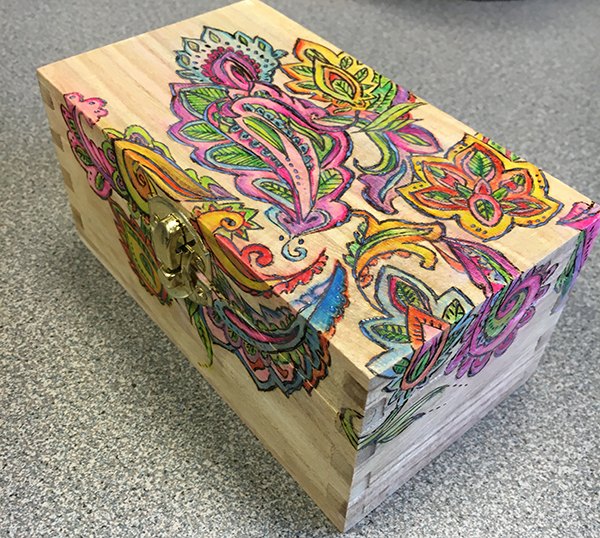
When all done, give your project a coat or two of finish to protect the color. Brush lightly with a foam brush so as not to smear the color. We used Guard Dog Topcoat, coming soon to Woodcraft!

Want more details about this and other DIY projects? Check out my blog post!
Comments
Join the conversation
2 of 47 comments
-
Beautiful
-
Absolutely love this idea!!


Frequently asked questions
Have a question about this project?