


Thrifted Teacup Pincushion Tutorial

by
Nancy Gramm
6 Materials
Turn a treasured teacup into a gorgeous pincushion for a perfect Mother's day gift. Or make one for yourself, it's not difficult, and thrifted teacup sets can be had for a few bucks.

A while back, I picked up a couple of teacups from the thrift store, loving the luster of them, though they were sans saucers. Then, on another hunting trip, lucky find! The saucers were by the same manufacturer but a different color way. Oh, well! Both cups and saucers had the luster and black banding and both had the luscious gold. Though they mightn't work for serving tea, I don't really do that anyway, so teacup pincushions here we come!
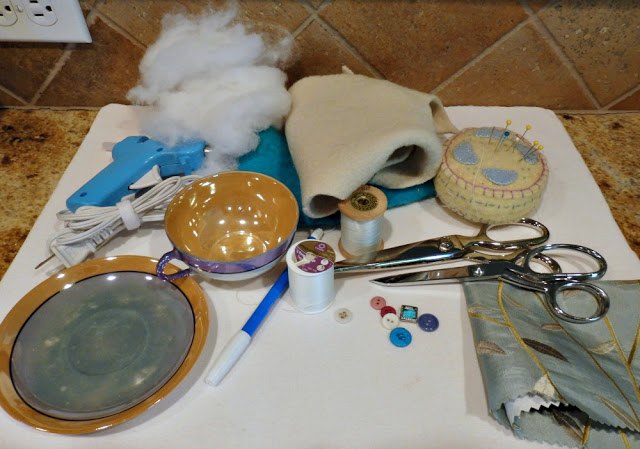
You only need a few materials and probably have them already in your stash:
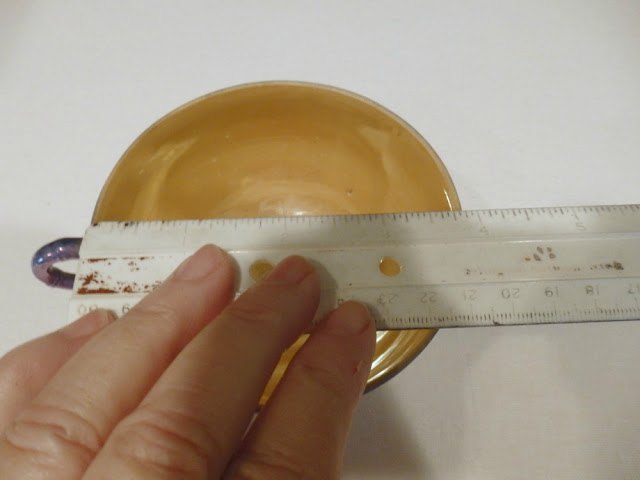
Actually, I miscut this one. It turned out to be a little too small, but I corrected it, as shown in the tutorial. For this one, I chose an embroidered upholstery swatch. For the first, it was a piece of eyelet from a tattered pillowcase. It doesn't take much fabric; remnants will more than suffice.
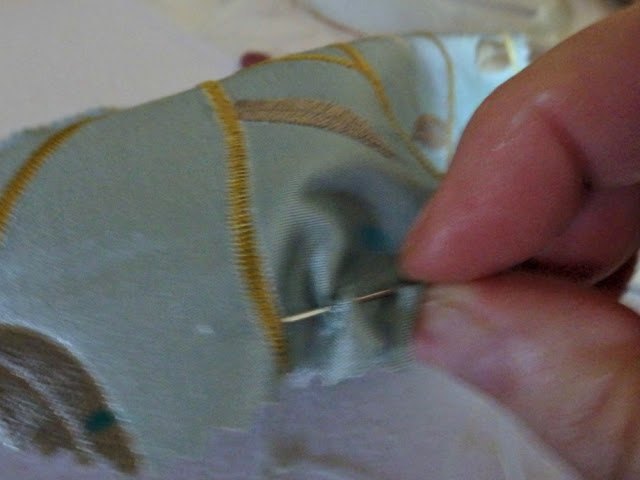
Keep the thread loose at both ends. Before pulling the stitches to gather, add polyfil and fit the pincushion to your cup. You can slide it in upside down or right side up; just make sure it fits. Once it's fully stuffed to where it fits the cup. tie off the ends of the thread to keep everything in place. (If it's too small and there’s an opening at the bottom, as mine was, cover the polyfil with a small patch of fabric or felt.)

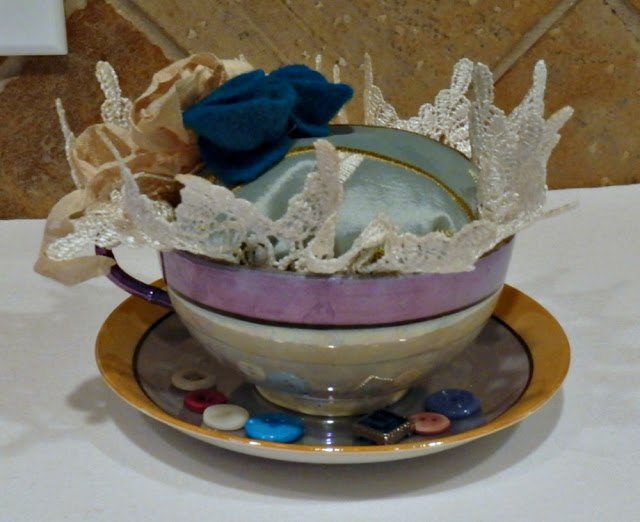
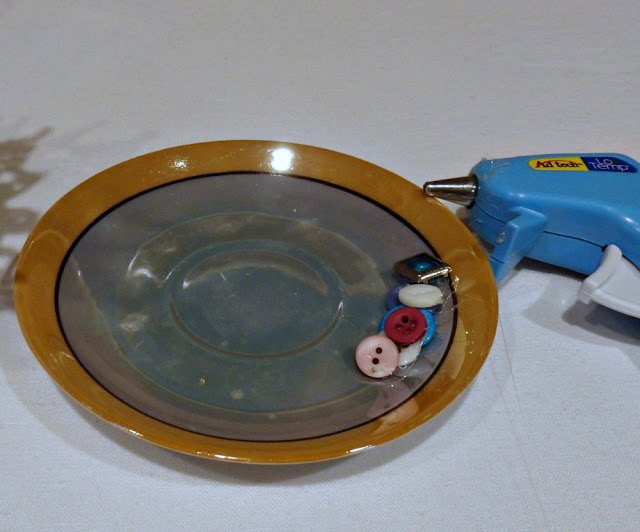
When your pincushion ball is complete, audition your embellishments.

Here’s where you can correct any mistakes and decide if you like your choices. I auditioned lace, buttons, a seam tape bow, and felt roses. The lace was too white and the off-white rose was too big…and the turquoise rose was too turquoise…and the pincushion was too small. Fix it time! I refitted the pincushion, chose different felts for smaller roses and added a different tea-dyed lace.
Second audition, or third, or fourth. I did a few on this one!
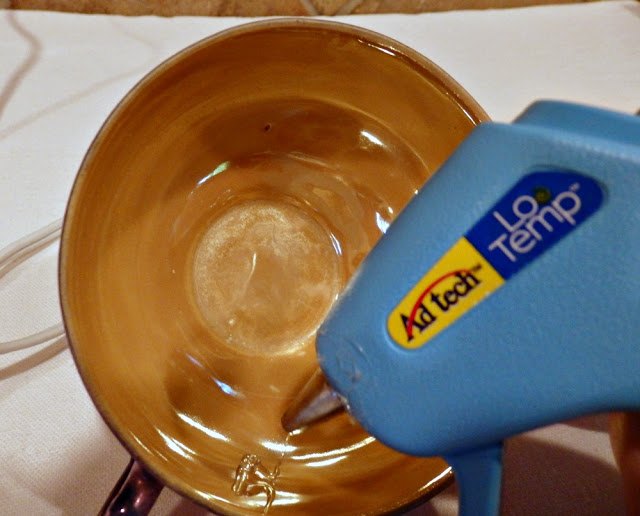
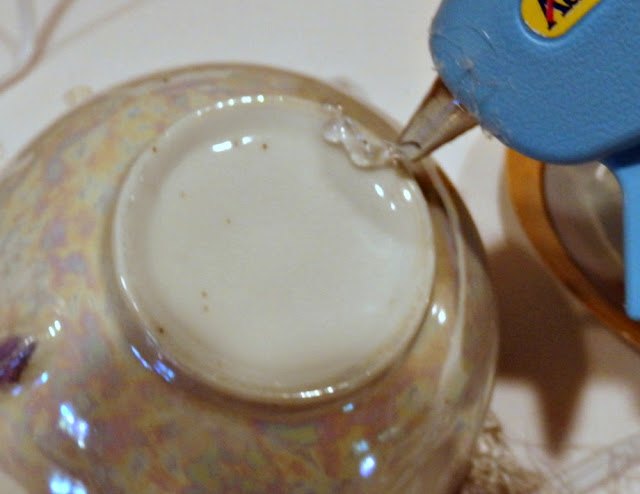
Now run a bead of glue inside the cup, about an inch down and position your pincushion inside. (You want the glue far enough down that it won’t squeeze back up once the pincushion is inserted.)
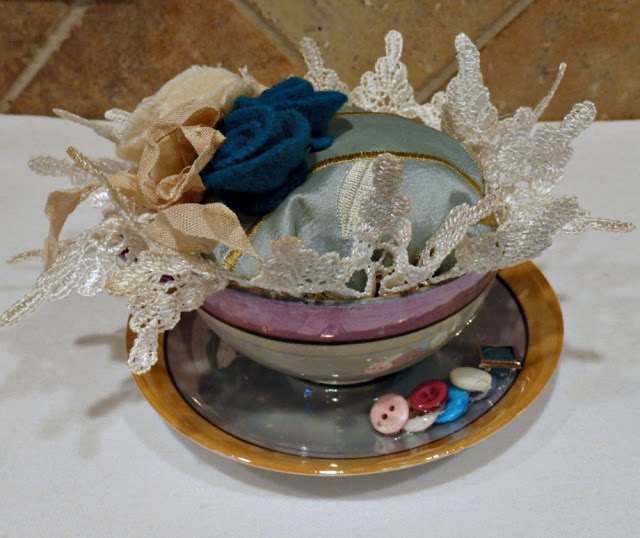
Press in your pincushion. I arrange the embellishments/seam tape bow over the handle.
Your pincushion is done! It’s a lovely piece to keep next to your sewing table. Or beside the chair where you do your handwork. Enjoy!
Comments
Join the conversation
3 of 54 comments
-
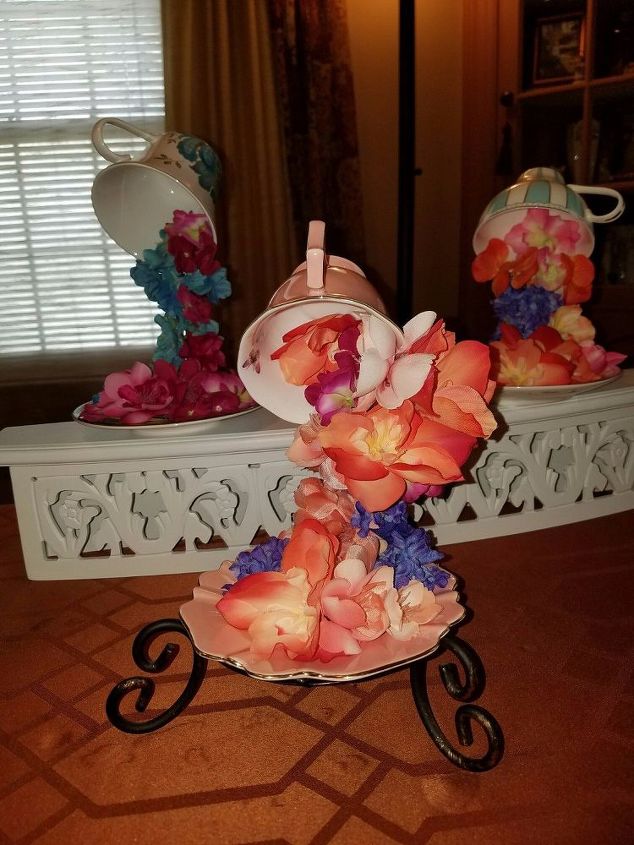
Hi Nancy - Here is a link to my post: http://www.hometalk.com/diy/decorate/rooms/overflowing-teacups-with-silk-flowers-18820162
-
Very nice ! Thank you for sharing


Frequently asked questions
Have a question about this project?