


Deck Trellis

by
Natalie Wren
$130
4 Hours
Easy
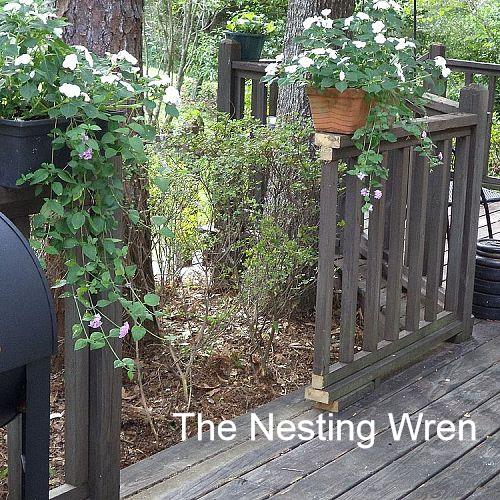
I needed more access to maintain my azalea bushes and deck. We pruned back our azaleas, cut into our deck to add some steps with a trellis.
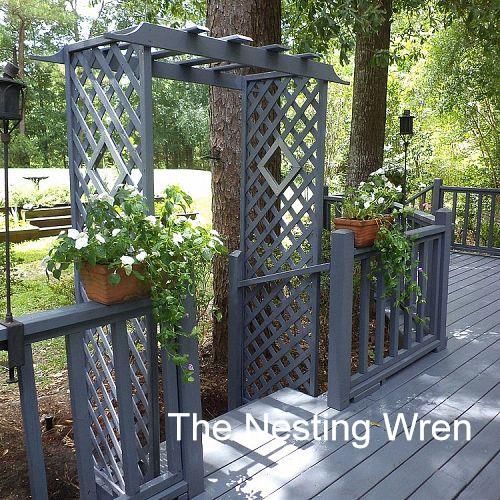
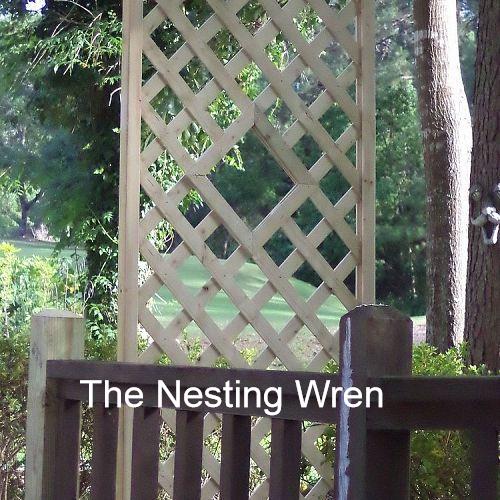
Final steps and trellis in place painted and waiting for flower boxes and plants.
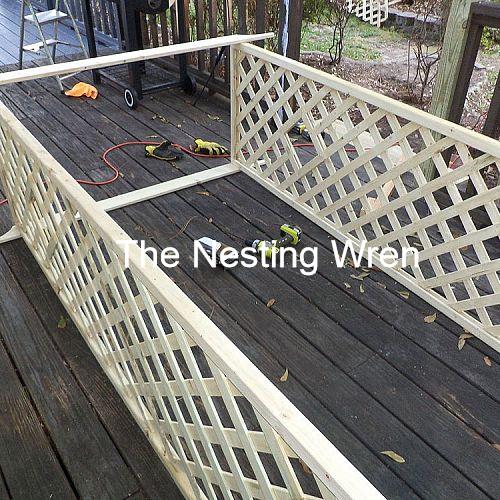
1. Cutting out the rails after we decided the placement of the step risers.
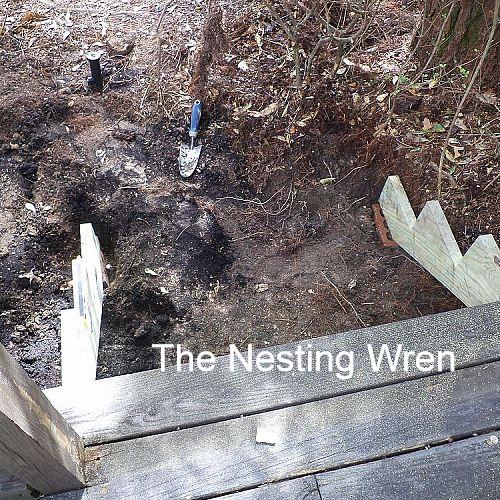
2. Attaching and leveling the step risers. There are three in total-2 on each side and one in the middle.
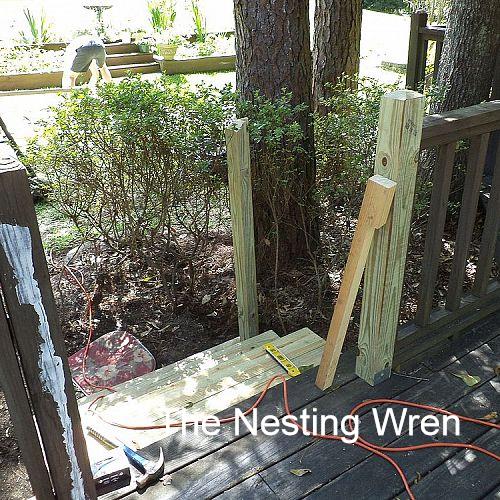
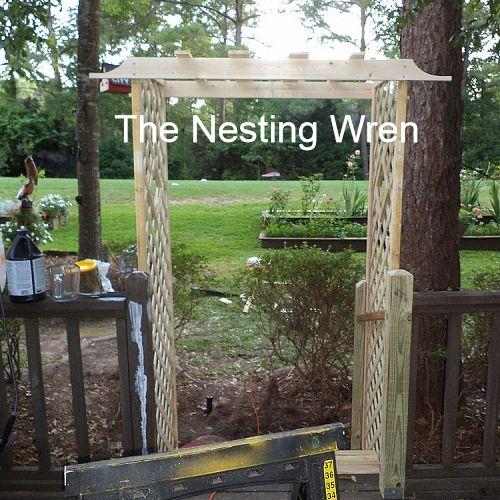
3. Instead of going to the ground with the upper post we secured it to the decking with a metal bracket. The lower post is resting on the ground and secured to the steps. The lower post is notched for the trellis frame.
4. Standard 2x8 lattice with grooved frame (lath). Window was cut out and framed on both sides with leftover trellis pieces cut out.
5. Top pieces are 1x4. Used a Frisbee as a template.

6. The crosswise boards at the top are leftover scraps. We had two different widths-we cut the edges at a slant for a different profile. Secured into place with screws.

7. Adding a 2x4 handrail-finding the angles was the hardest part.
Everything secured in place.
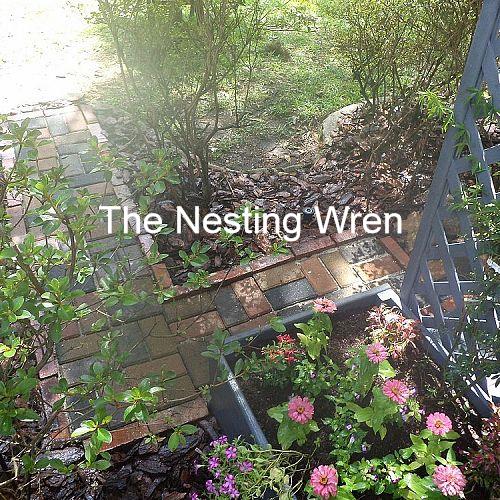
Painted, garden boxes added with plants, and a new garden path to complete the project.
Want more details about this and other DIY projects? Check out my blog post!
Comments
Join the conversation
2 of 3 comments
-
Hi Lori-I agree! I've got a few more areas that need some sprucing up with a trellis! :)
-
I love this idea... You two are so crafty! Great Job! Can't wait to see it completed with your flowers.


Frequently asked questions
Have a question about this project?