


Refreshed Basket

by
Kaye Matthes
4 Materials
I wanted to update an old basket that I had to give to my niece. This old basket may not look like much, but it was a gift to me about 25 years ago and was used in the nursery for both my boys. The pink and blue in it had mostly faded, but the basket itself was in pretty good shape. And it held sentimental value.
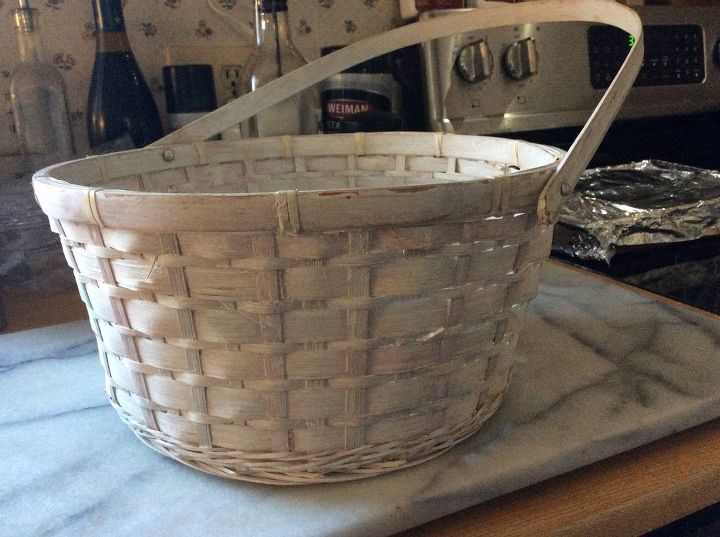
Here is how it started out. I had cleaned it up and made sure it was still in good shape.
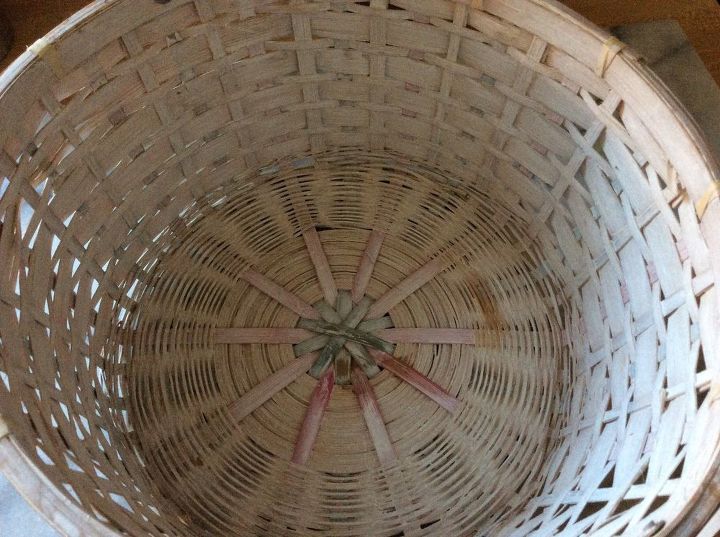
A little of the old colors could be seen here
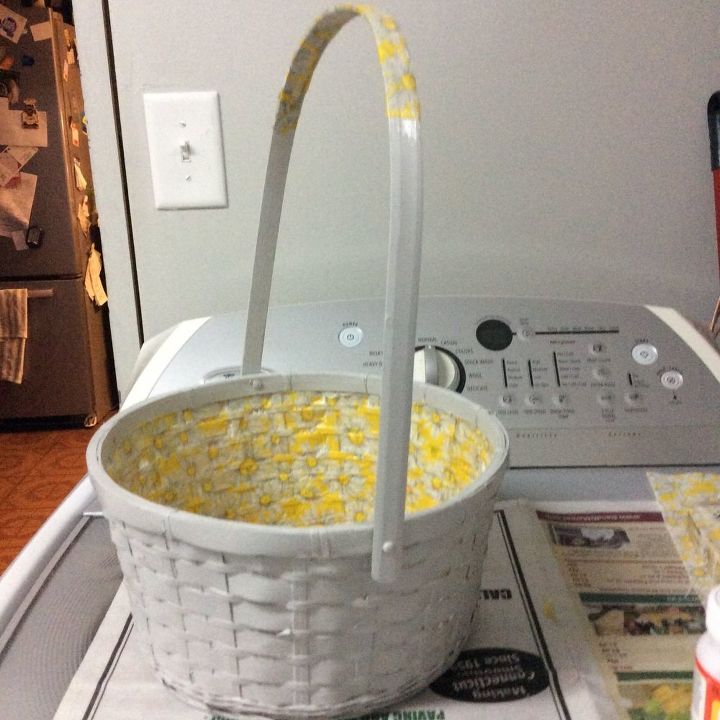
My niece and her husband are expecting her first child in late June and they are doing the nursery in neutral grey and white with maybe a touch of yellow. So, I decided to paint the basket a light grey. I mixed a sample that I had bought at Lowes to try as a wall paint in our dining room with a couple of craft paints I had on hand.

I put it upside down on top of another basket and used a brush to paint it. I know a lot of people use spray paint. But this was a small project and easy to paint with a brush.. It took a couple of quick coats to cover it well.

Next I used these cute napkins I picked up for about $1 at The Christmas Tree Shop. I separated the 2 plys of two napkins and cut each of the printed plys in half along the fold of the napkin. I brushed a section of the inside of the basket (about the width of the napkin pieces) with Mod Podge. Then I pressed one of the napkin pieces onto it. I did my best to line the top of the napkin piece up with the upper inside rim of the basket, The lower edge of the napkin extended slightly onto the inside bottom of the basket. I repeated this with each of the napkin pieces until the entire inside wall of the basket was covered. Then I took a circle I had cut from one of the napkins by tracing around the bottom of the basket to get the perfect size. I applied to the inside of the bottom of the basket using the Mod Podge. Then I brushed a generous layer of Mod Podge over the napkins in the interior of the basket.
Here is the finished project.
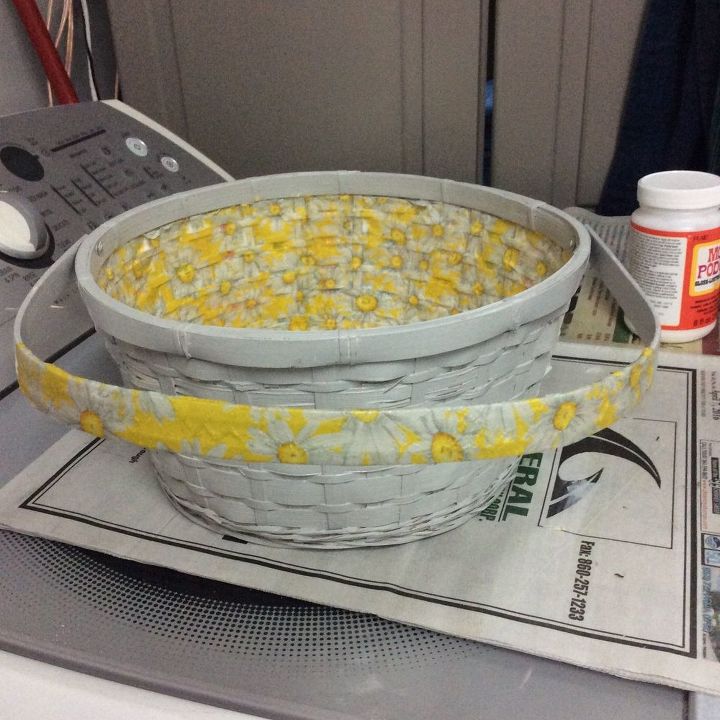
I also added a little color by decoupaging a piece of one of the napkins at the top of the handle. I think it is cute and will be great to fill with some small items as part of a present for my great-niece to be.
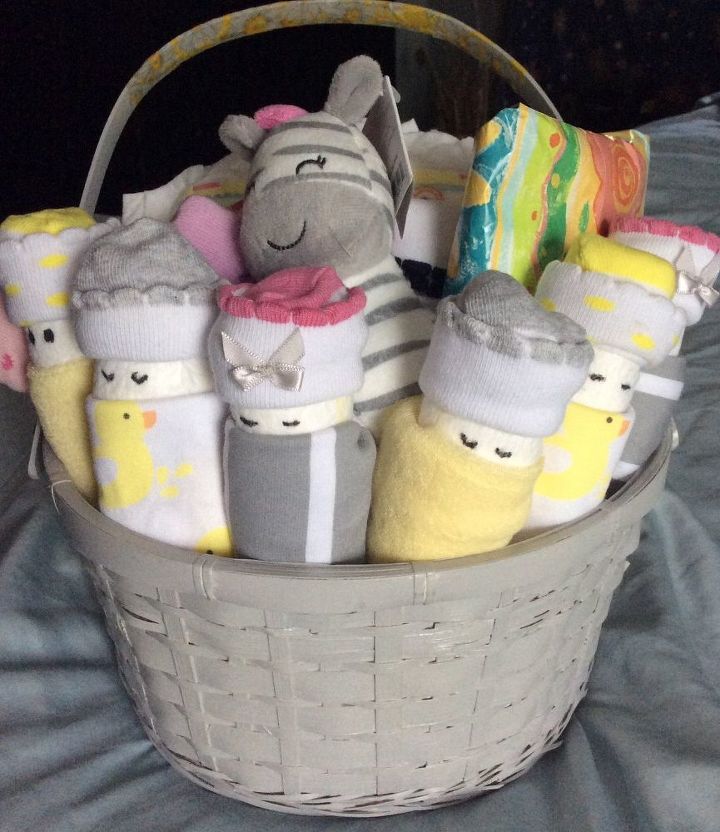
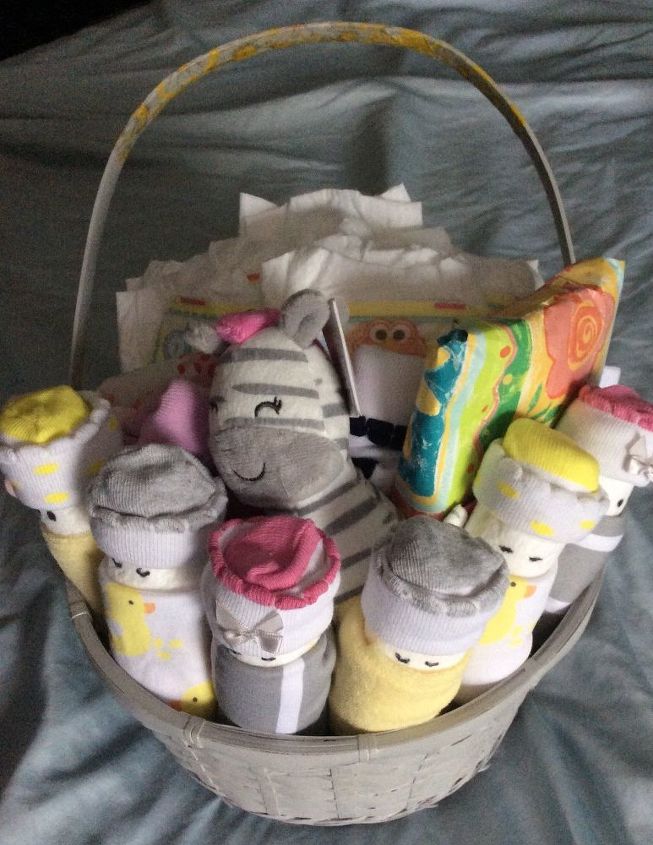
The basket is now filled and ready to give to my niece. The yellow daisies inside will be a sweet surprise when she removes the contents. The "babies" in front are made from diapers, socks (for the hats), and washcloths for the blankets. A sharpie adds the eyes.
Comments
Join the conversation
3 of 57 comments
-
Looks good what a awesome idea! Did you fill it with stuff?
-
What a gift of love to make them something, and to share your basket. i think it is great.


Frequently asked questions
Have a question about this project?