


Garage Door Panel Upcycled
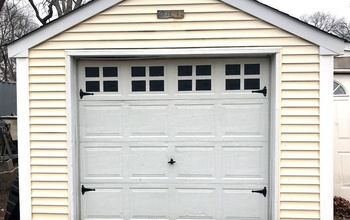
One of my neighbours had their garage door replaced. The workmen were tossing out the old door, which was made of Meranti. I couldn't see all the wood going to waste, so I asked for some of the panels to use for projects and to make a house number plaque.
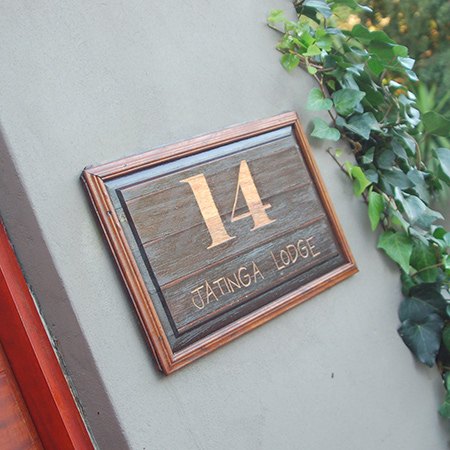
I thought the Meranti wood would be perfect for making a new house number for the outside wall. The old sign was looking a bit worse for wear. Meranti is an easy wood to work with, since it isn't a true hardwood and has very little (if any) grain.
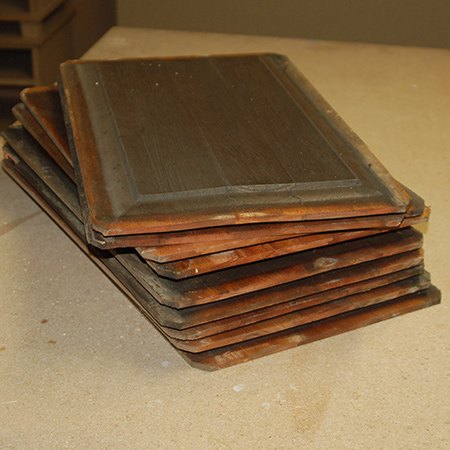
I took one of the Meranti panels and sanded it down with 120-grit sandpaper. The panels are in excellent condition and I removed the varnish to allow for sealing later on.

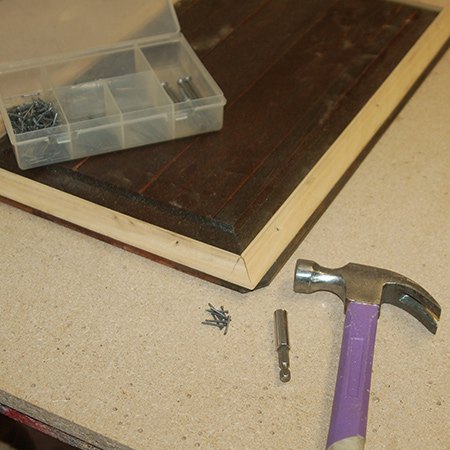
To add detail to the panel, moulding strips were nailed around the panel to create a framed effect. I used panel pins and No More Nails exterior.
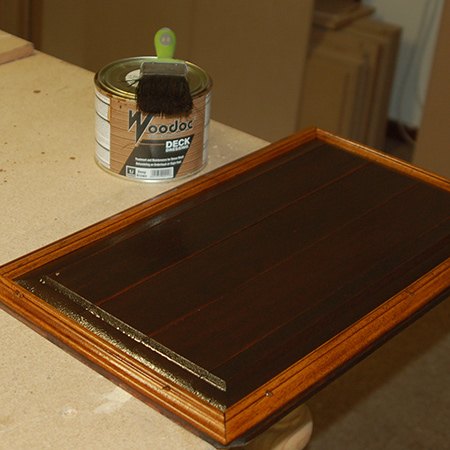
The entire frame was given 3 coats of exterior sealer in deep brown.
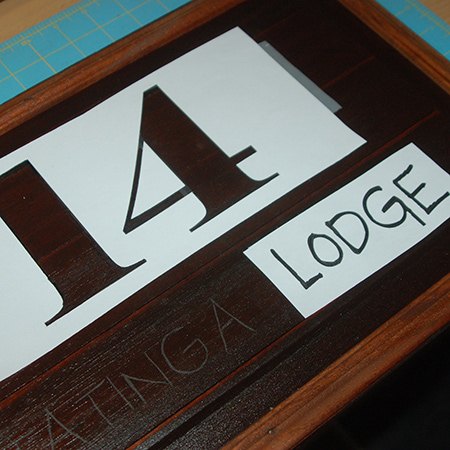
The easiest way to create your own numbering and letters is to use the Internet and a PC printer, although today's PC programs will also give you a certain amount of options to print out wording. Measure the size of the space you have to determine how big the letters and numbers need to be to fit the space.
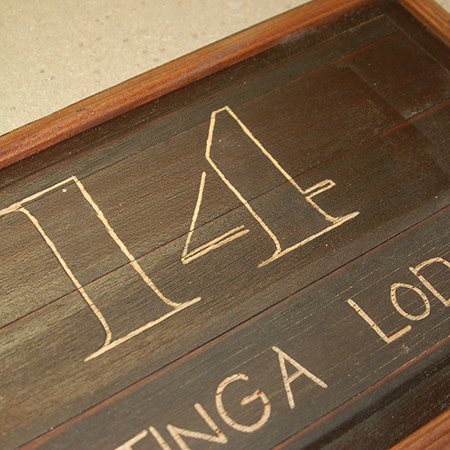
The smaller letters were done first to avoid rubbing out the wording, then the larger numbers were outlined. All the engraving was done with my Dremel 8200 MultiTool and 107 engraving bit. I prefer using the Dremel 8200 because it's cordless and can go anywhere, but you can do this project with any multitool as long as you have the proper engraving bit.
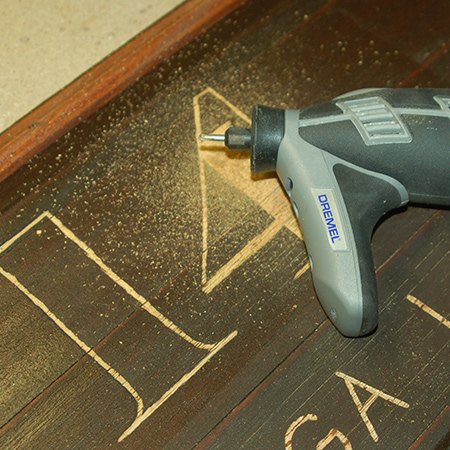
After outlining the letters you can remove the stencil and start to fill in. At this stage I added the comfort grip to reduce strain, or you could use a Flexi Shaft.
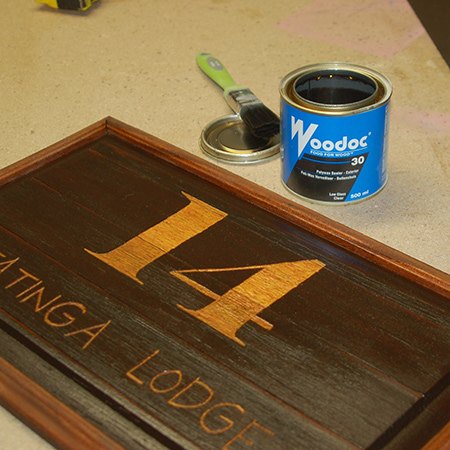
Although the board was sealed, the engraved areas also need to be sealed. For this I used polywax clear sealer that dries to a matt finish. The sealer enhanced the natural colour of the Meranti board.
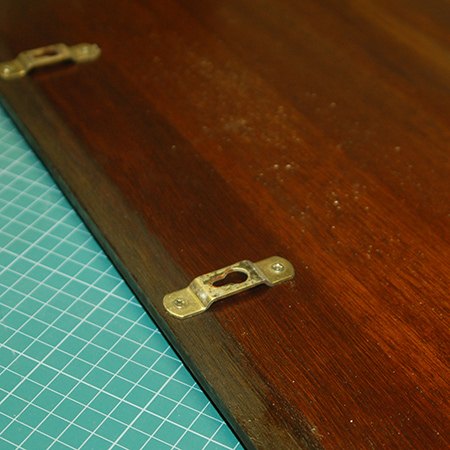
To mount the board onto the wall two keyhole hangers were attached to the back and this was placed over screws (with wall plugs) already in the wall.

Want more details about this and other DIY projects? Check out my blog post!
Comments
Join the conversation
2 of 28 comments
-
I'm so inspired. Your work is beautiful.
-
i have some cabinet doors and this is a great way to upcycle them. Thanks so much for your postibg


Frequently asked questions
Have a question about this project?