


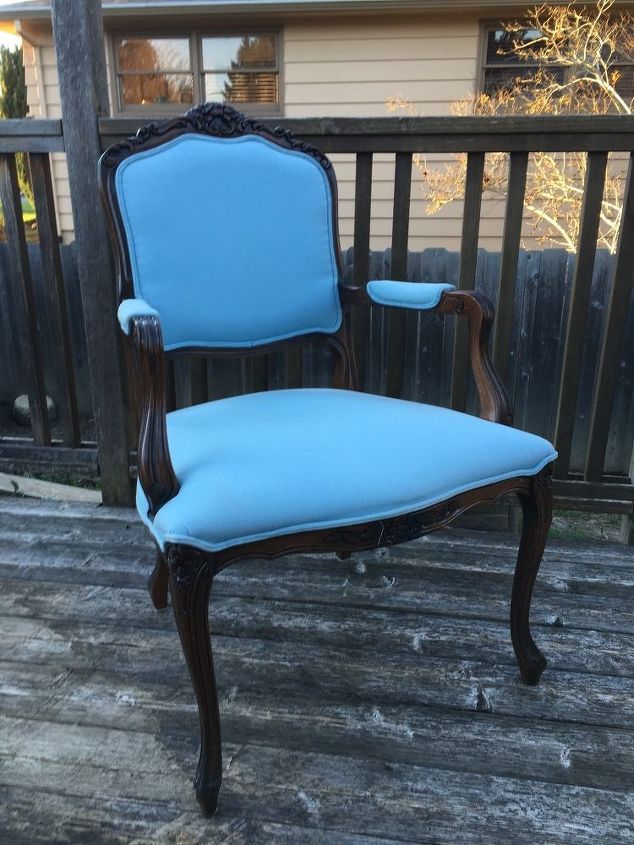
Bergere Posing Chair

I have a client who has a small photo studio and she was looking for a posing chair. She wanted a Bergere style in a tone on tone. We found the right fabric, then I took a swatch to the store to match the paint to the fabric.
I grabbed this chair as soon as it listed for $20! It was in fine condition and had light soiling on the seat.
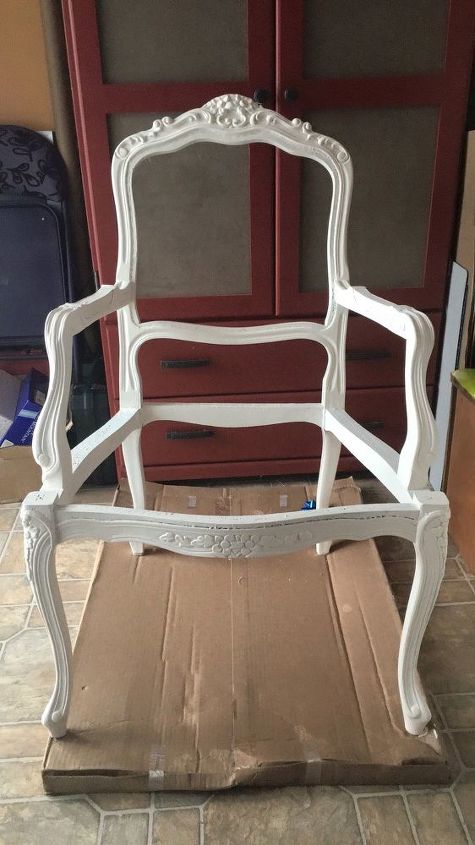
I stripped the fabric, padding and springs then deglossed the original finish on the frame. The frame was primed with two coats of primer before it was painted with home made chalk paint.
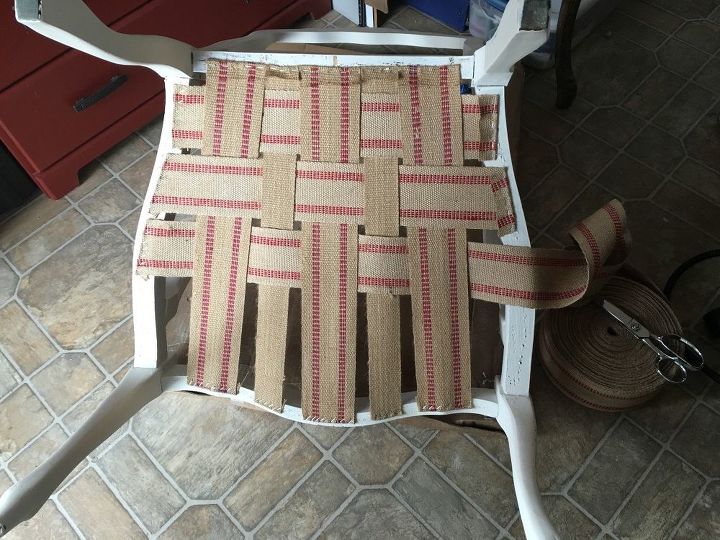
I stretched new jute webbing to create the seat deck.
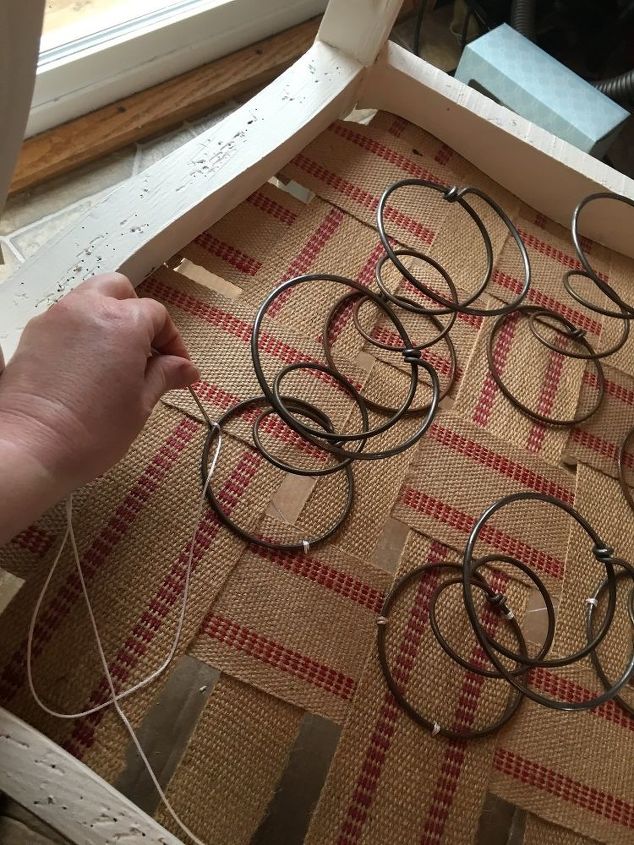
The springs were positioned and sewn into the seat deck

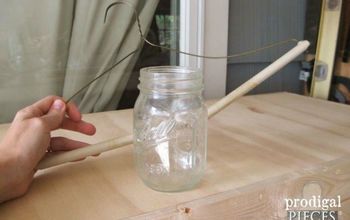
I ran the twine through the middle of the springs then popped them under the string line to hold them in position for tying. A bit of an extra step but helps with keeping everything aligned while tying
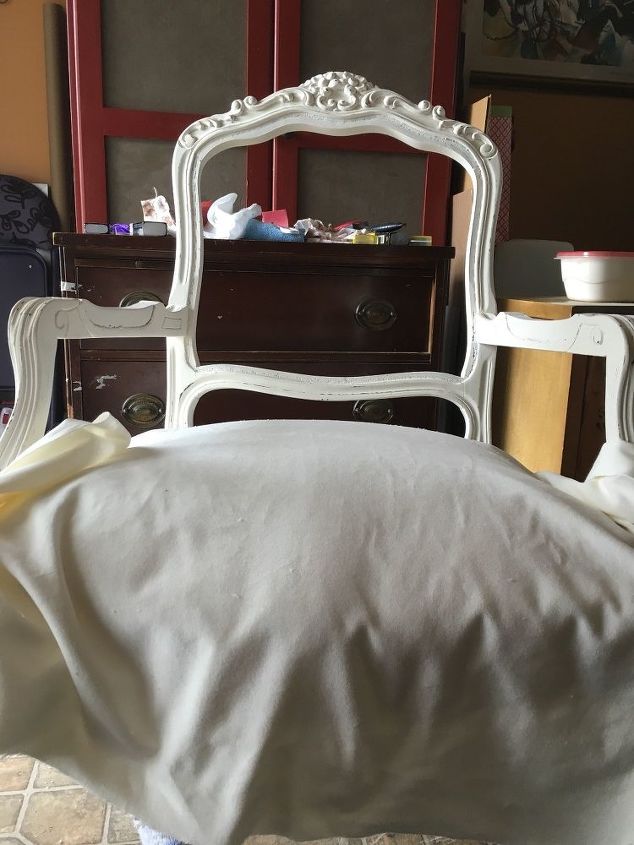
I didn't take pictures if the tied springs and repadding. Ive done so many of these chairs now and the process is essentially the same for all of them. Here I'm draping the velvet upholstery over the newly padded muslin-covered seat
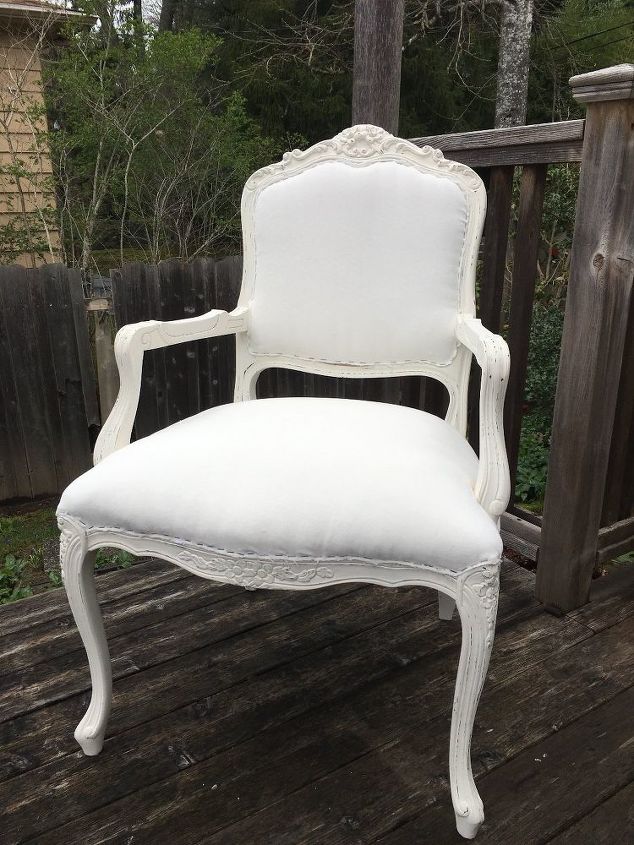
The chair is nearly finished in this pic. It only needs the double welt added at this point
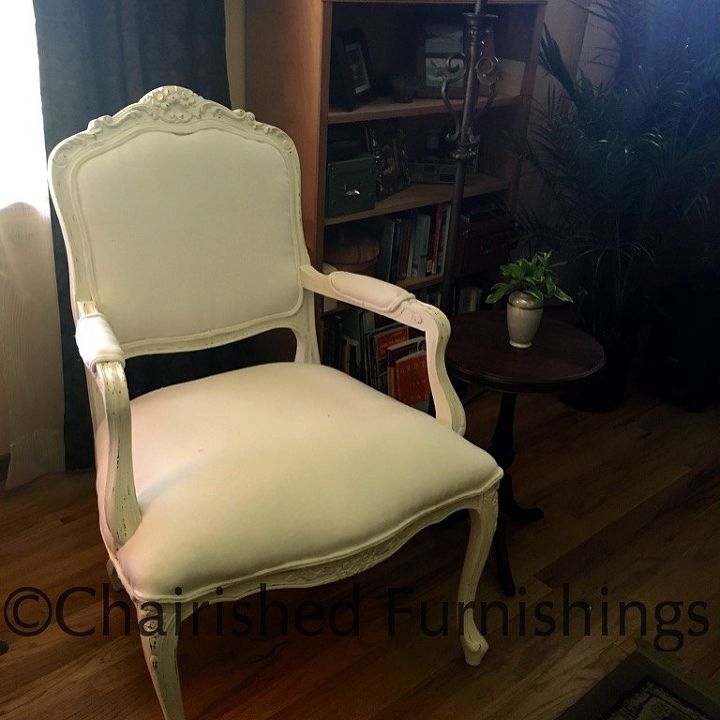
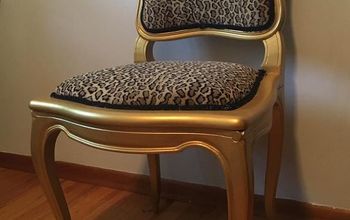
Finished chair in a dark corner of my living room
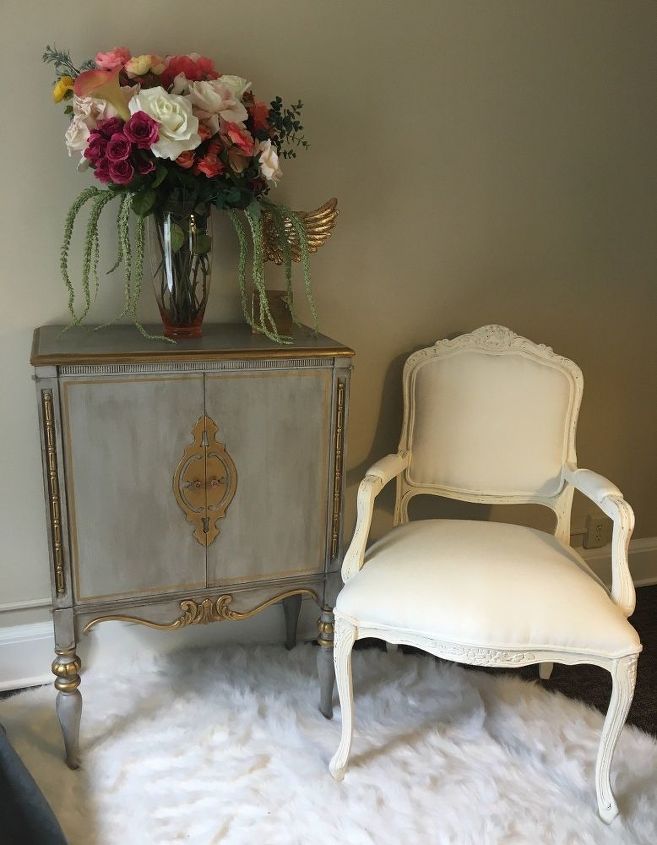
Finished chair next to a cabinet I completed for the same client.
Comments
Join the conversation
-
Stunning!
-
Great job, it's beautiful. I've never seen how new springs were put in a chair before, thanks for showing that part.


Frequently asked questions
Have a question about this project?