


Updating My Kitchen Tiles for Fifteen Dollars

by
Carole
3 Materials
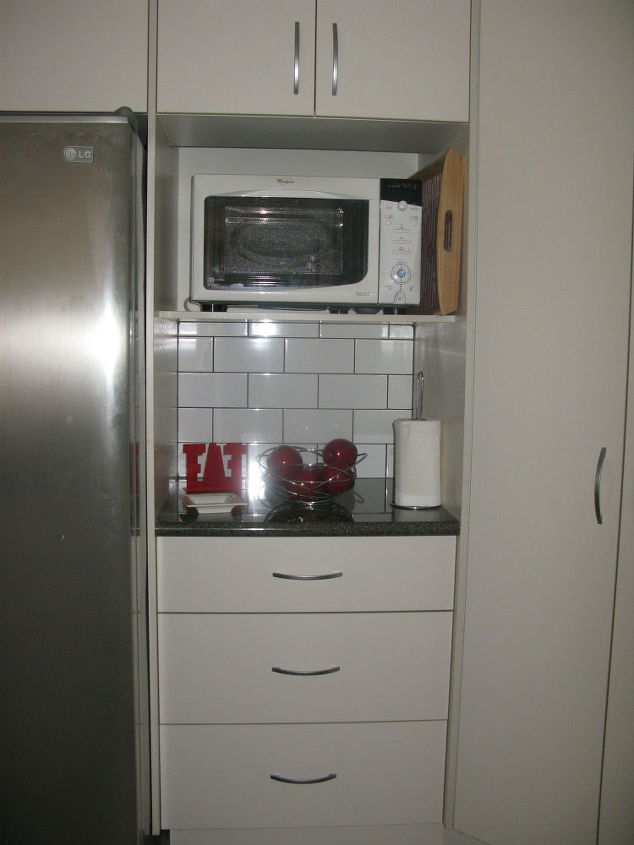
For some time I had been thinking of removing the white grout in my white kitchen 'subway' style tiles and replacing it with black to make the tiles really pop. We bought the house from new nearly 5 years ago and I wanted to stamp our own (for that read mine - bwah, hah, hah) personality on it. My husband, ever mistrustful of my creative endeavours until he sees the end results, was not so sure when I told him I wanted to replace the white grout with black. In the event I bought the grout at a local tile and bathroom store and they recommended a Graphite Grey colour which comes in powder form and you mix it with water till it is a toothpaste like consistency. Now, I am not a complete stranger to grouting, I have done it once before about 30 years ago when I had my own house in the UK but the dark colour - it dries black - could be very unforgiving and it is a while since I wielded a tool to remove grout. Anyhow, I did the area under the microwave as a test area before I could even think about attacking the kitchen back splash with the grout remover tool. Here is the result. I was very happy with it and went ahead and did the back splash and here are the photos of the end result.
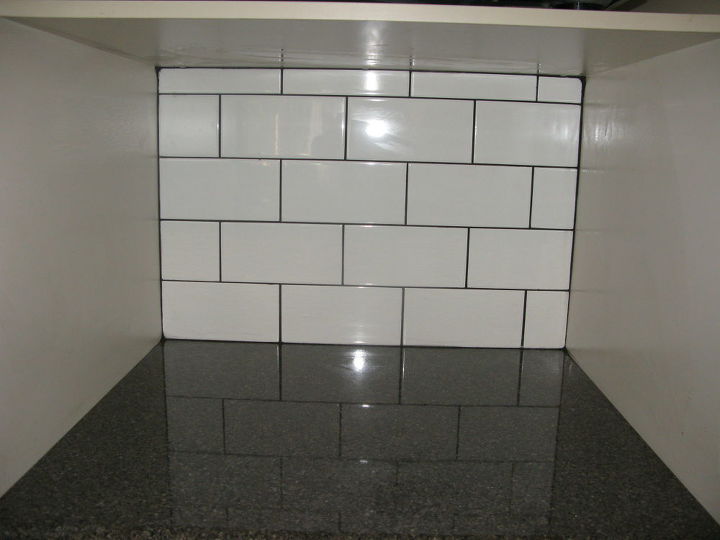
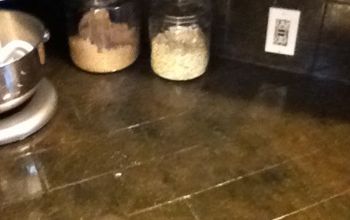
Test Area Under Microwave Shelf
First I scraped out the old white grout with the grout removing tool. Being careful not to slip and scratch the tiles or twist the tool which could chip the tile edges. I kept the hoover handy to hoover up all that grout dust.
Then I washed the area with a degreasing agent ( I used Sugar Soap). Once that dried, I mixed the grout as per the packet instructions to a toothpaste like consistency with water and using a tile float that was shaped like an iron so I could push the grout into all the corners and edges, I applied the grout. Ensuring to push it into all the grout lines. Then using the edge of the float, I did a quick swipe over the tiles in a diagonal direction to smooth the grout out but without removing it from the grout lines. A damp sponge was then used to go over the tiles with the same diagonal sweeping motion to remove the excess grout.
Partially done - see the white grout still?
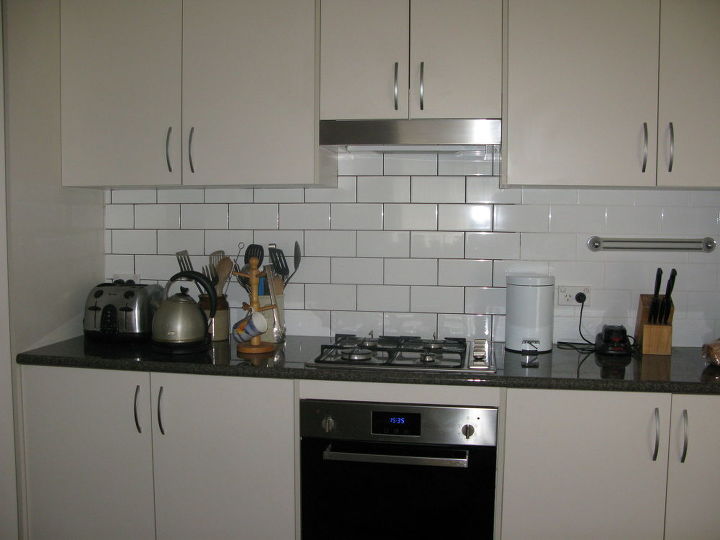
Then I waited for about 40 minutes. It was quite easy then to use dry paper towel to clean off the remains of the grout from the tiles surfaces. Any stubborn bits I used methylated spirit on a cloth to rub off. Final step was to give the tiles a bit of a polish with a dry cloth. This is a simple update anyone can do to change the look of their tiles and bring them up to date for very little money.

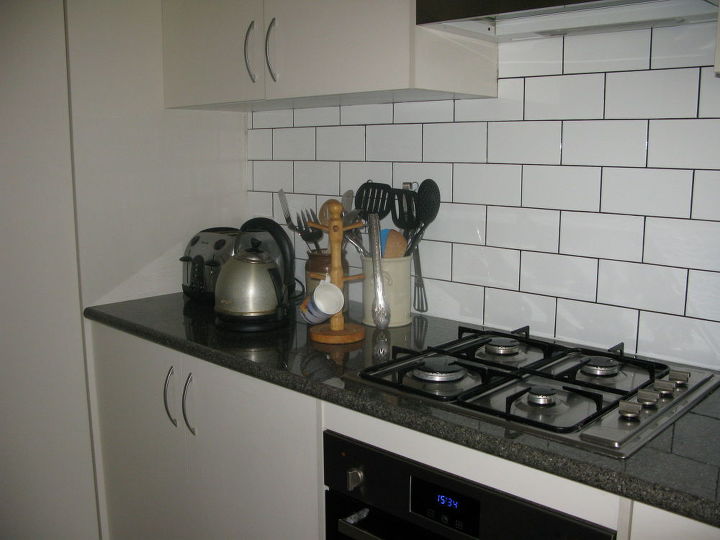
Finished
I focussed on a small area at a time to ensure I took my time and kept my work neat. If you mix up too much grout all at once it can begin to set before you get the chance to apply it. If you do too much scraping of the old grout in one hit it can get really tedious!
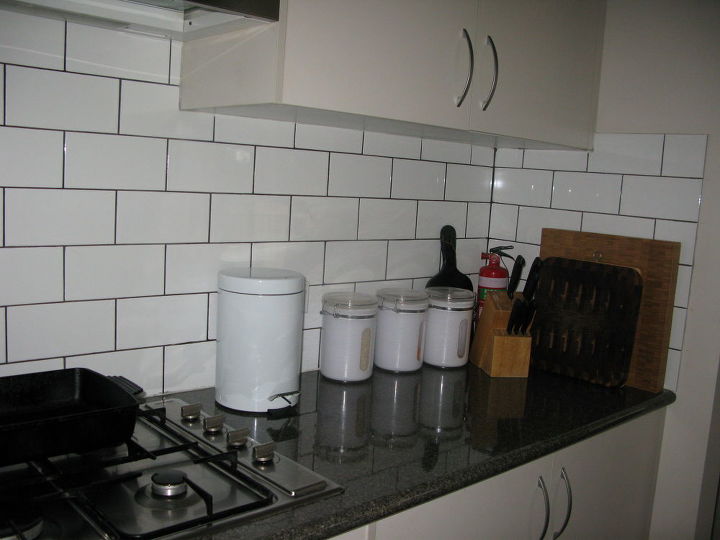
Last step - put all your bits and pieces back on your kitchen benches and stand back and admire your handiwork!
Comments
Join the conversation
6 of 9 comments
-
What a 'simple' idea. Such a great result. GREAT JOB, Carol. Well done & explained.
- See 1 previous
-
Looks so much nicer. Did your husband agree?


Frequently asked questions
Have a question about this project?