


Shibori and Batik Inspired "I Love You" for Mom

by
Zest it Up
10 Materials
Have you seen all the indigo blue dip dying that has been all the rage lately? It’s called “Shibori” and can be seen everywhere from Pinterest to home good stores and clothing, there is most definitely a trend happening before our eyes. Imagine tye dye but much more classy and sophisticated. Seeing as I love blue, I am more than happy to jump on this trending train. And what more perfect time than for Mother’s day?? Have you ever heard of “batik” dying? This is an ancient form of dying done with wax. From Ancient Egypt to the Tang dynasty, this process of resisting dye with wax is no new trend. So I thought- why not marry the two for a super unique gift for momma? Especially since she just re-did her bathroom and room into blue colors- yay!

First cut your wax into smaller pieces and place in heat proof jar to melt…
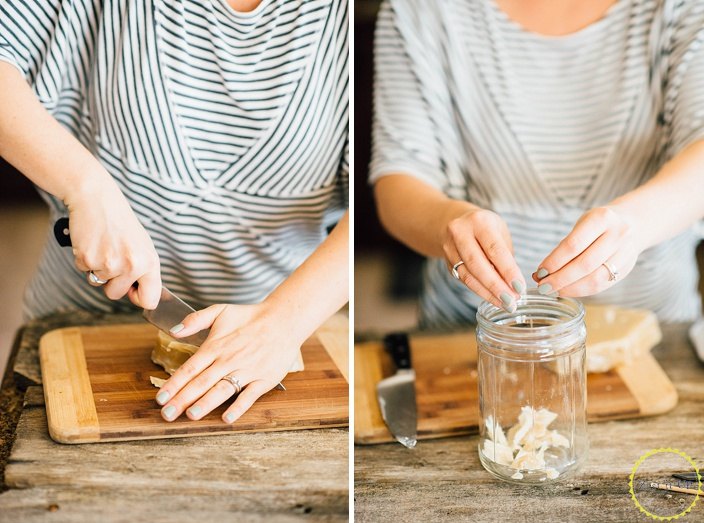
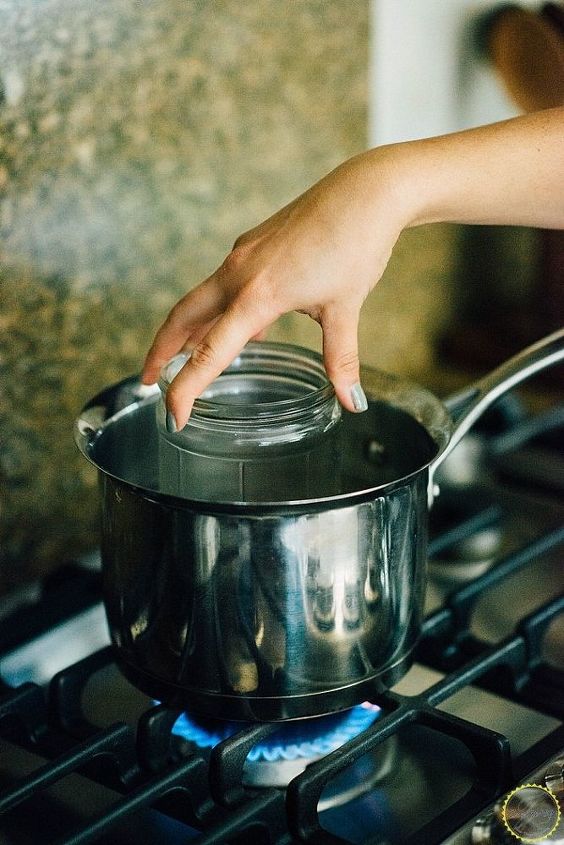
I created my own little double boiler with the jar and a pot of hot water. Turn on medium heat and melt the wax down completely, stirring every few minutes to get rid of clumps.
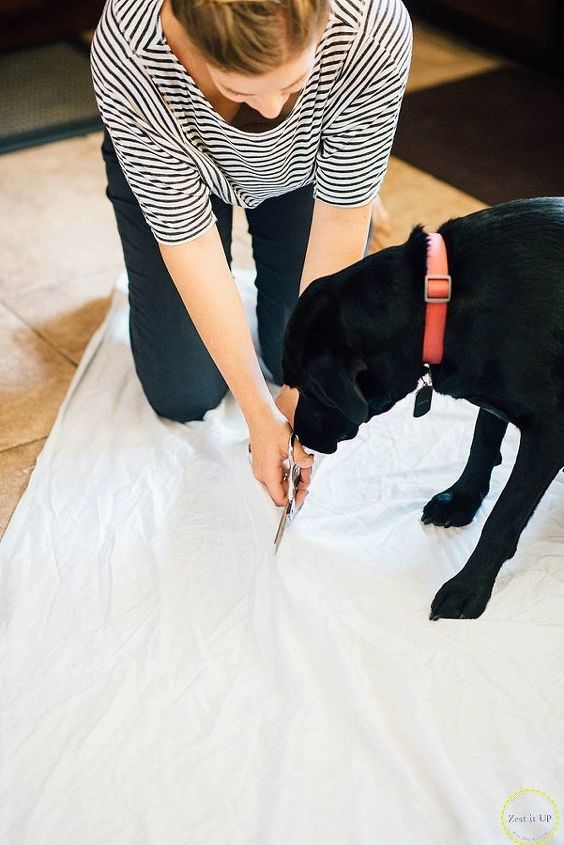
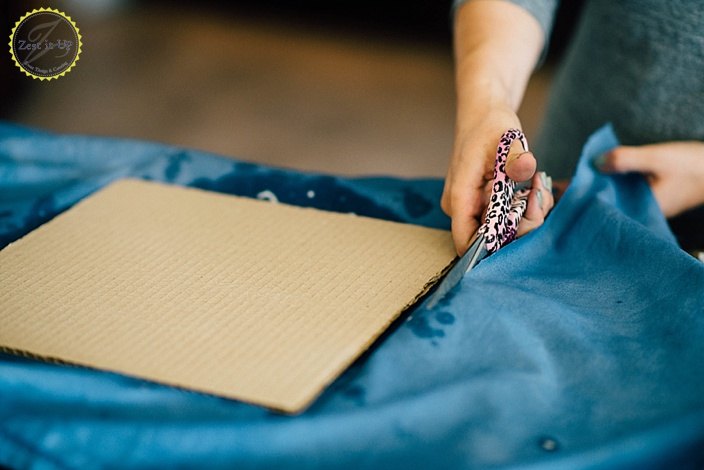
Next I grabbed my scissors and cut up an old cotton sheet into a square just a little larger than my frame, maya was one curious puppy!
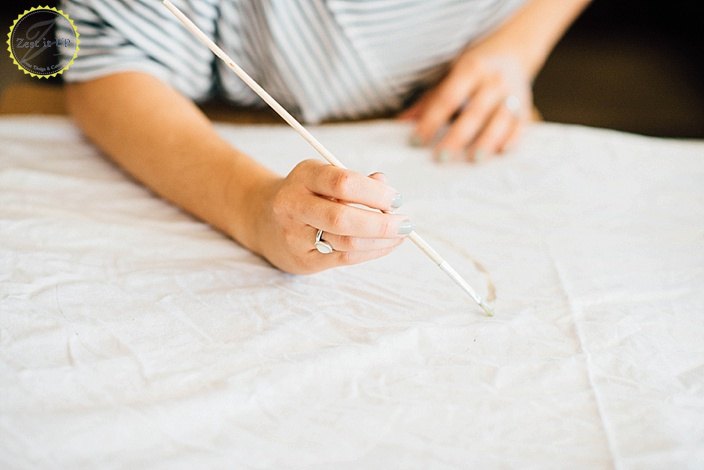
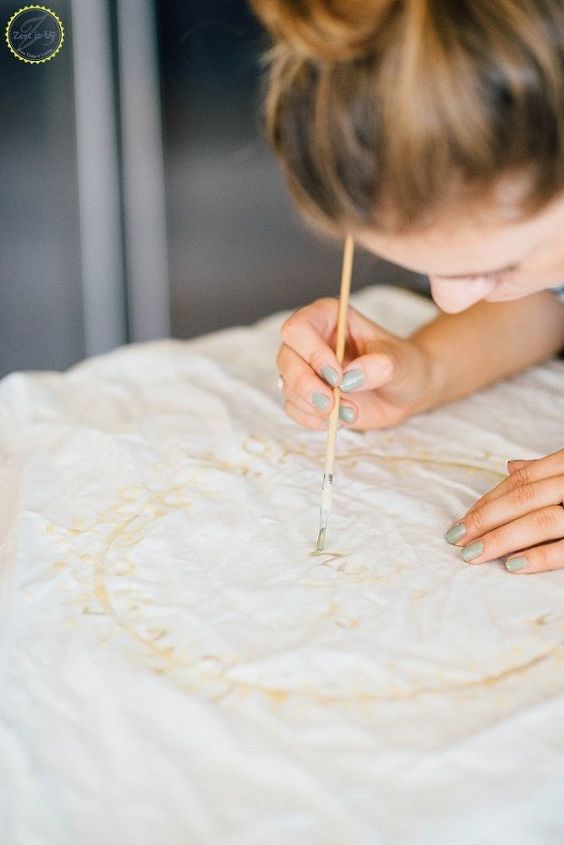
Next I grabbed a plate and traced a perfect circle onto my sheet and then began tracing the circle with my melted wax and paint brush.
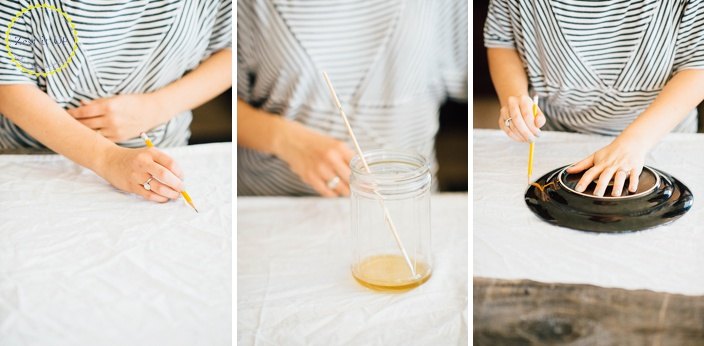
I added some flare around the circle to make it look like a wreath and even added some lettering to the center. This is a time consuming process but believe me it’s so worth it!! You want to make sure the wax fully absorbs into the cotton so that you won’t have any issues of the dye taking.
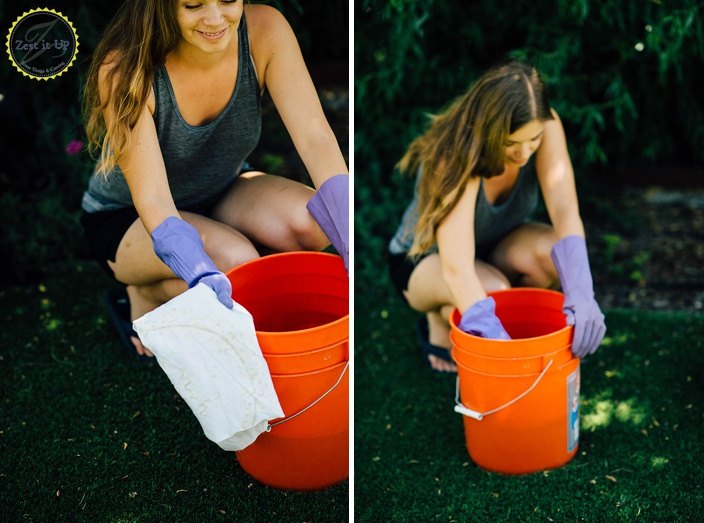
With my wax art done I filled a bucket with water and dye according to the proportions on the bottle and dunked away. I only dunked the fabric for 30 seconds or so- it didn’t take long to absorb that gorgeous color!
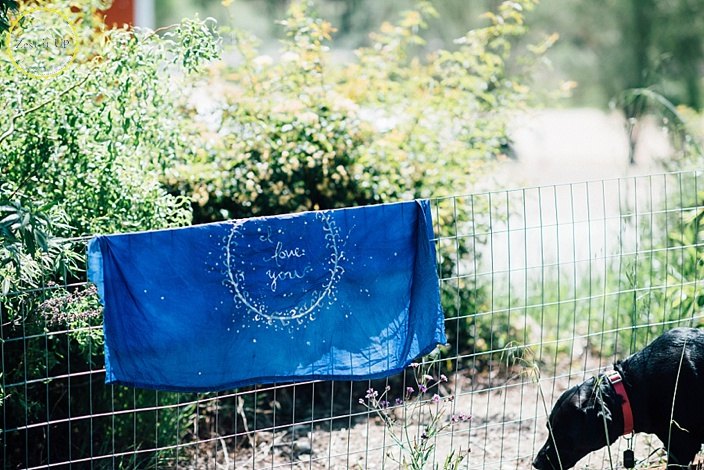
I let the fabric hang to dry for a few hours…

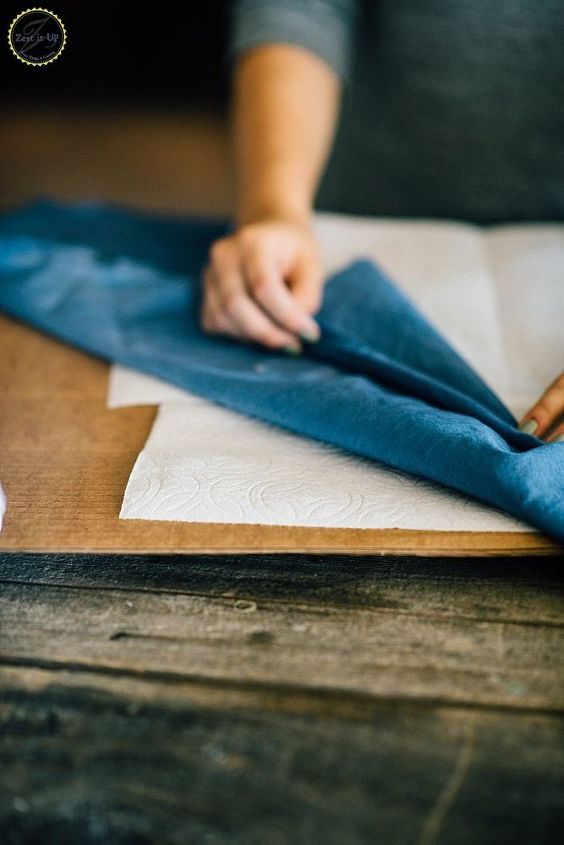
Once the fabric was dry I laid down cardboard, then paper towels, then the fabric and then more paper towels.
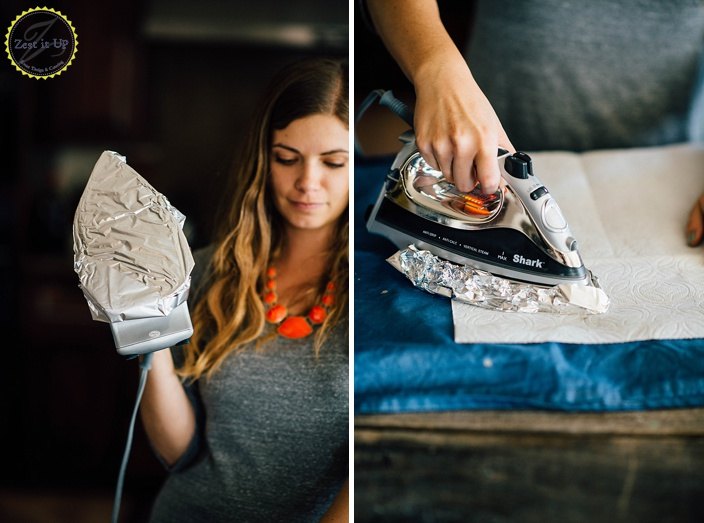
First I covered my iron with foil to protect it from any wax, then once heated at the high temp I started ironing the wax off the fabric and onto the paper towels.
After I peeled back the paper towels I was pleasantly surprised to read my little note….
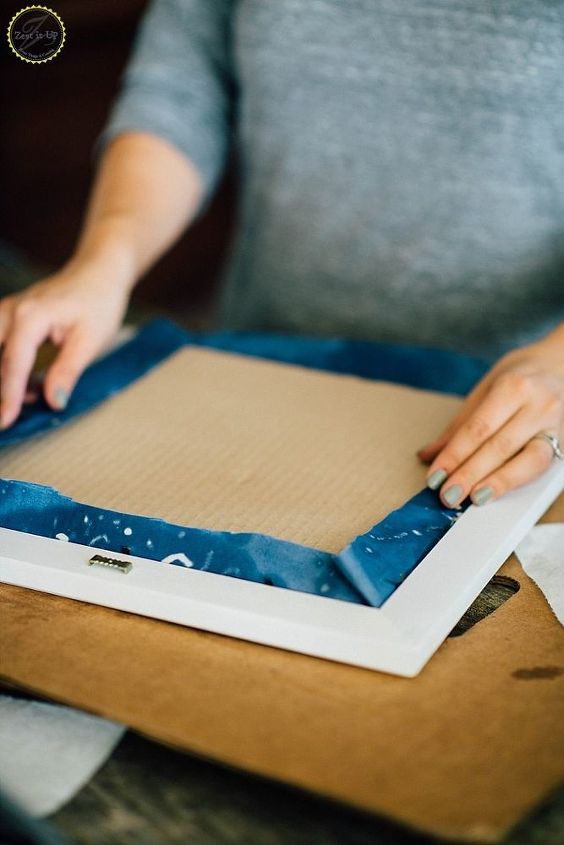
A quick snip here and there, I backed the frame with some cardboard and was ready to to put the finishing touches on the project…
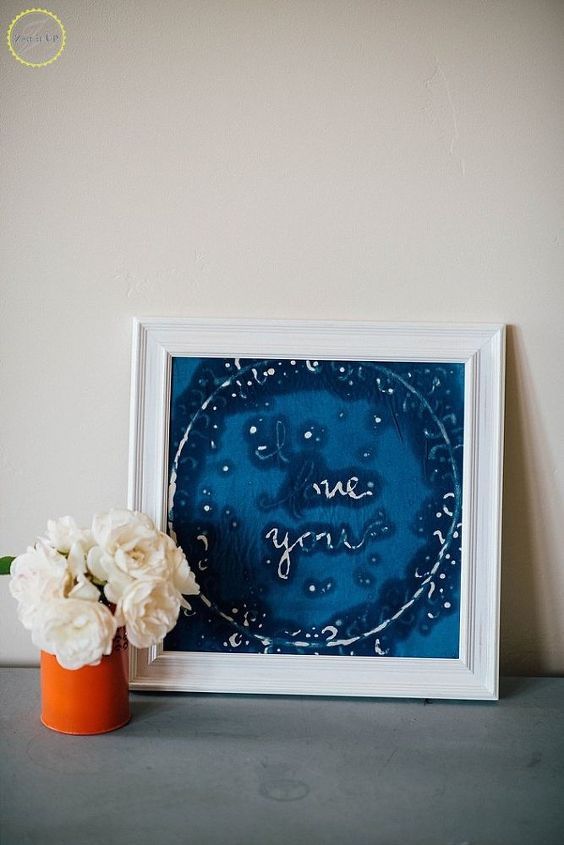
All done!! I love it!!
Want more details about this and other DIY projects? Check out my blog post!
Comments
Join the conversation
3 of 99 comments
-
Very pretty!
-
Thank you! I was searching for this post, I've seen it before, and can't find where I'd saved it! So very appreciative! Bought a crock pot an Estate Sale just for melting wax for $3! Can't wait to get started!! Thank you!


Frequently asked questions
Have a question about this project?