


Turn Photos Into Nightlight: Tape Transfer Tutorial
2 Materials
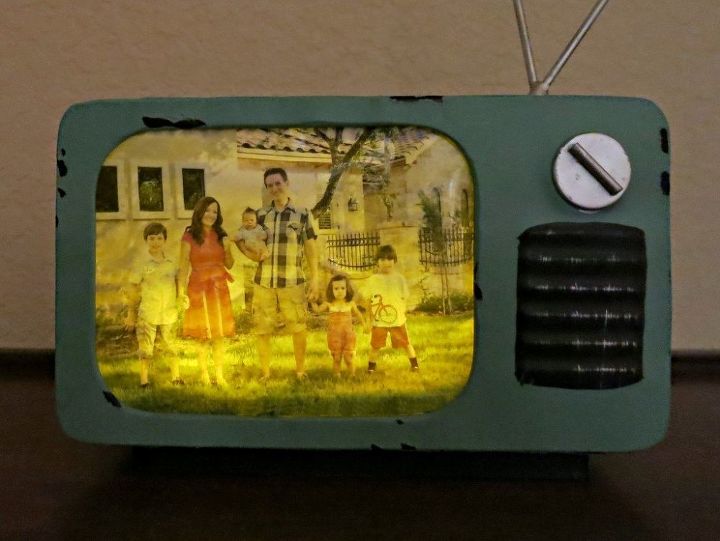
I've mentioned several times that I am crazy about all things retro, chippy, and vintage. I flipped when I saw this metal frame, and knew I had to have it. I used a simple tape photo transfer technique to create a retro inspired photo nightlight.
Cover the photo with the clear tape. Press the tape onto the photo securely. I used a scoring tool to get all the air bubbles out.
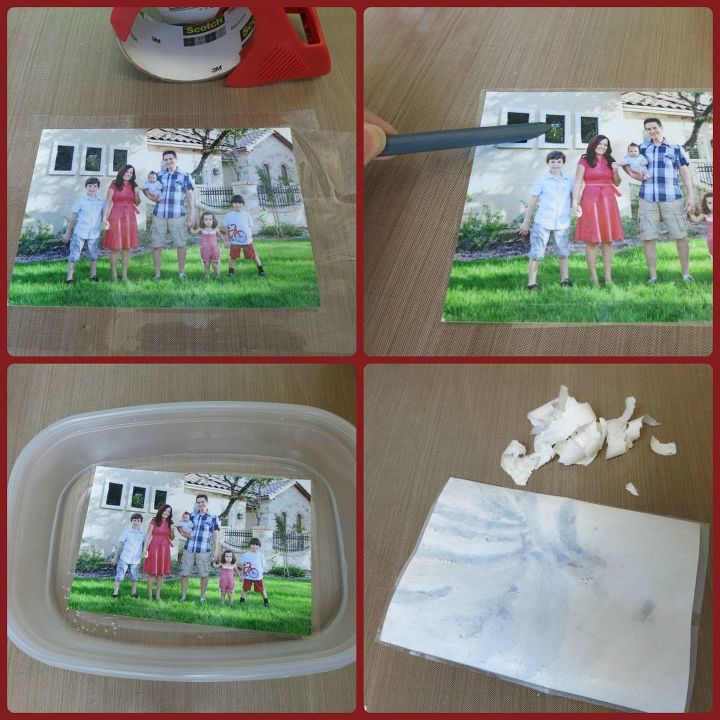
Soak the taped photo in water for at least an hour. Now you can carefully peel off the paper backing and scrub away as much paper as possible.
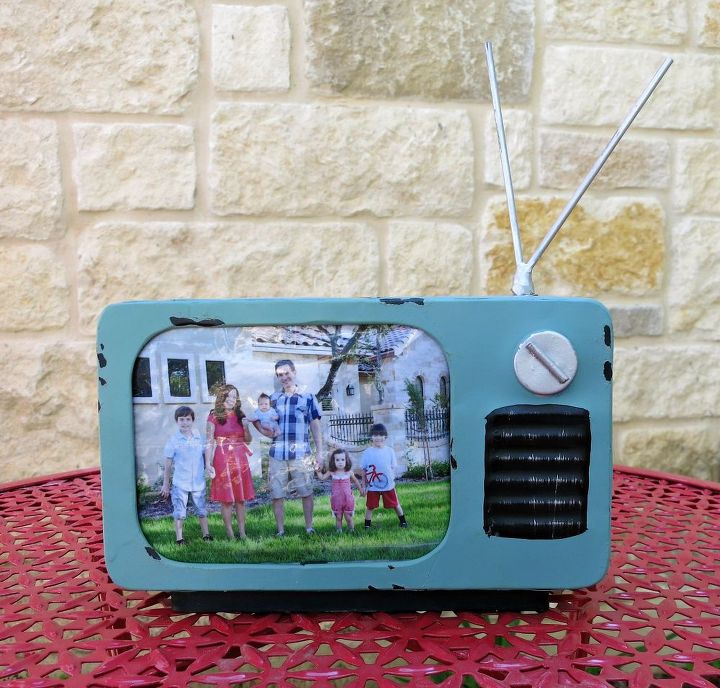
Your translucent image is secured onto the tape. Let it dry, then insert the photo in the frame. I held mine in place with a little bit of washi tape inside the metal frame. Add two flickering battery operated tea lights to the frame to create the effect of an old TV screen. By daylight it's a pretty photo on display, but in the evening it's a lovely, glowing night light! Have fun crafting and creating!
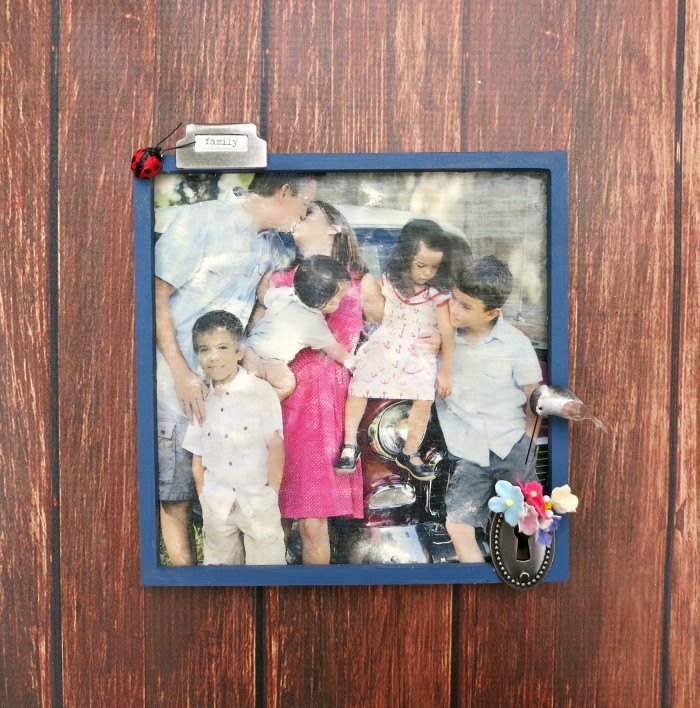
I love to transfer photos! This was made with a gel medium transfer. Visit my site to learn how! http://www.morenascorner.com/?s=Photo+transfer

Want more details about this and other DIY projects? Check out my blog post!
Comments
Join the conversation
2 of 30 comments
-
Darling idea!
-
Very cool! Love this idea.


Frequently asked questions
Have a question about this project?