


Apple Basket Light Fixture

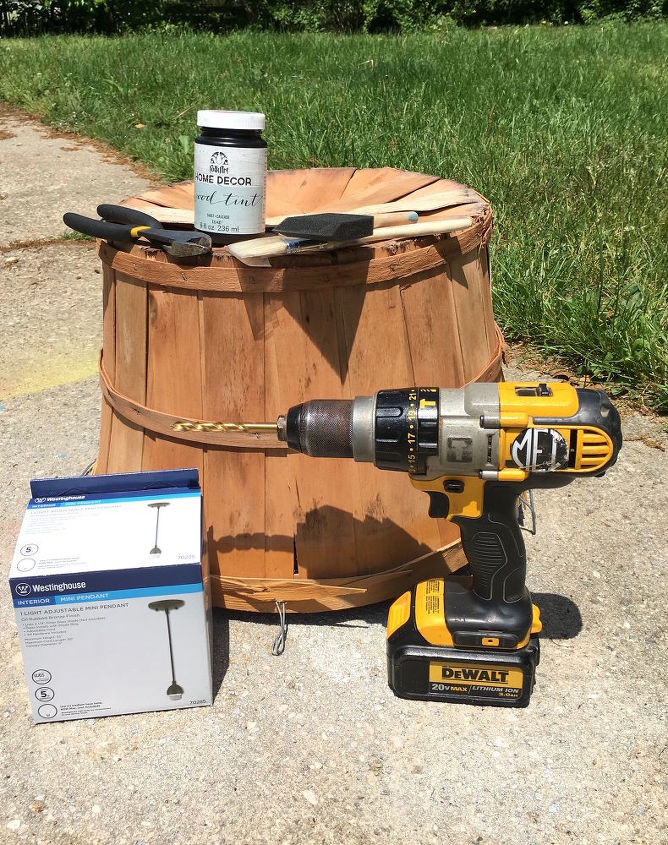
5 Materials
$20
2 Hours
Easy
Several years ago I acquired several apple baskets knowing that eventually, I'd find some sort of project to make them into something cool. I finally was able to use one of them by creating a rustic light fixture! I'm so excited with how it came out and can't wait to make more of these in different colors and styles.
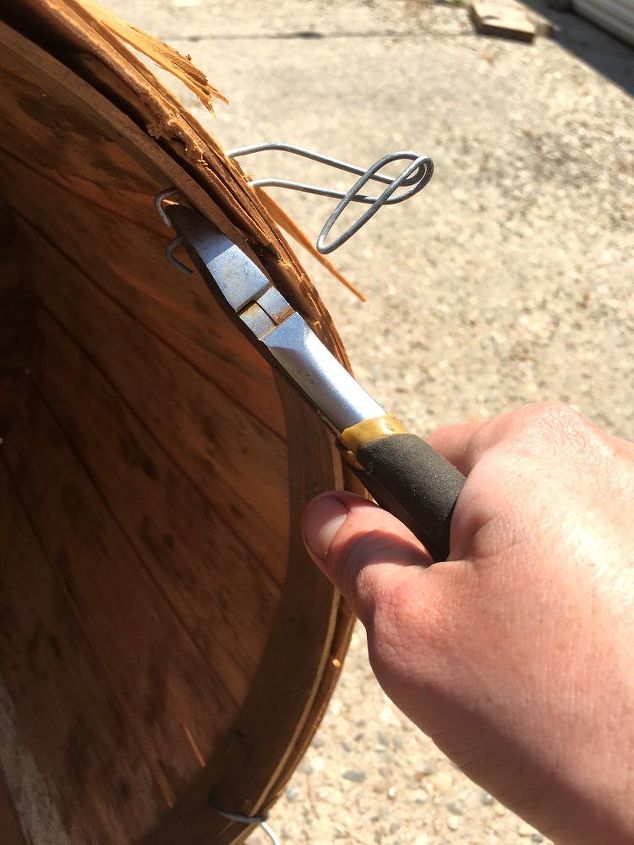
The first thing you'll want to do is remove the wire lid clamps. These particular apple baskets came with lids but obviously I won't be needing them for this project so I removed them. I chose to leave the wire handles but those can be removed as well if you like your fixture better without them. I felt they added more character.
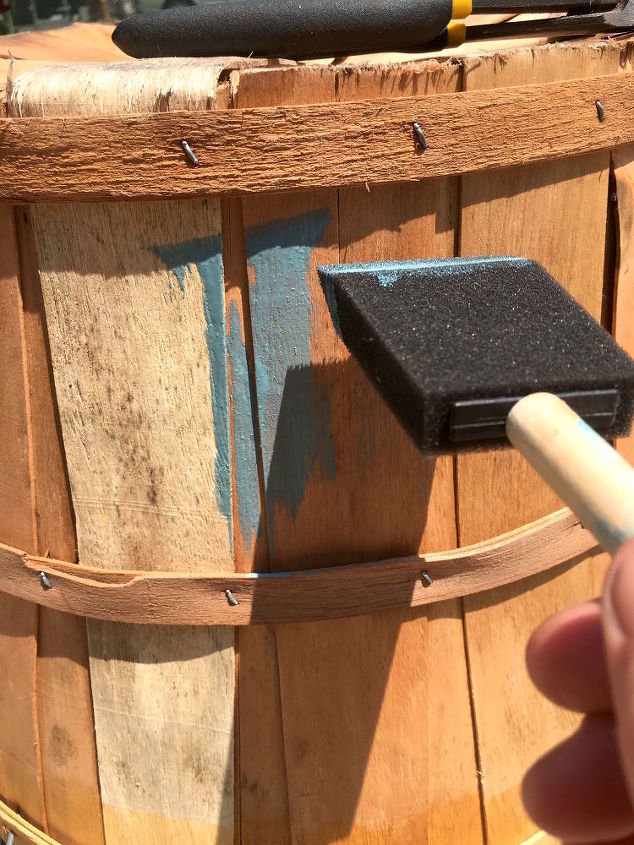
Next, apply your wood tint. I chose a shabby blue/aqua color but of course, you can use another tint or even use acrylic paint instead.
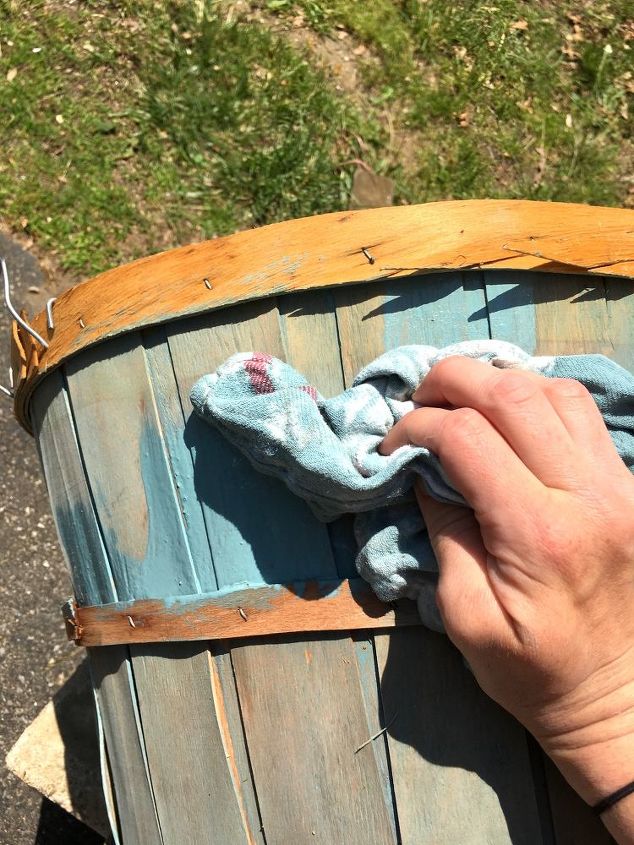
According to the directions on the bottle, you need to brush on your tint, let it soak into the wood for about 30 seconds, then wipe off with a cloth.
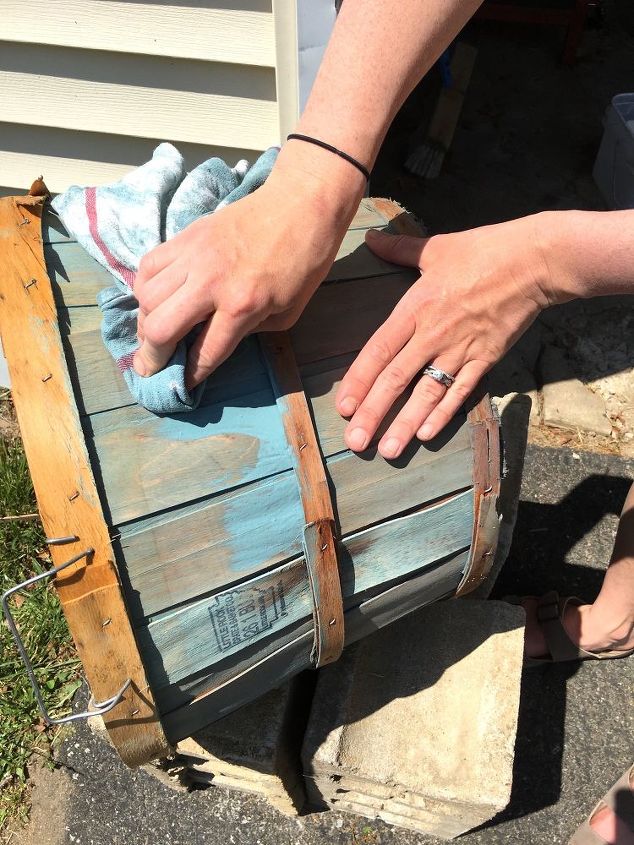
Make sure you get into the nook and crannies.
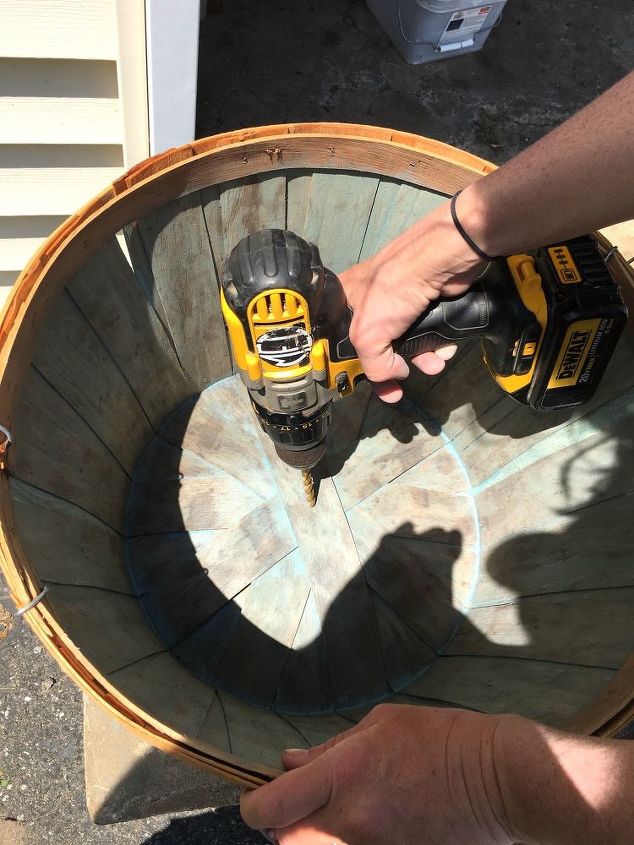
Once you've tinted (or painted) your basket inside and out, determine what drill bit you'll need to make a hole for your lighting cable. You can do this by eyeing up the width of the cable with various drill bits to determine the closest match.
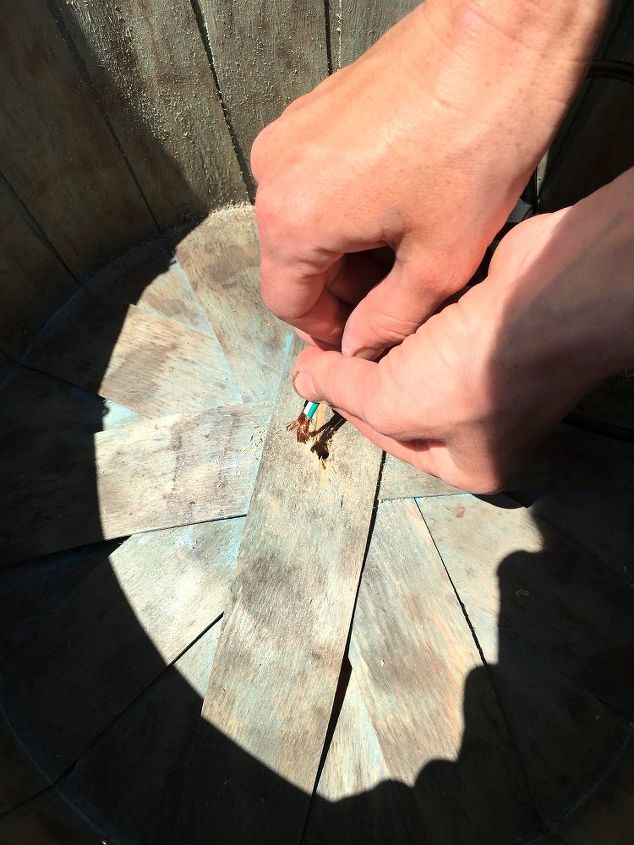
After you've drilled your hole, feed your lighting cable through the hole.
Pull the cable all the way through.
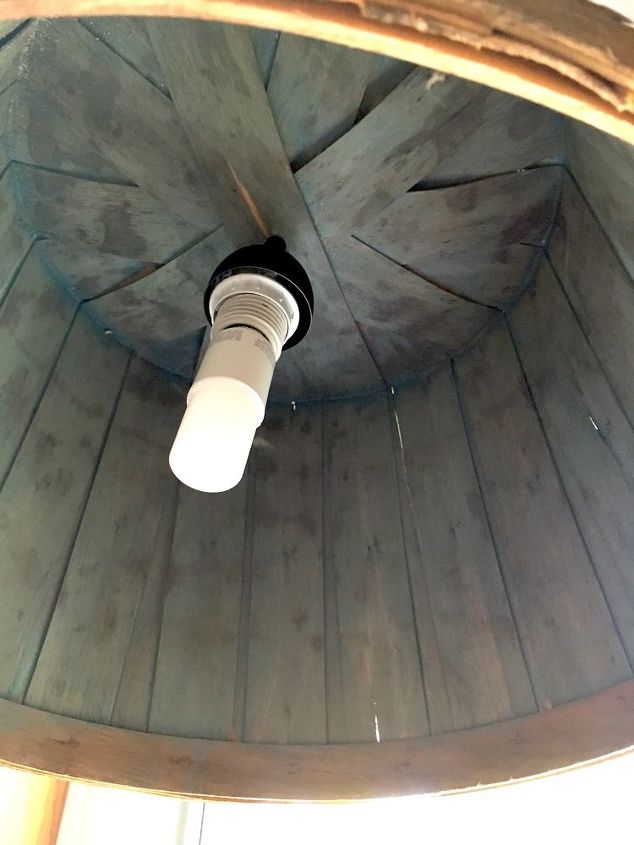
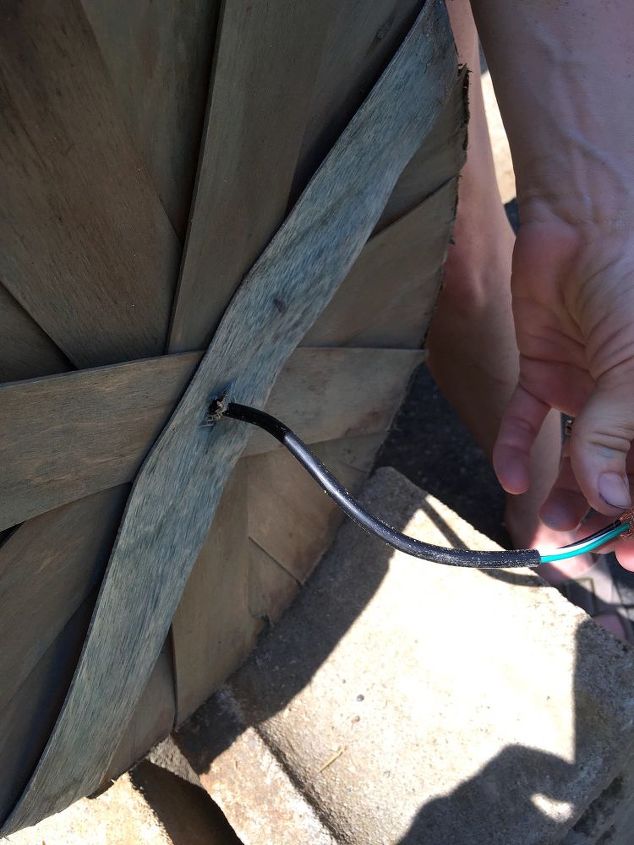
Your light should look like this once the cable is pulled through the hole.
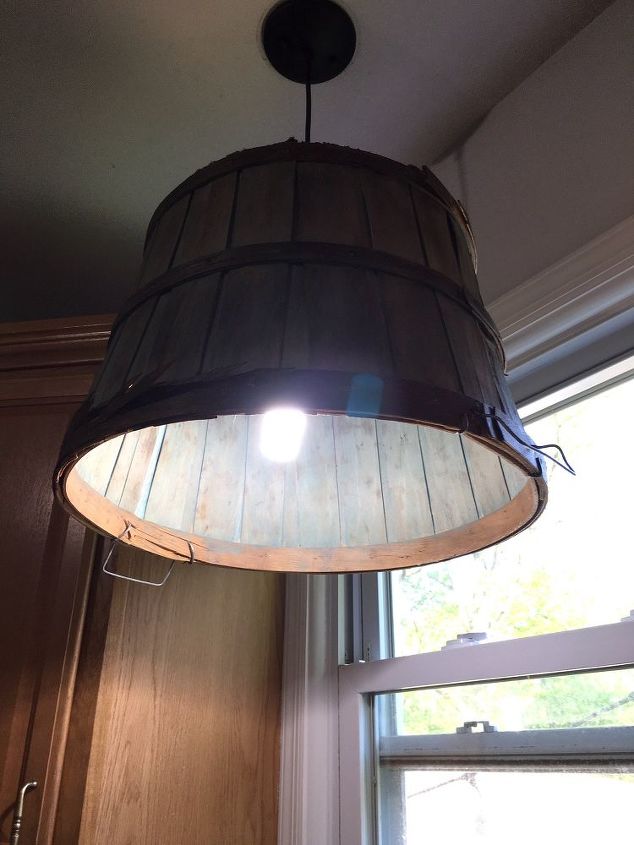
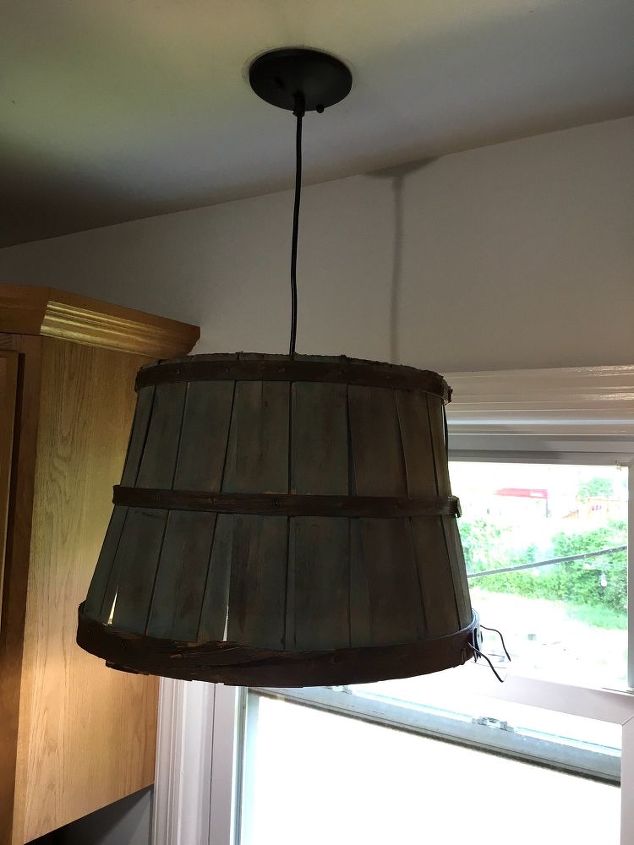
*Note: After I finished my basket I decided I wanted the rings to be a darker color so I added a walnut tint to them the same way I added the light blue/aqua to the rest of the basket. I also took the excess walnut tint on my cloth and vigorously rubbed over the light blue/aqua to give it a weathered/rustic finish.
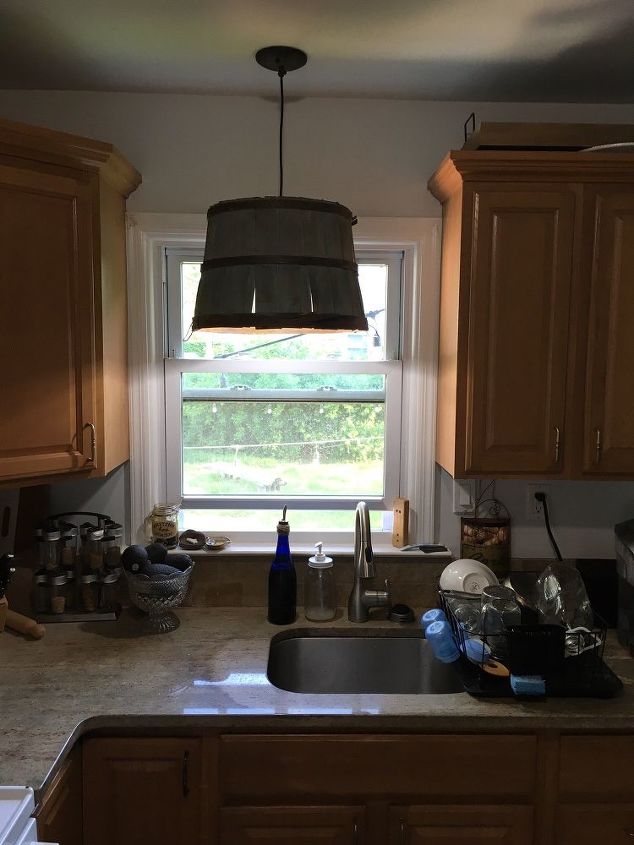
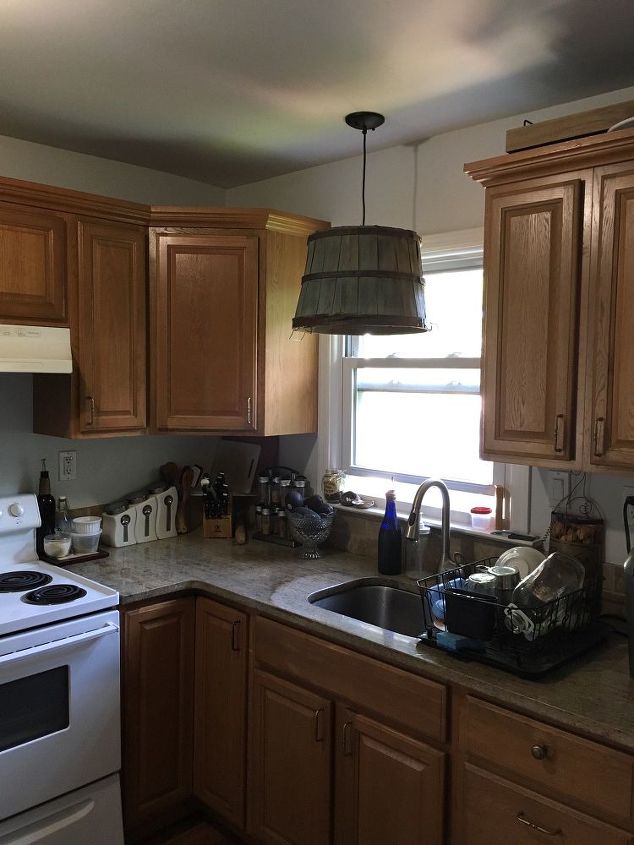
I'm so happy with how this light fixture came out. I feel like it adds so much character to my kitchen!
Comments
Join the conversation
2 of 33 comments
-
Such a cool idea. I have tried to decide what to about the lighting in my kitchen. I do believe I am going to copy your idea!
-
I LOVE IT!!!!!
 I have an OLD one, at least 50 years old. Mine had a small hole in center bottom of basket,.index finger size.......I seen it happen what I was gonna use it for. I needed a lampshade for a large glass lamp. Screwed it on and my youngest son, Santino, walked in and seen it.......HE LOVED it!!! Two old nothings, turned into SOMETHINGS. ;)))


Frequently asked questions
Have a question about this project?