


Crate Storage Unit

6 Materials
$60
2 Hours
Easy
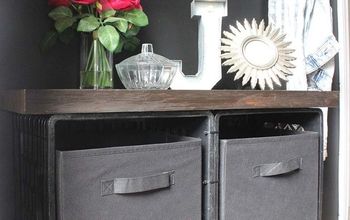
If you're in need of storage but don't want to go out and buy a cheap, plastic cabinet or drop a bunch of money on a nice storage cabinet, here is a great solution! This crate storage unit is both functional and a piece of unique, rustic decor. I love the way it turned out!
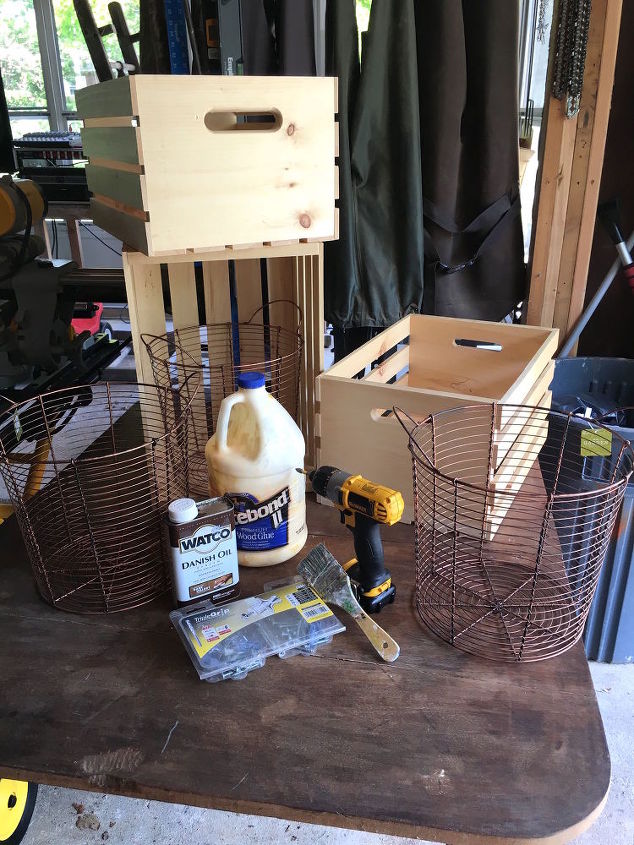
For this project, I used 3 wooden crates, 3 wire baskets, danish oil, wood stain, wood glue, and some screws.
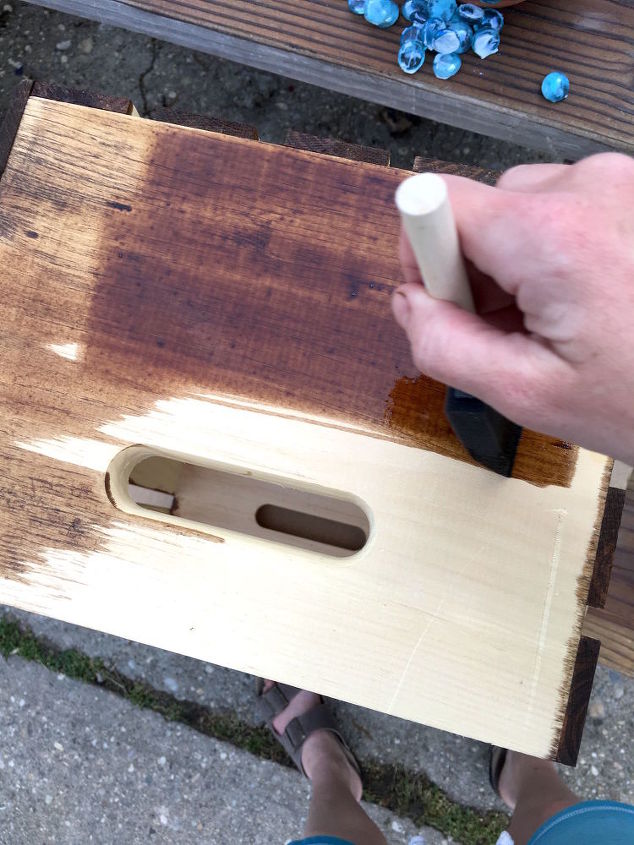
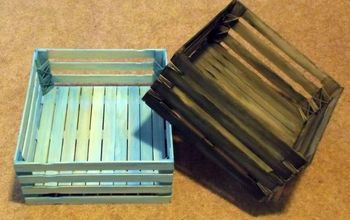
STEP 1: Cover Your Crates in Danish Oil The first thing you'll want to do for this project is apply a thick coat of Danish oil to your crates with a sponge brush. I originally tried with a paint brush, and I liked the way the sponge brush moved the oil better, so I switched.
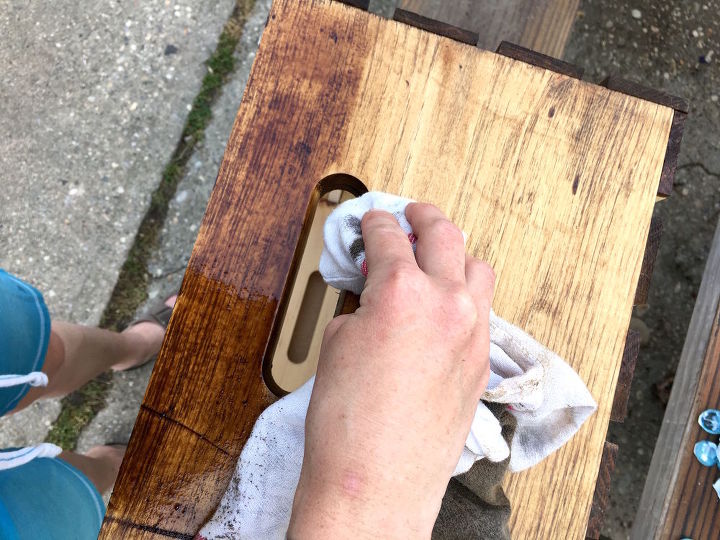
Once you apply all sides of your crates with the oil, you'll want to wipe the oil off with a clean rag.
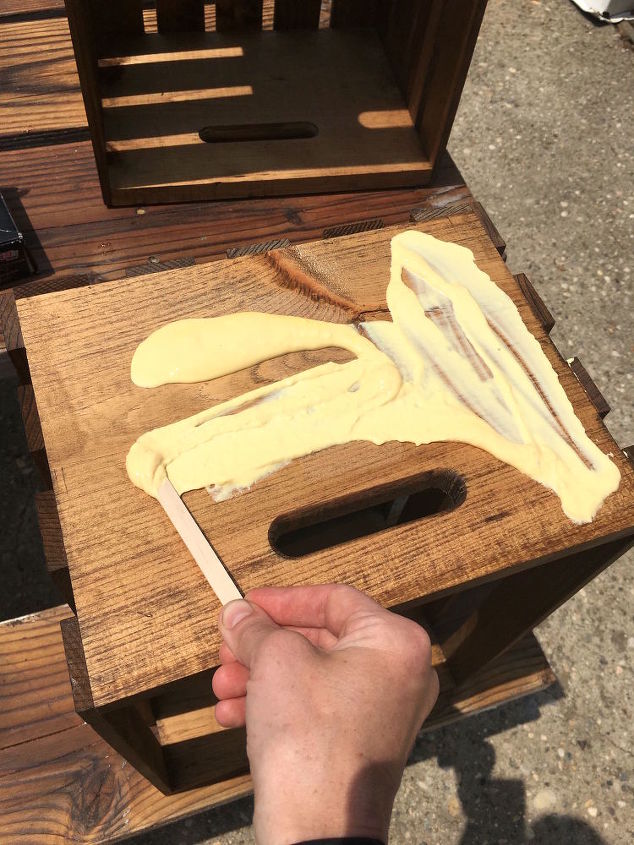
STEP 2: Glue Your Crates Together Once the oil is dry, apply wood glue to ONE END of TWO of your crates, using a wooden stick. You will be pressing your crates together, so try not to use too much wood, or you'll end up with a gloppy mess.
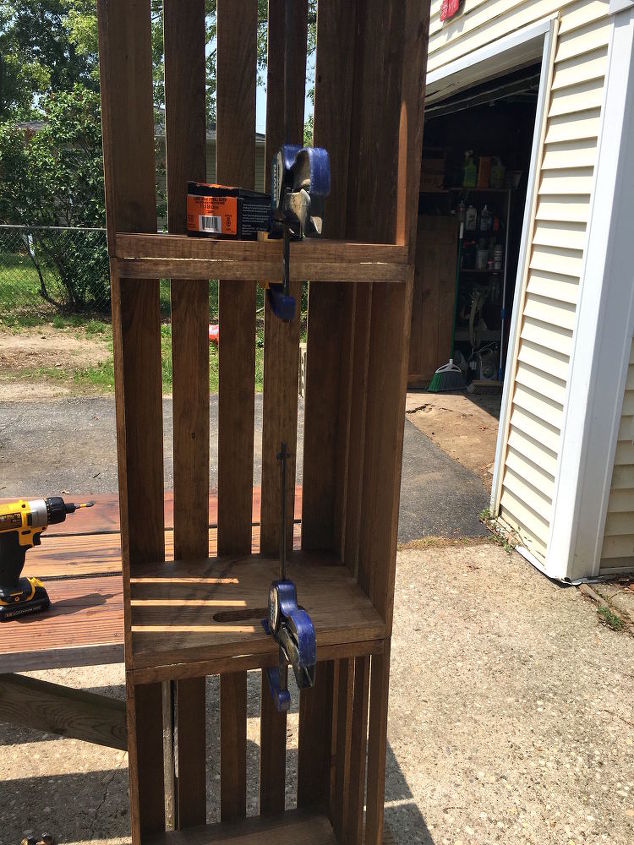
Next, stack your crates on top of each other. I had some clamps handy so I clamped my crates together to hold them in place while I did the next step. If you don't have clamps, you might want to connect one crate at a time.
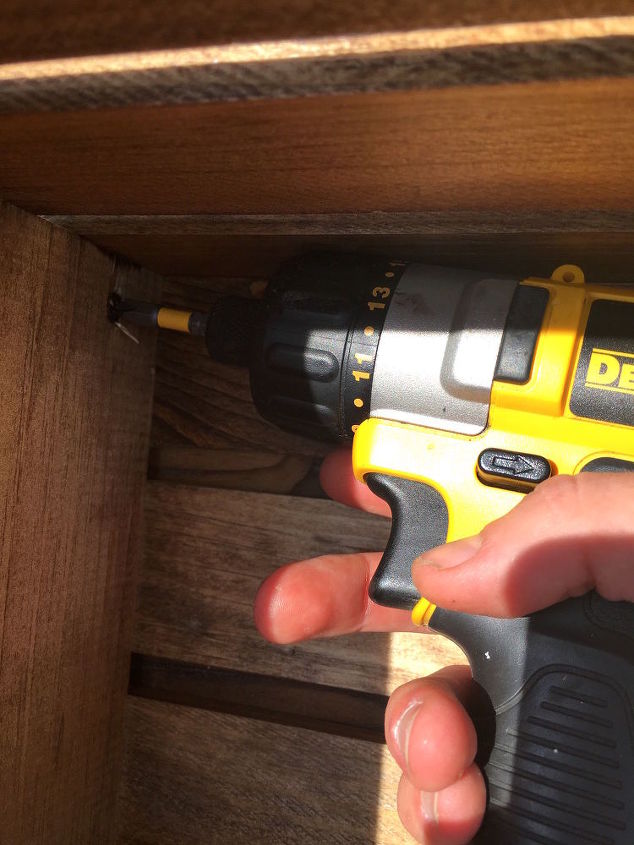
STEP 3: Screw Your Crates Together While your crates are stacked, drill screws on the bottom of each crate (except the very bottom one, of course). *Note: when you see the crates stacked, you'll want to drill the screws on the bottom (underneath) side so you can't see the screws.
*FAIL ALERT! You don't want to have your screw go completely in until the drill stops, because you'll experience cracking like this! You need only to drill the screw until it is flush with the crate, and no more.
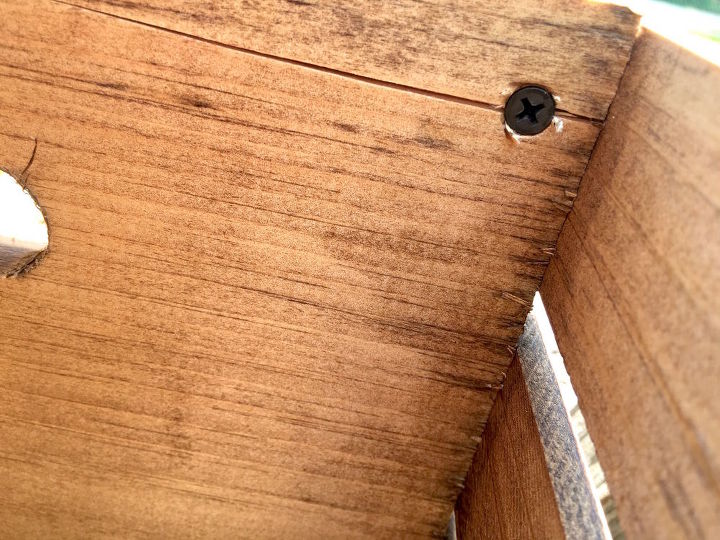
Here is how the bottoms of your crates should look from underneath. Check out those perfectly flush screws!
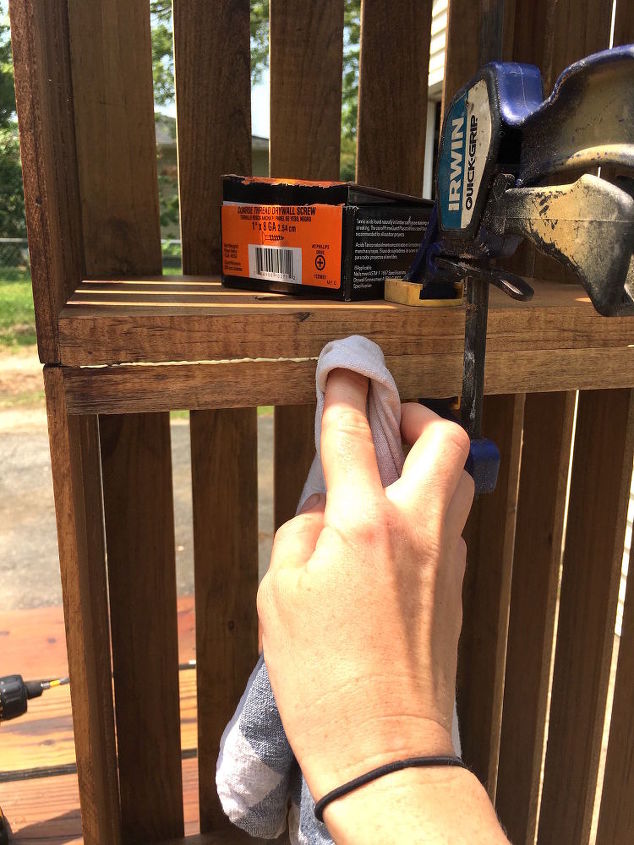
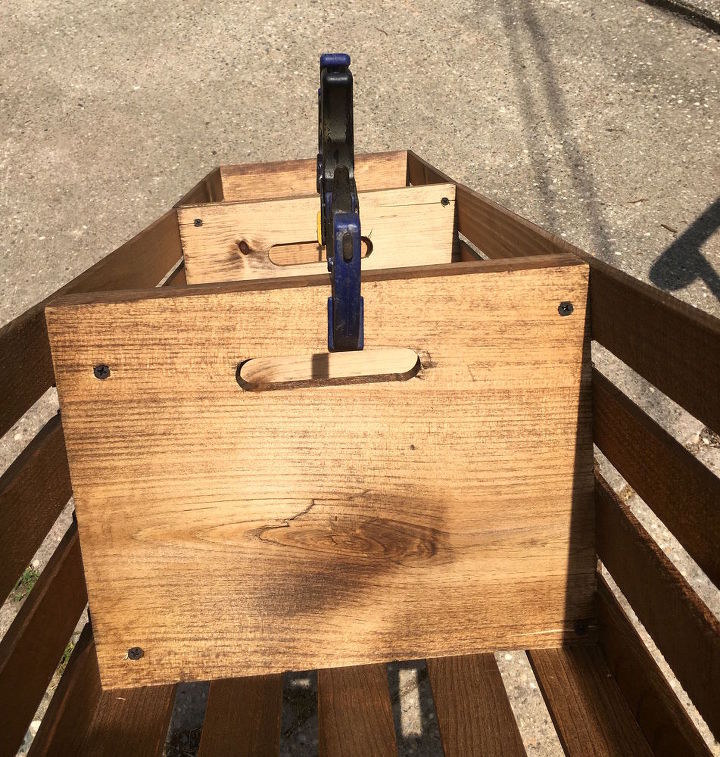
STEP 4: Clean off Excess Glue Next, take a rag and wipe off any wood glue that seeped through between the crates. You'll want to get rid of it before it dries, or it could ruin the clean, finished look of your organizer.
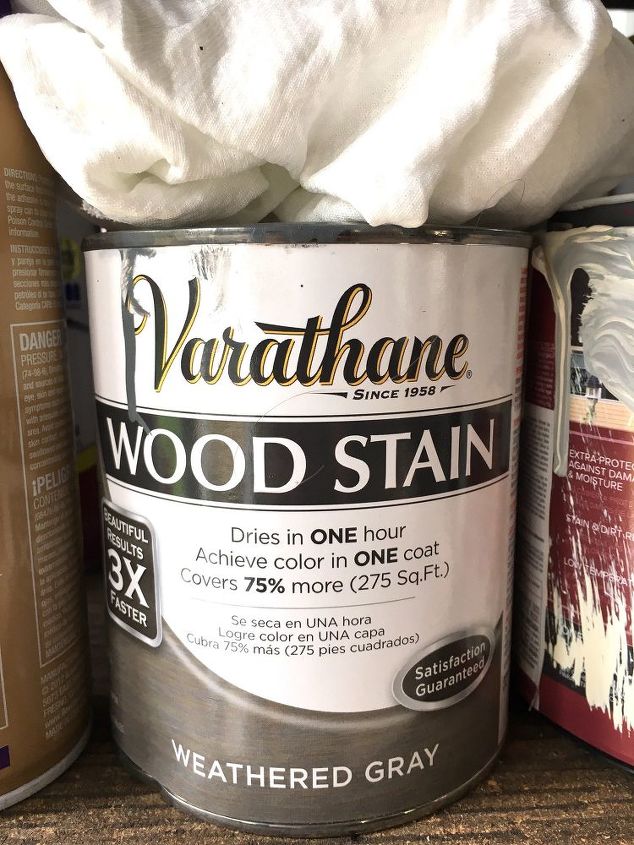
STEP 5: Stain Your Crates The next step is optional. I fell in love with the copper-colored wire baskets I picked up from JoAnn's but once I put the Danish oil on the crates, I wasn't happy with the way the wood color looked with the baskets. I decided to try an experiment and applied weathered gray wood stain over the Danish oil (once the oil had dried).
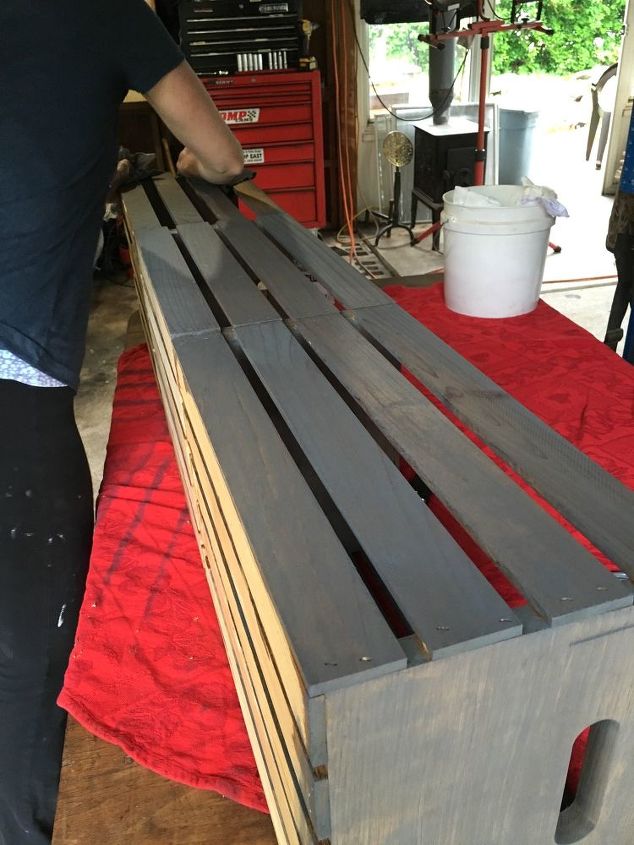
I applied the stain with a rag...
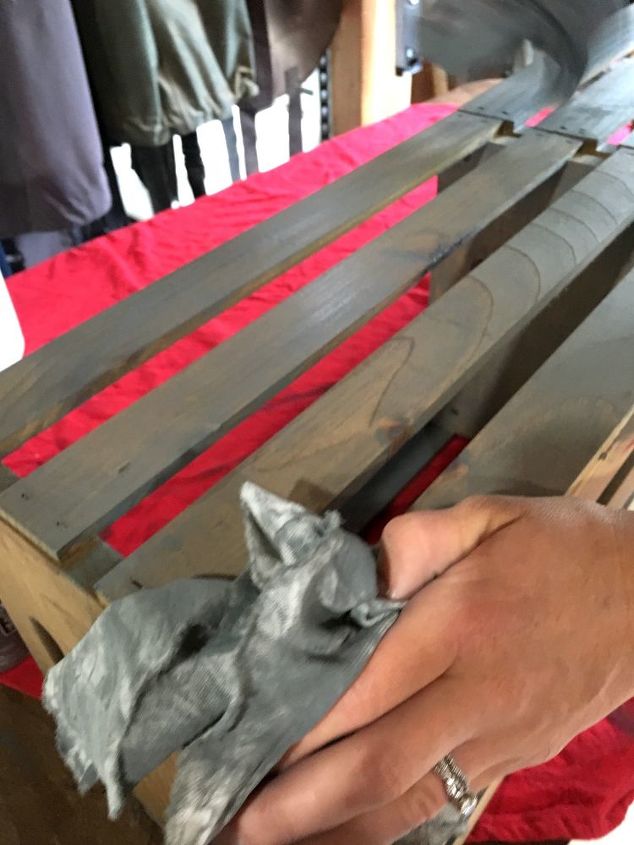
...then wiped it off with another rag.
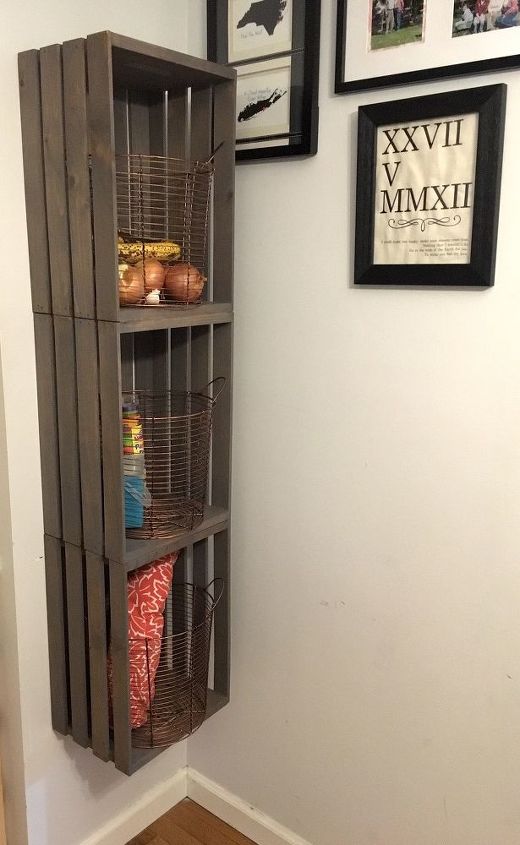
Gorgeous, right? And you haven't even seen how easy this is to do, yet. Let's just say your cluttered entryway is about to be very grateful.

I'm so very happy with how this storage unit came out! I live in a small, two bedroom house so extra storage space is always helpful. I hope you enjoy it too!
Resources for this project:
See all materials


Any price and availability information displayed on [relevant Amazon Site(s), as applicable] at the time of purchase will apply to the purchase of this product.
Hometalk may collect a small share of sales from the links on this page.More info
Comments
Join the conversation
2 of 107 comments
-
Must try this since I’m also in a small 2 bedroom home. Also love your Long Island print
-
Sounds easy enough to do. I’m in fierce need of bookcases. I wonder if this could be adapted


Frequently asked questions
Have a question about this project?
I have many beautiful, rough, 18 in square crates. I am going to stack them two crates high and two crates wide. I may or may not put a countertop I'm not depending on the size.
Can anyone tell me where to find a tutorial? I am going to use this as a kitchen island and perhaps put wheels on the bottom so it can be moved anywhere.
I know the color I would like to paint the crates, but I don't know what type of paint to get, whether to prime, how much to sand, etc.
I will put baskets with fruit or kitchen utensils in the open sides of the crates, etc.
Is there a place where we can put an idea in our head and asked what steps to make it?
I know this is an old post but I live in an apartment. How did you screw it into the wall
What size are the crates, and where did you get them?