


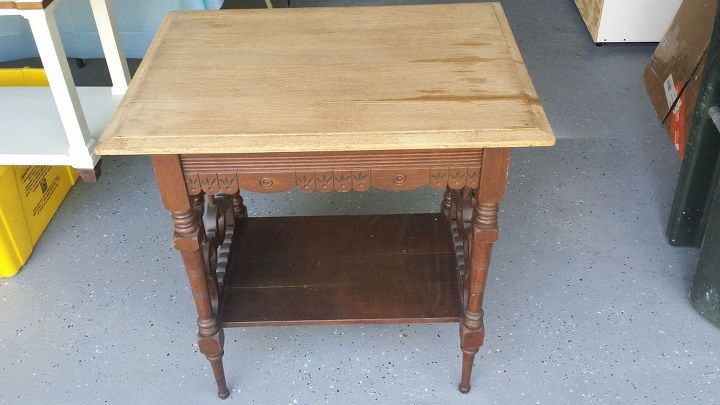
Antique End Table ,Side Table Before-After

3 Materials
If you remember, I worte 2 weeks ago ,we were start to painting our one of client who was collector of antique furnitures,,This End Table is one of them
My husband sanded the top down 85 degree weather!!!!!!And he was needed to finished in that weather cause we hadn't no time to catch up to finish other in our hands..
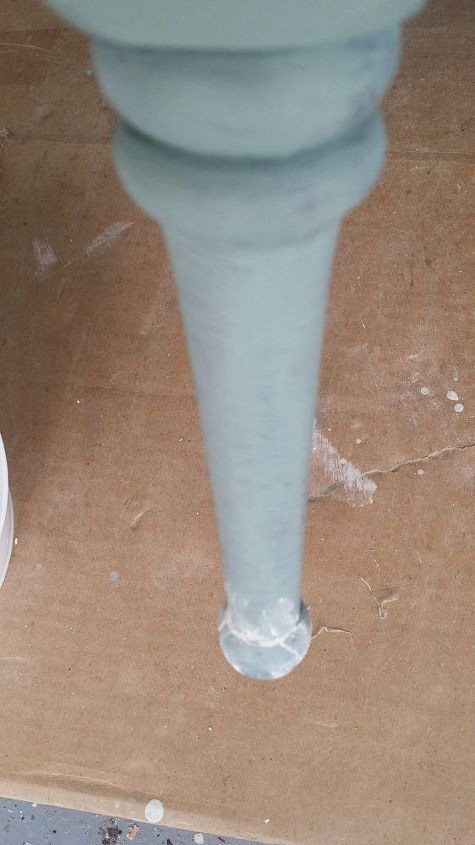
I continiued to paint again but after fist coat we realized the invisible crackles,and we filled up all them,,,,
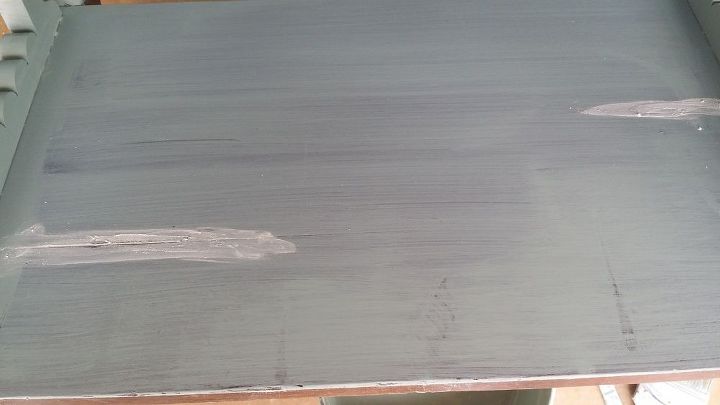
After 20 minutes dry I sanded and applied 2nd & 3rd coats to all body and top..
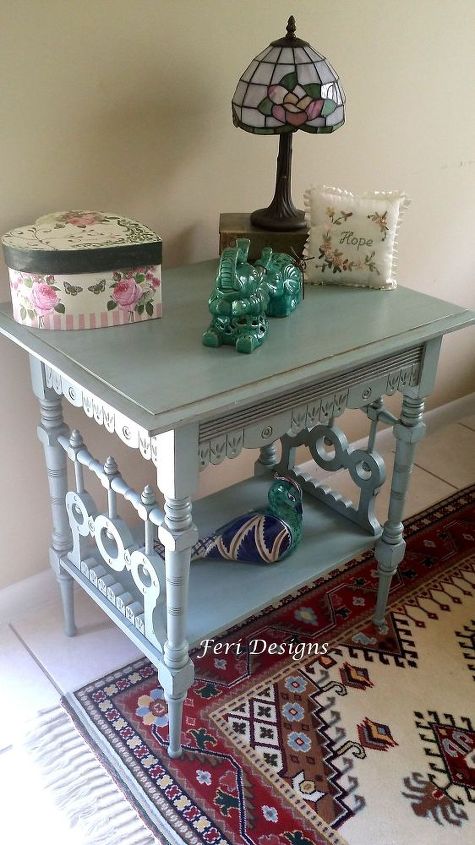
As usually after chalky ı wait for 1 night for deep absorbed....than I applied distress, and put clear wax...after 3 hours I applied walnut Cream wax very slightly,,
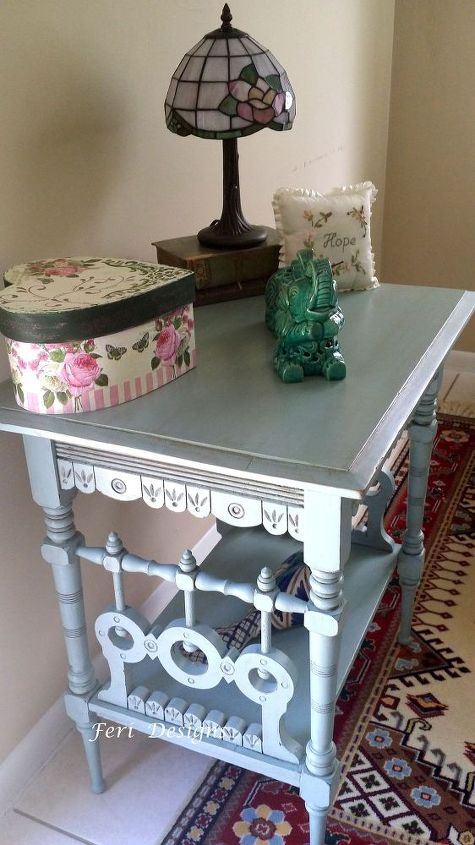
Now the time is getting a little shiney,,,I do all the time with dry cloth.....This is my way to shine chalky furnitures....
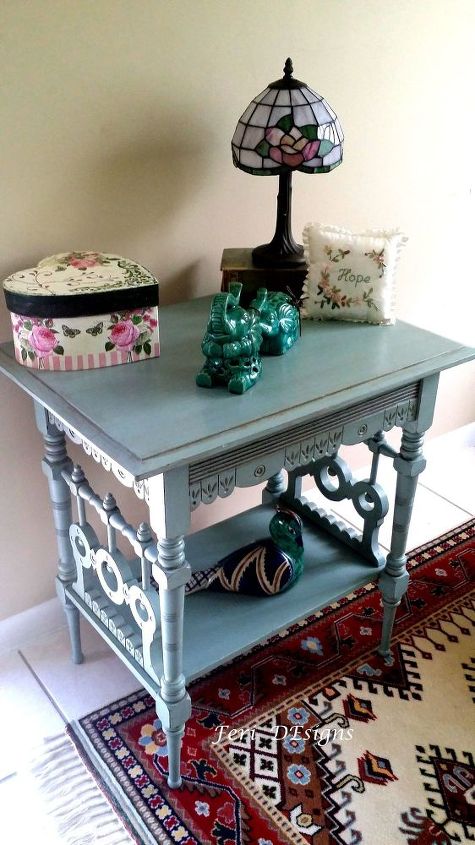
I hope you like what I shared ,,this furnitures was an amazing piece and we painted as our client wanted,,,,Happy days to all you guys..............
Comments
Join the conversation
4 of 22 comments
-
from "plain Jane" to the Belle of the Ball! I love it!
-
your a furniture "fairy" (Feri) . Your talent and determination are superb!!


Frequently asked questions
Have a question about this project?