


Bye-Bye Builder's Grade - Bathroom Renovation
Today I'm sharing a project we just finished in the condo. I'll admit, our condo has been a little ignored lately The to-do list of home improvements finally got long enough that we decided it was time to start tackling some of those items.
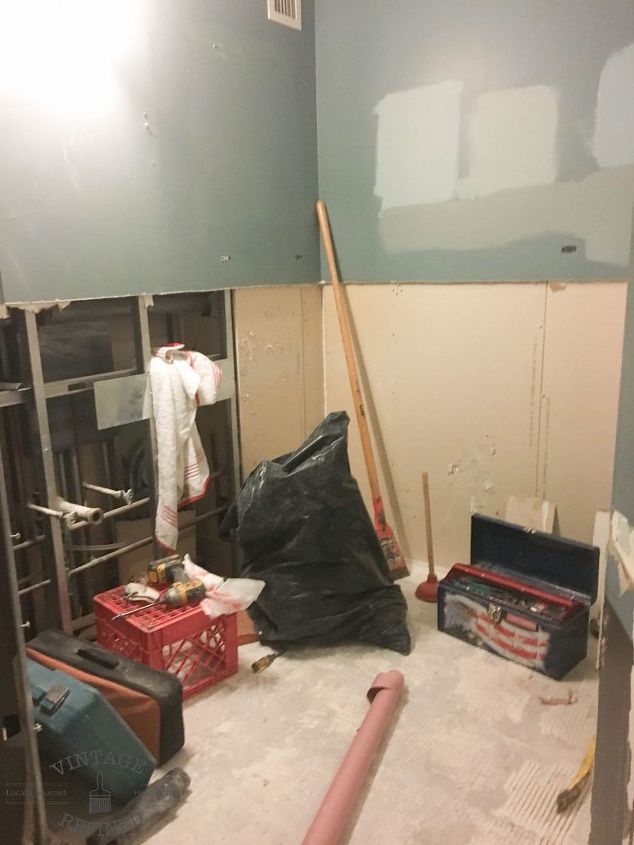
Here is the Before picture. There you have it, folks - city living at its finest! I'm pretty sure I should be mortified right now that I'm showing off this room, but what can I say...storage space is a luxury here and you take it where you can get it - even if that means telling your guests they won't be showering for the weekend.
Here is the Before picture. There you have it, folks - city living at its finest! I'm pretty sure I should be mortified right now that I'm showing off this room, but what can I say...storage space is a luxury here and you take it where you can get it - even if that means telling your guests they won't be showering for the weekend.

The first step was naturally to convert the room from a storage closet back to a functioning bathroom. We then started demo-ing the floor and shower tiles, repairing the drywall, and removing the vanity and toilet. Here is a shot somewhere along that process.
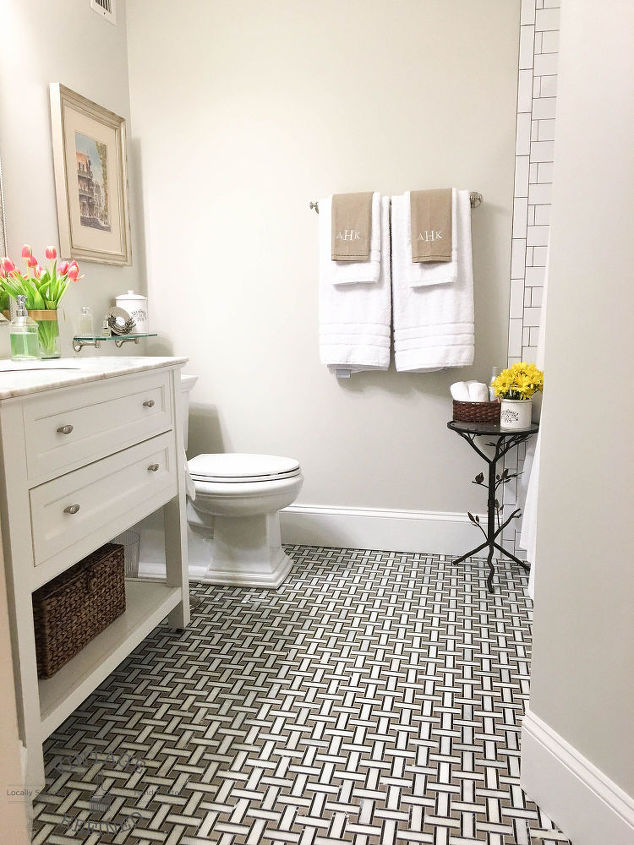
The main objective of this makeover was to replace the builder's grade look with a more fresh and modern feel. Below is the full scope of work:
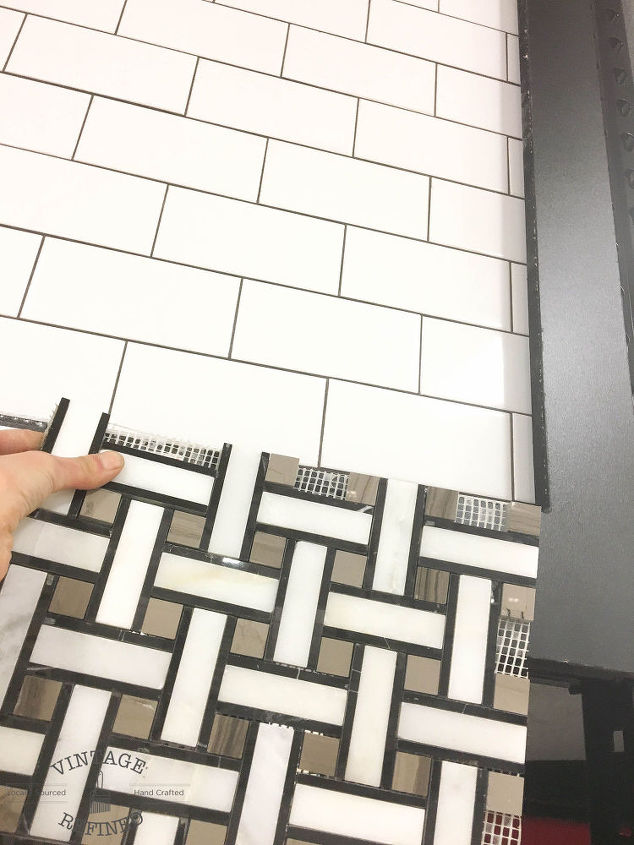
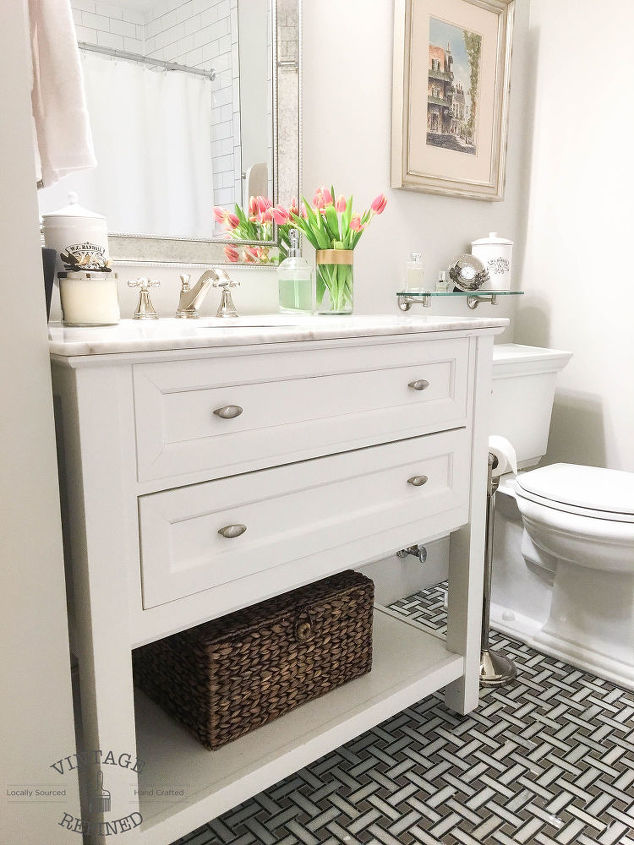
Over this past year, I have started to incorporate more black into my decor. I knew I wanted to carry this trend into the bathroom as well. Since we were working with a white vanity, and the room isn't huge, I wanted the use of black to be minimal, but effective. I wasn't sure how exactly I was going to achieve that, until I spotted this mosaic bathroom tile at Floor & Decor. It immediately caught my eye and paired well with subway tile, which I wanted to use for the shower.
With the major design decisions made, I felt pretty good about the bones of the room. I figured from there I could work out the details as I went.
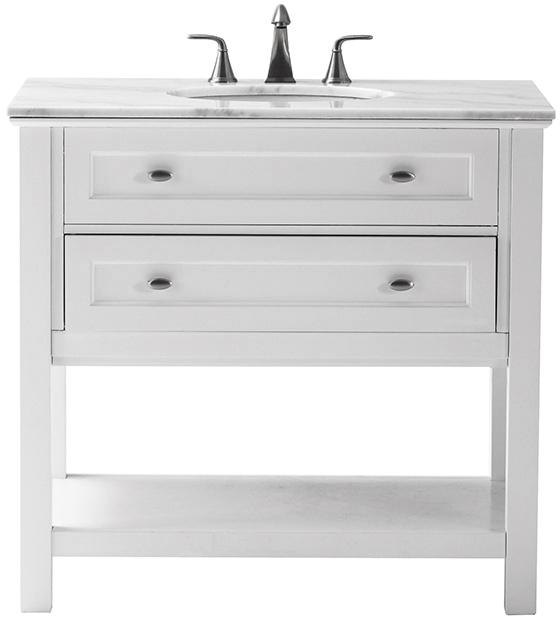
The vanity was actually the same size as the original built-in it replaced, so it fit the space perfect. Thank goodness, because there are no more bathrooms left to pass it down to!
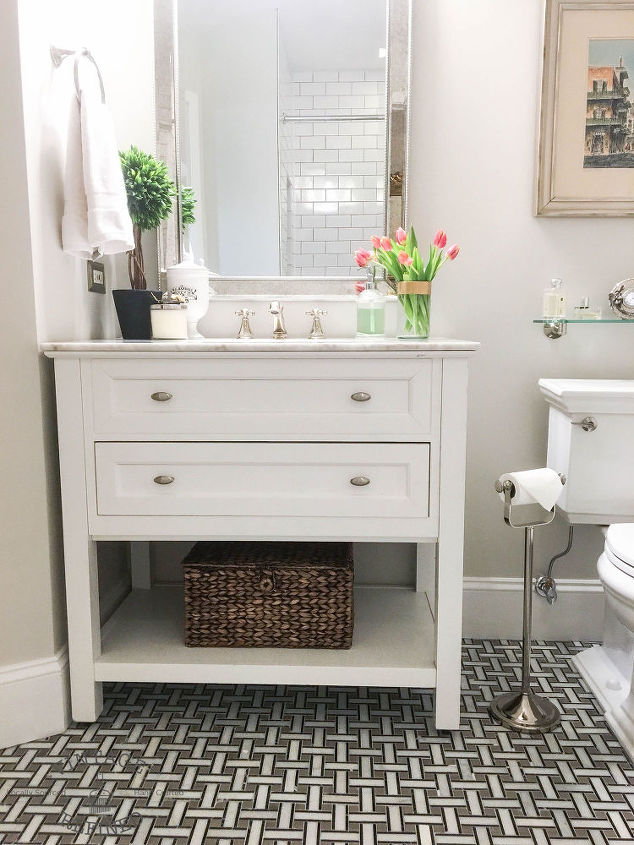
However, because it has the open shelf at the bottom, it looks much less bulky than the original vanity.
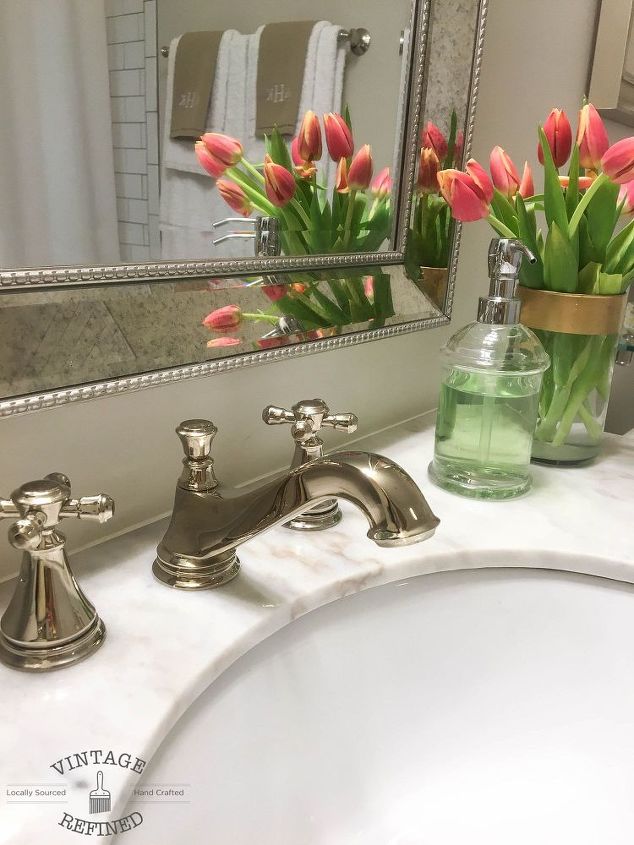
We went with a polished nickel finish for all the hardware. It has a slightly more goldish tone to it than the traditional chrome you see so often.
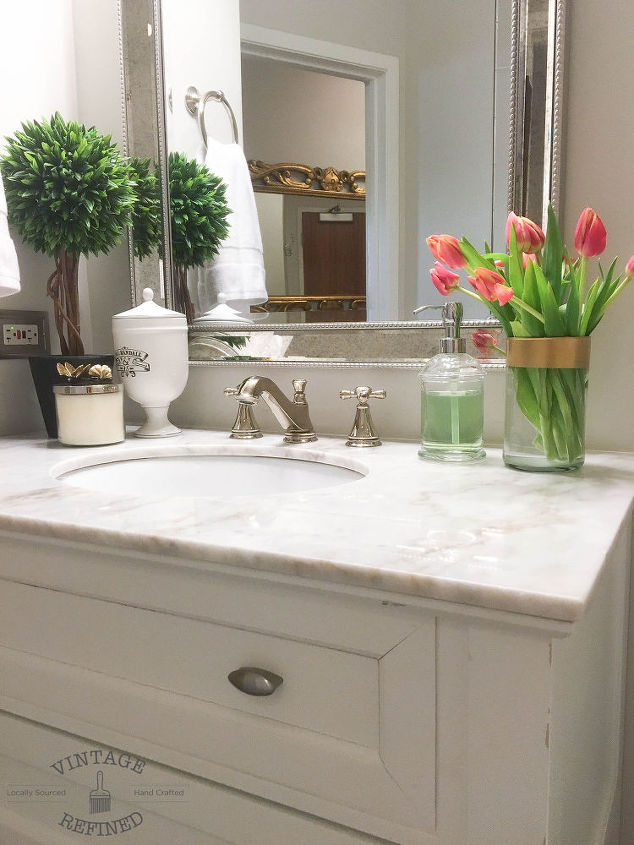
One of the major issues why this vanity didn't work in the original bathroom we planned for was the countertop color. It has some earth tones in it which completely didn't match. Luckily, those brownish hues compliment the flooring in this bathroom much better, allowing me to pull in both browns and blacks.
For more details and a complete source list, visit http://www.vintagerefined.com/blog/2016/5/31/condo-bathroom-makeover-reveal

Want more details about this and other DIY projects? Check out my blog post!
Comments
Join the conversation
2 of 61 comments
-
Love the floor tile!
-
Beautiful, very tasty elegant, great ides, love it.


Frequently asked questions
Have a question about this project?