


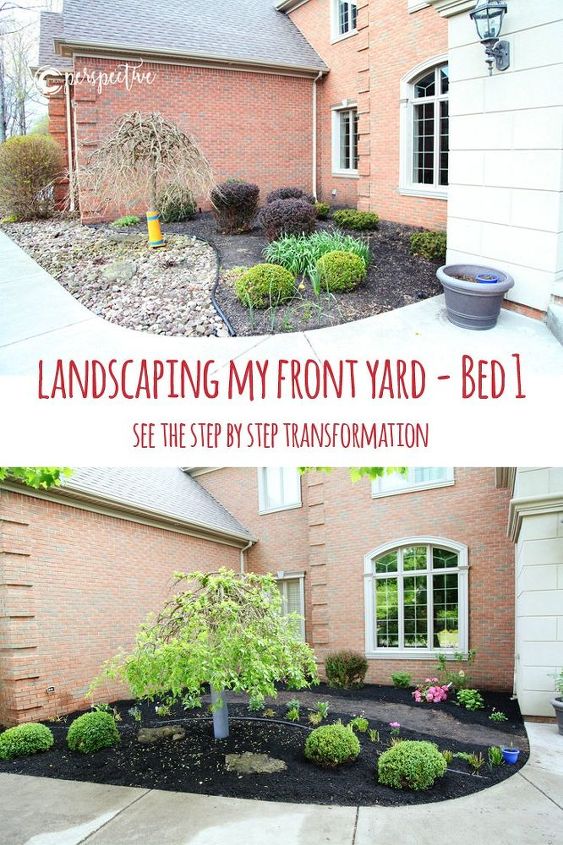
Landscaping Before and After
1 Material
Last year we just let the outside be. With just moving in, all priority was inside!
This year I tackled the outside, and realized I like landscaping!
This year I tackled the outside, and realized I like landscaping!
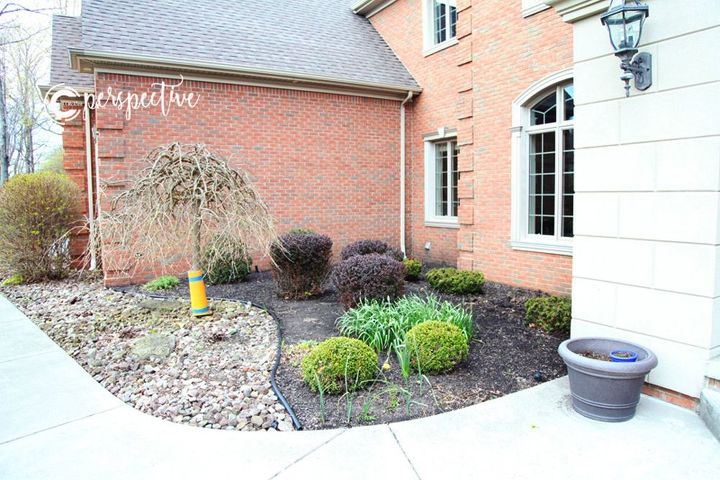
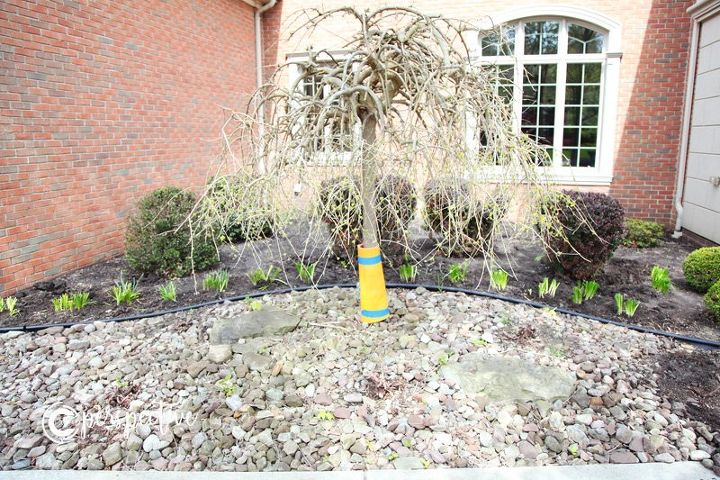
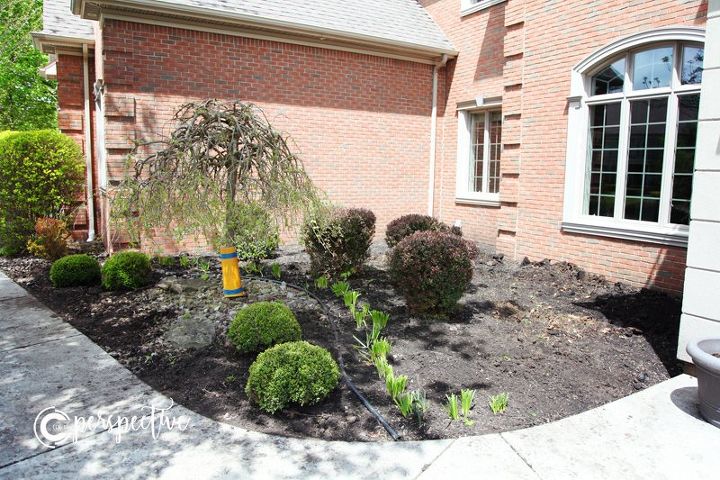
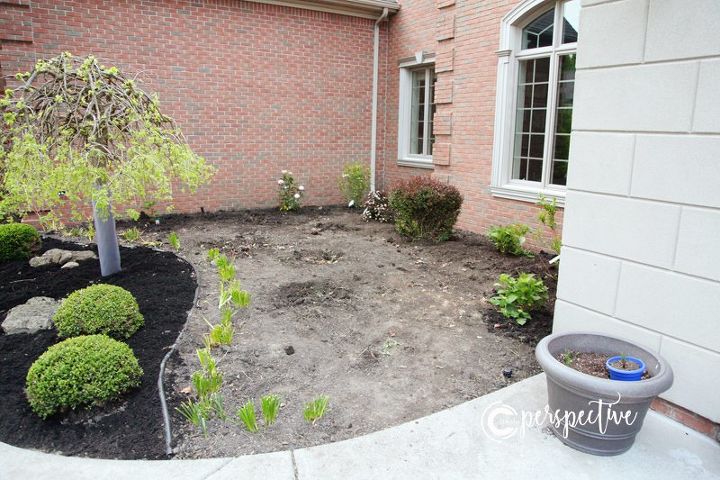
Here is what this bed (1 of 3) looked like to start. Rocks, no order, tall things in the front, deer eaten shrubs in the back, a blob of daffodils and a couple blobs of mums.
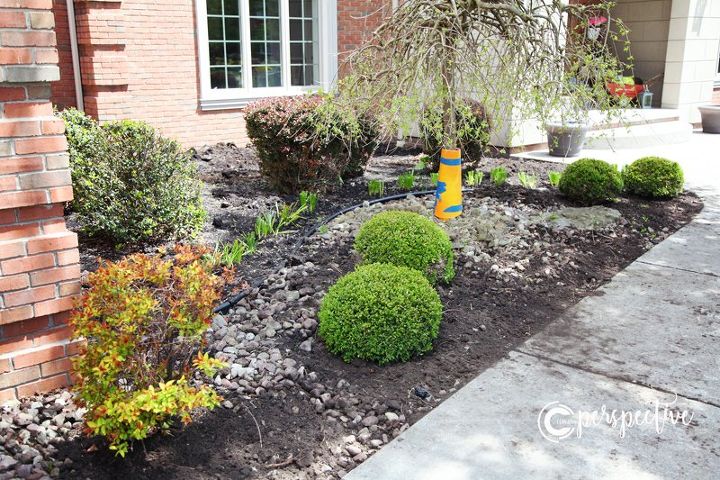
See the step by step on my blog, but the short version is cut and split daffodils, moved the boxwoods, after removing the rocks there in the front.
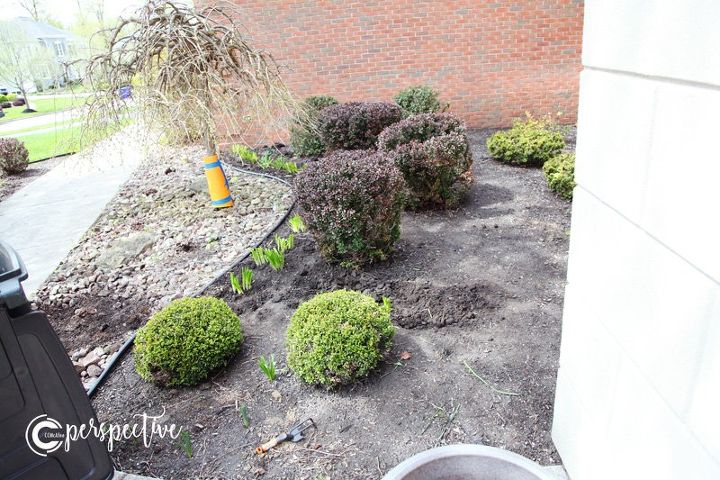
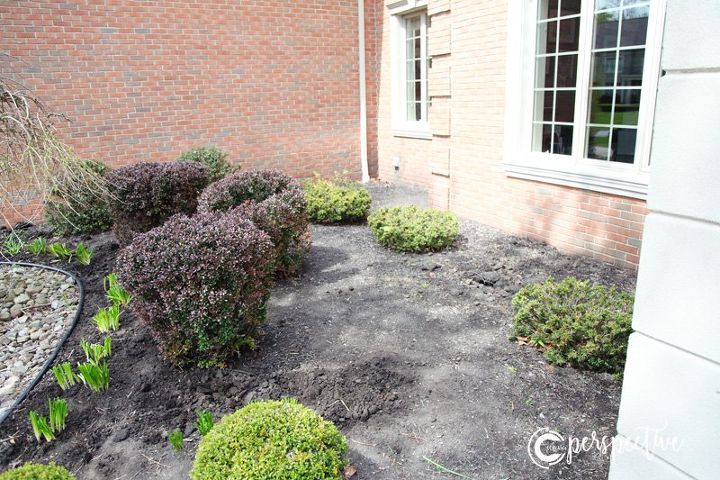
Took out the Yews and Holly, moved those purple bushes.
Moving the rocks was the toughest part. I had to bring in reinforcements for that (kids and hubs).
We brought in more dirt.
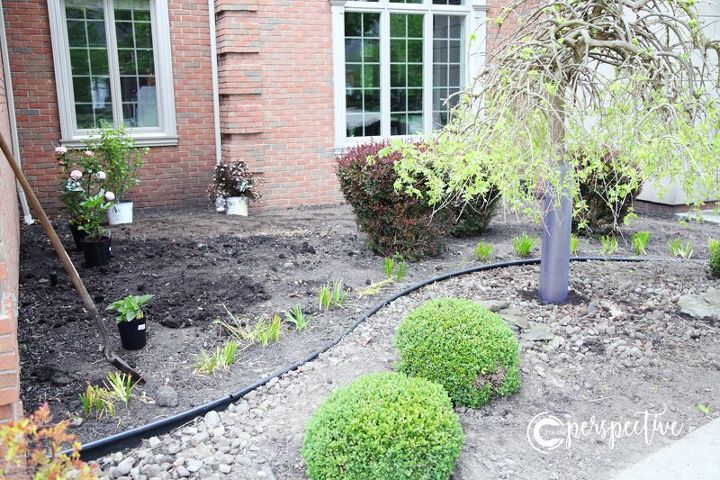
Then I got to go to the nursery and pick out my variety of plants and flowers for this area.
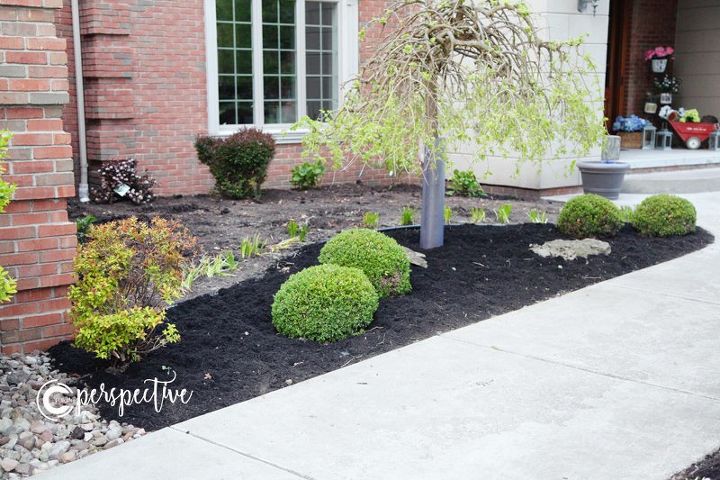
After I planted everything I added mulch.
I left an open path for us to lay down some slate or pavers, for a sitting area. We haven't finished that yet.
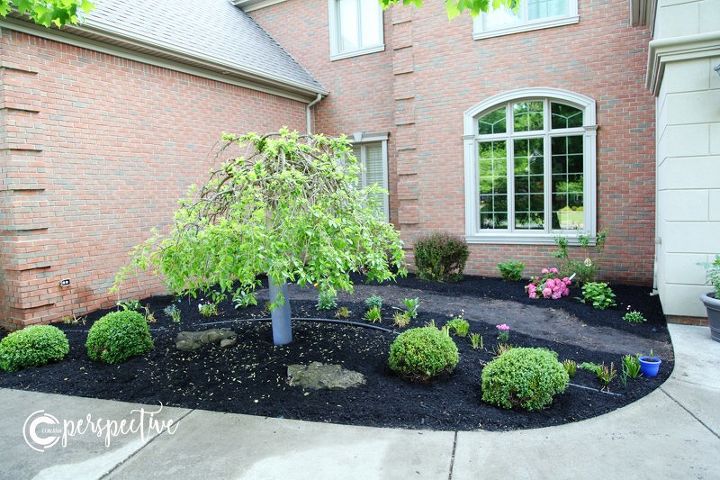
I love how it turned out! I spent a few weeks on it! Now I get to enjoy it.

Want more details about this and other DIY projects? Check out my blog post!
Comments
Join the conversation
3 of 11 comments
-
Beautiful simply but elegant
-
Huge difference! Nice job!!


Frequently asked questions
Have a question about this project?