


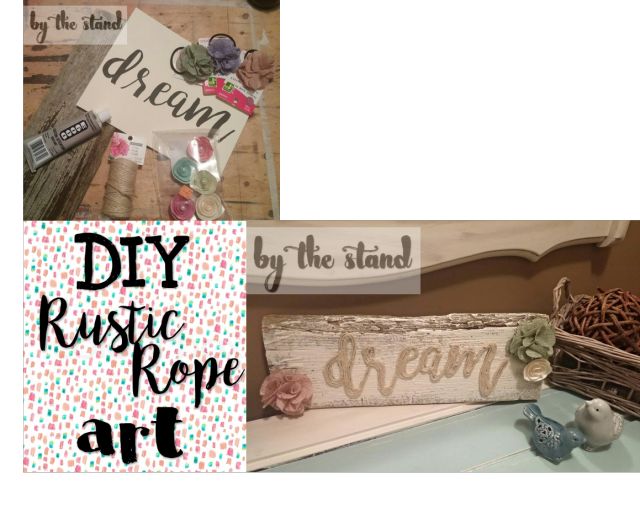
Little DIY, Big Dream

by
Holly Grace
$4
2 Hours
Easy
Hey guys! Holly here, and I have a cute little DIY for you today. But first, does this ever happen to you— you look at one word for so long and then it starts to look funny, like it almost doesn’t look like a word anymore? I was staring at the word dream for almost an hour while I was making this sign and it really started to look funny, and then I thought that it was starting to affect the look of my DIY. I will never look at the word dream the same way again… just kidding, I will get over it. Just something funny I thought I would share with you guys. Let me know if this has ever happened to you, too!
Anywho… on to this DIY! This is a cute little rustic piece that would look great in any room. I made this one for my daughter’s room. Ava is seven and she is quite the little dreamer, so I thought she would love this! Let’s get started!
Anywho… on to this DIY! This is a cute little rustic piece that would look great in any room. I made this one for my daughter’s room. Ava is seven and she is quite the little dreamer, so I thought she would love this! Let’s get started!
Materials
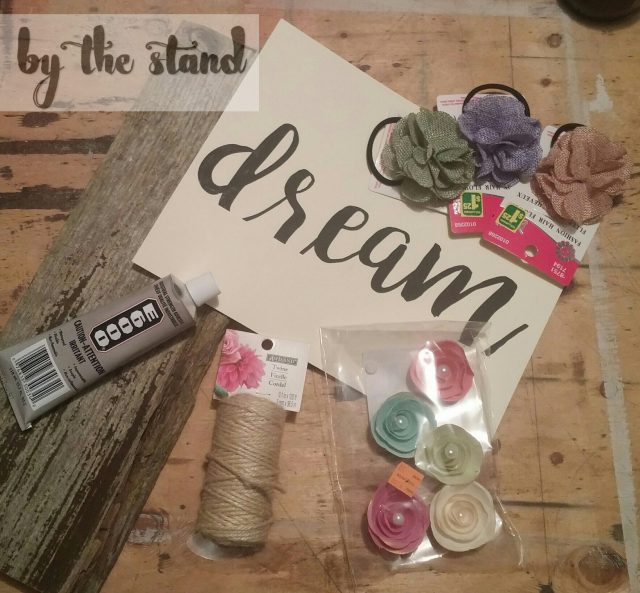
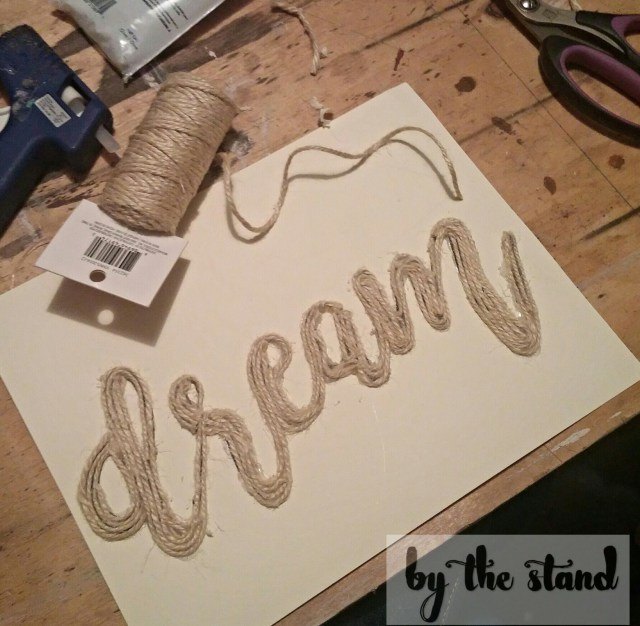
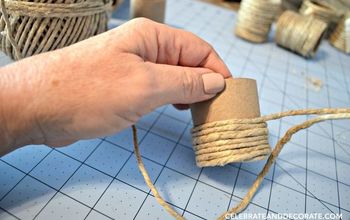
Using your hot glue gun and your twine you are going to start at the beginning of your word and start gluing the twine onto your word. You want to make sure you print your word out on and heavy card stock. This will support the twine and glue, and also make it easier when it comes time to cut out the word.

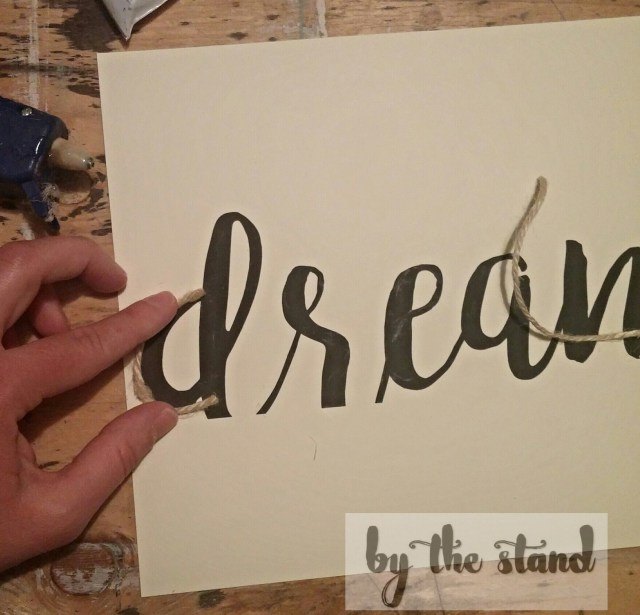
You will also notice that my printer cut off the bottom of my word… I hate to waste ink, so I just winged the bottom parts.
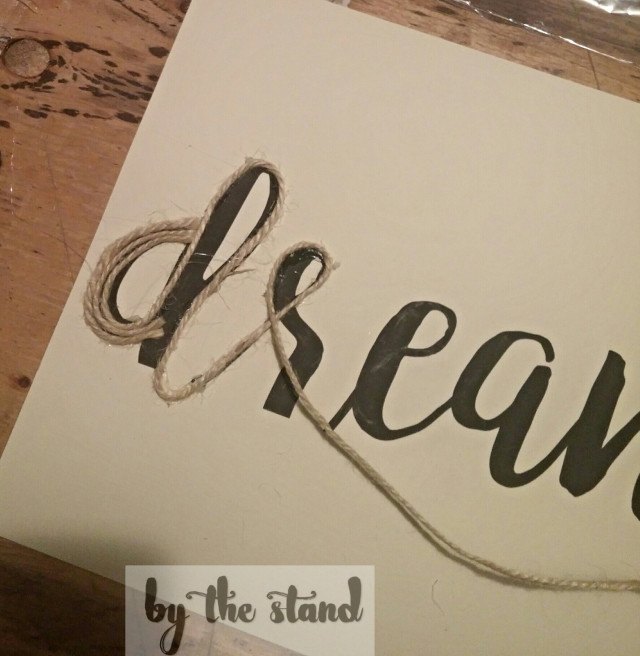
There isn’t really any rhyme or reason as you do this, just follow along with the words. Depending on the font you choose you may have to cut your rope along the way and then restart.

When you are all done you will have something that looks like this…
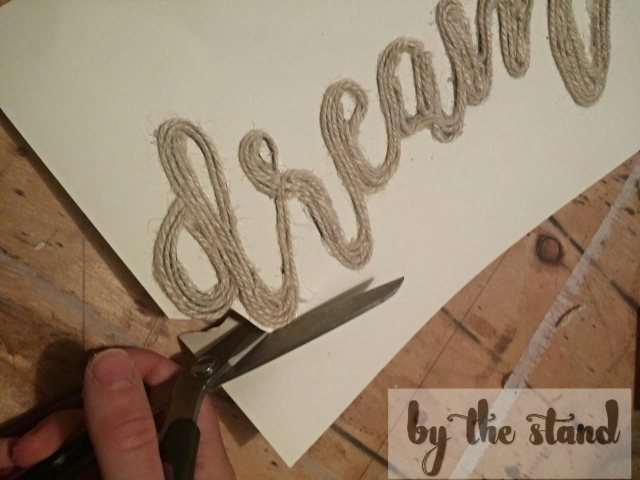
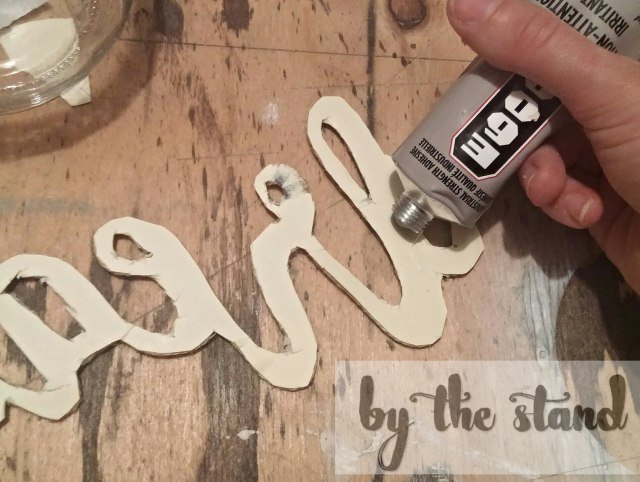
Next, you cut your “rope” word out of the card stock.
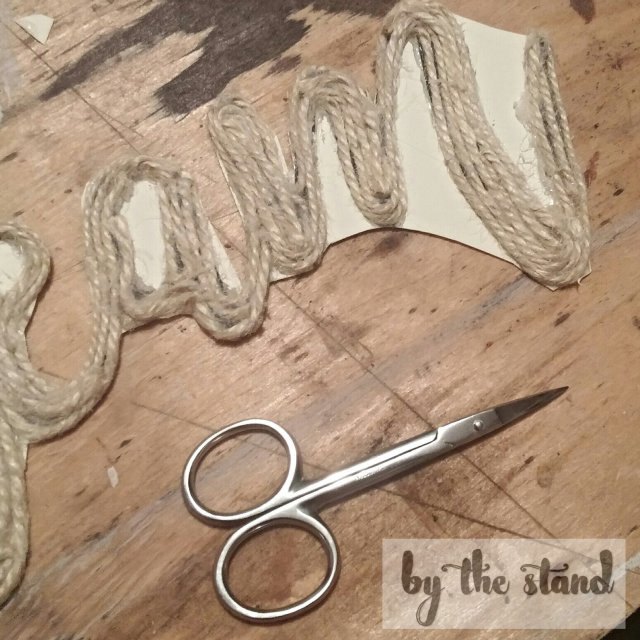
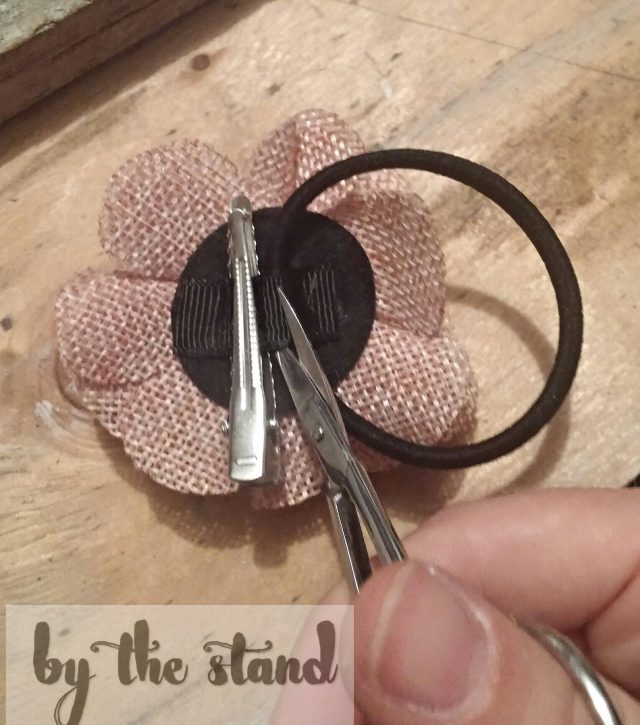
I switched to these little nail scissors. They are much easier to control and fit great in the tight spaces. I highly suggest getting nail scissors for crafting. I use these lil guys all the time!
I put my word down on my wood. I didn’t like how it looked, and felt like the word should stand out a little better, so I just brushed the wood with a little cream colored paint (sorry, I forgot a pic of this step). I pretty much just lightly brushed the wood with the paint.
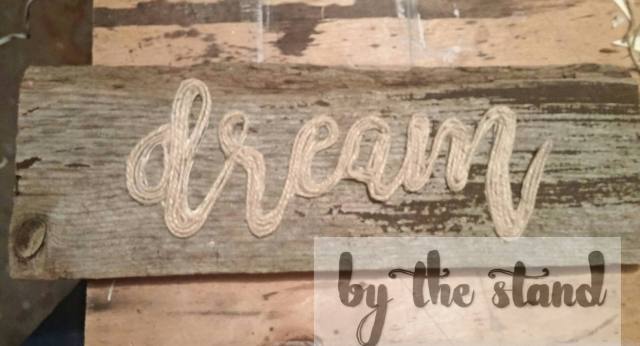
I used E6000 (best glue in the world!!) to glue the word to the wood.
Before I glued my flowers down, I removed the pony tail and clip…why was a good pony tail, am I right?
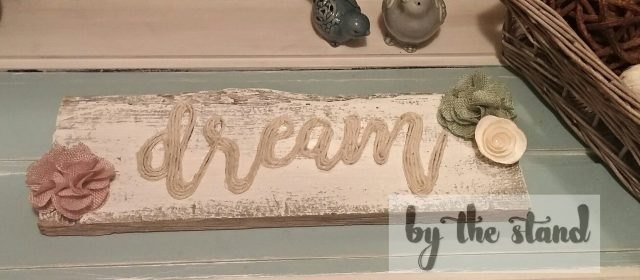
And…. ta da!!
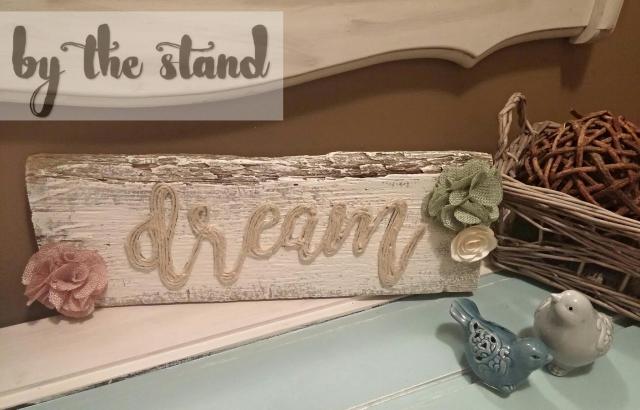
Pretty cool, right? I love this little piece!! I am gonna try another one with a different word and different font, so let me know your favorite font! I am always looking for new fonts.
Want more details about this and other DIY projects? Check out my blog post!
Comments
Join the conversation
3 of 11 comments
-
Perfect for a dreamer like me :)
-
this would be really cute on my side wall


Frequently asked questions
Have a question about this project?