


Pinwheel Door Decoration
9 Materials
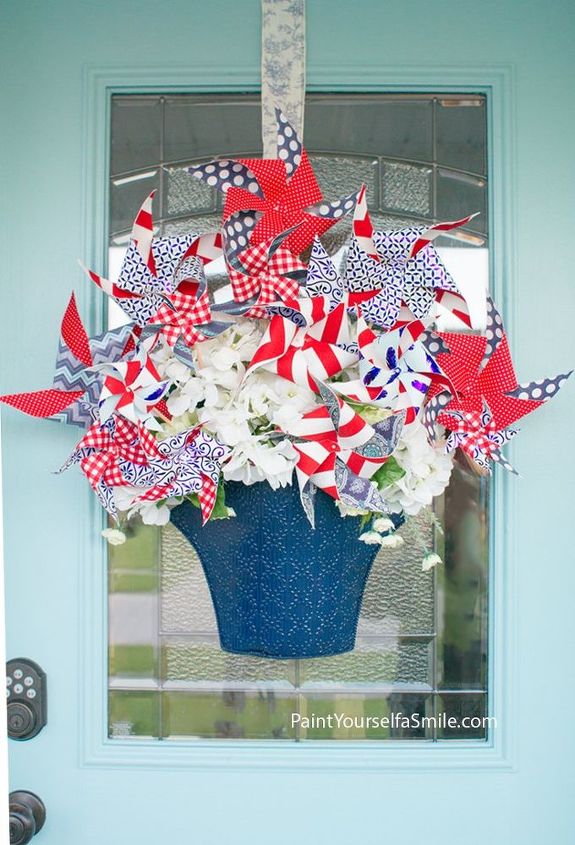
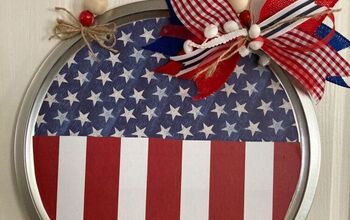
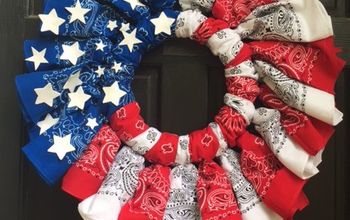
Make your own pinwheels and create this simple door decoration that is fun and festive for 4th of July and all summer long.
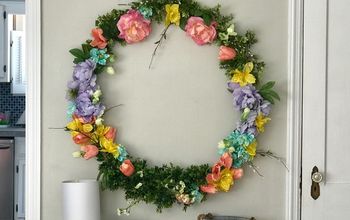
Like many of you we have been working around the house, planting flowers and enjoying the nicer weather. Recently I was invited by a group of bloggers to join in on challenge to do a series of projects to add more curb appeal to our homes. I was thrilled to be invited and my home did need some work when it came to curb appeal. Of course I would've rather it have been some sort of exotic vacation challenge. Or maybe a test out new flavors of ice cream for 5 weeks project. But it wasn't. It the usual, a sweat buckets and work really hard type of challenge. One of the fun projects I tackled in the process was to makeover my front door and add a new summer wreath. I made this fun Pinwheel door decoration the add to the newly painted door and I want to share it with you today.
Like many of you we have been working around the house, planting flowers and enjoying the nicer weather. Recently I was invited by a group of bloggers to join in on challenge to do a series of projects to add more curb appeal to our homes. I was thrilled to be invited and my home did need some work when it came to curb appeal. Of course I would've rather it have been some sort of exotic vacation challenge. Or maybe a test out new flavors of ice cream for 5 weeks project. But it wasn't. It the usual, a sweat buckets and work really hard type of challenge. One of the fun projects I tackled in the process was to makeover my front door and add a new summer wreath. I made this fun Pinwheel door decoration the add to the newly painted door and I want to share it with you today.
I started by making the pinwheels. I could have purchased them but since I needed several I decided to save the money and make my own. I gathered up my supplies.
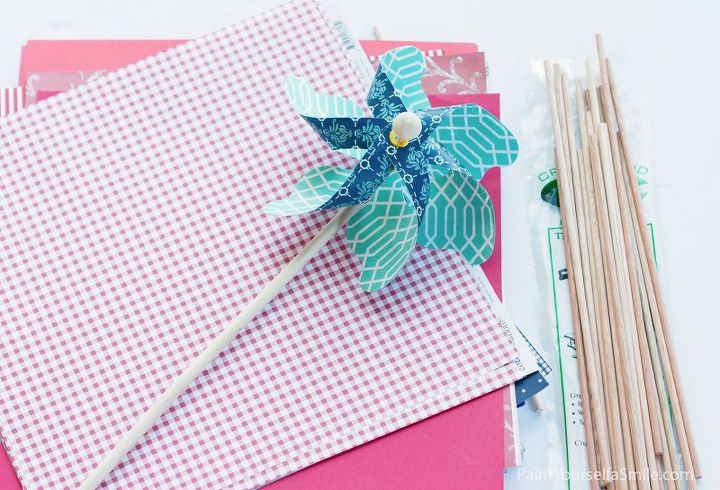
First I gathered my supplies...
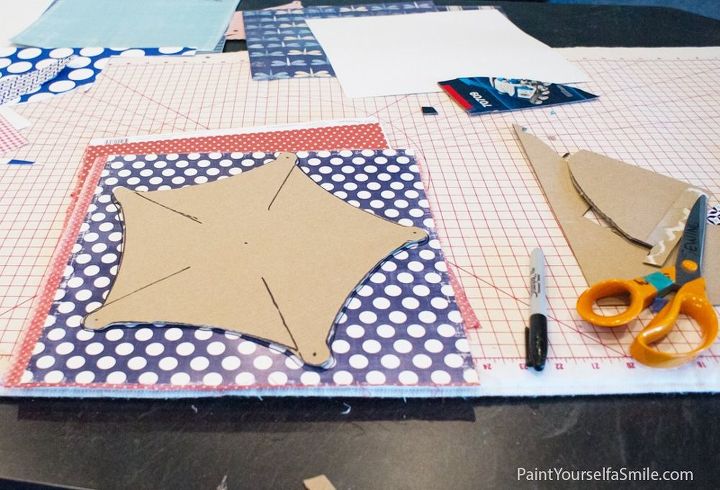
I created 3 star shaped templates (Small, Medium and Large) If you don't want to hand draw one, just google Pinwheel templates and you should find several out there that you can print off from your pc.

I started with fabric and card stock. I used spray adhesive to adhere the fabric to the cardstock and then cut out my shapes with scissors. At first I thought cutting all those pinwheels would take a long time so I sat on the couch and put in a movie to watch while I cut. Turns out, the cutting went really fast. Then I was forced to sit and relax with nothing to do while I watched my movie. haha Keep in mind I don't live in a very humid area and these would be under a porch but a more weather friendly option would be to skip the cardstock since paper will not do well with moisture. Instead use two layers of fabric and fuse those layers together with Heavy-Duty Wonder-Under
I then drilled a tiny hole into the dowel rods. This is not totally necessary. You could just stick the straight pin right in the wood of the dowel rod but a predrill made it easier for me.
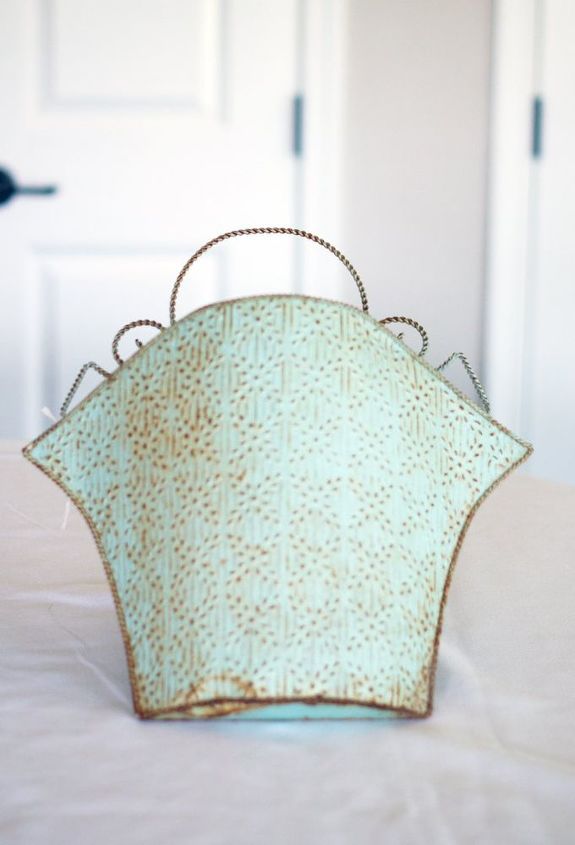
Now that I have several pinwheels made in small, medium and large sizes, I grabbed an old flat backed basket. This one came from a thrift shop but I regularly see flat backed baskets in craft stores. I spray painted my basket navy blue.

I added some floral foam inside.
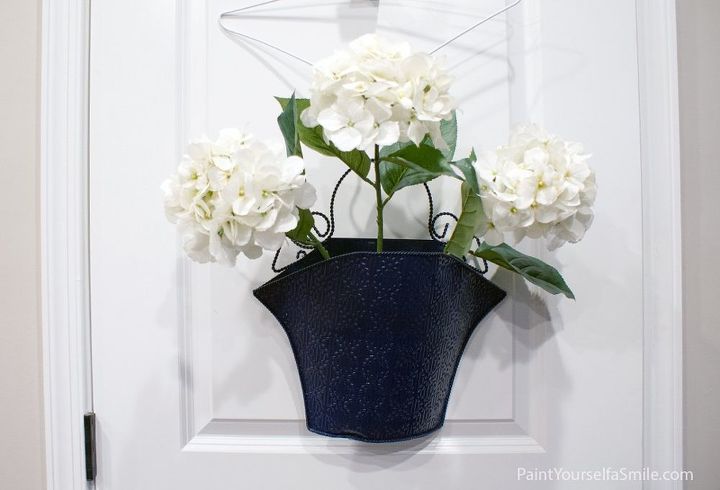
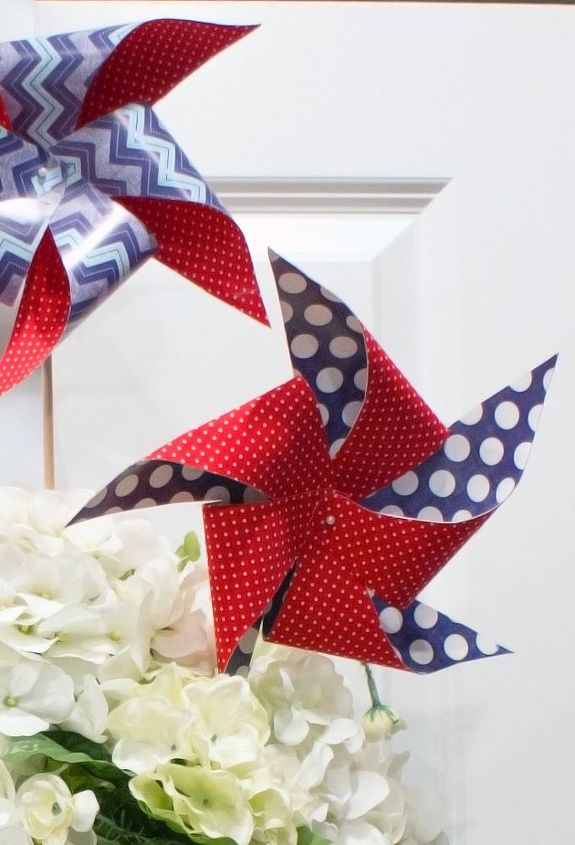
I adding white hydrangeas. I am adding the white flowers a filler backdrop for my pinwheels.
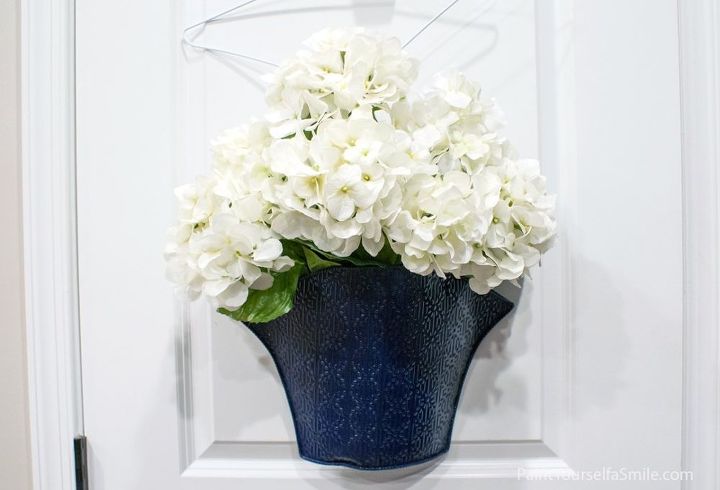
Once my basket is full of the white flowers, all that is left to do is place my pinwheels

It's a big hit among the neighbors and goes really well with all the curb appeal changes I made this summer.


Want more details about this and other DIY projects? Check out my blog post!
Comments
Join the conversation
2 of 35 comments
-
I love this too! Will be making one.
-
I love the idea turned out really nice but I was wondering will they any of them blow in the wind or how could you make them to where they would blow in the wind.


Frequently asked questions
Have a question about this project?